Body Kit Fitment: What Affects Quality + Gaps
Why Body Kit Gaps Happen (and How to Fix Poor Fitment)
The short answer: Body kit gaps happen because aftermarket parts are not made with factory-level precision. The material, manufacturing method, your car's history, and whether the kit was designed for your exact regional spec all play a role. Even a "bolt-on" kit will likely need adjustment before it sits flush. Getting a clean, professional finish means understanding what causes gaps before you spend a penny on paint.

What Is Body Kit Fitment and Why Does It Matter So Much?
Fitment is not just about looks. When a body kit panel sits crooked or leaves a gap, it creates real problems beyond the obvious visual issue. Air gets underneath at speed and causes lift, water gets trapped behind panels and starts rusting your chassis, and loose edges vibrate at motorway speeds. A poorly fitted kit can also fail an MOT inspection if panels are sharp, insecure, or block your lights.
Good fitment means consistent panel gaps, no flex or wobble at speed, sensors working correctly, and the kit sitting exactly where the manufacturer intended. That level of finish rarely happens straight from the box, even with expensive kits. Understanding why gaps appear is the first step to getting it right.
The Real Reasons Body Kit Gaps Appear
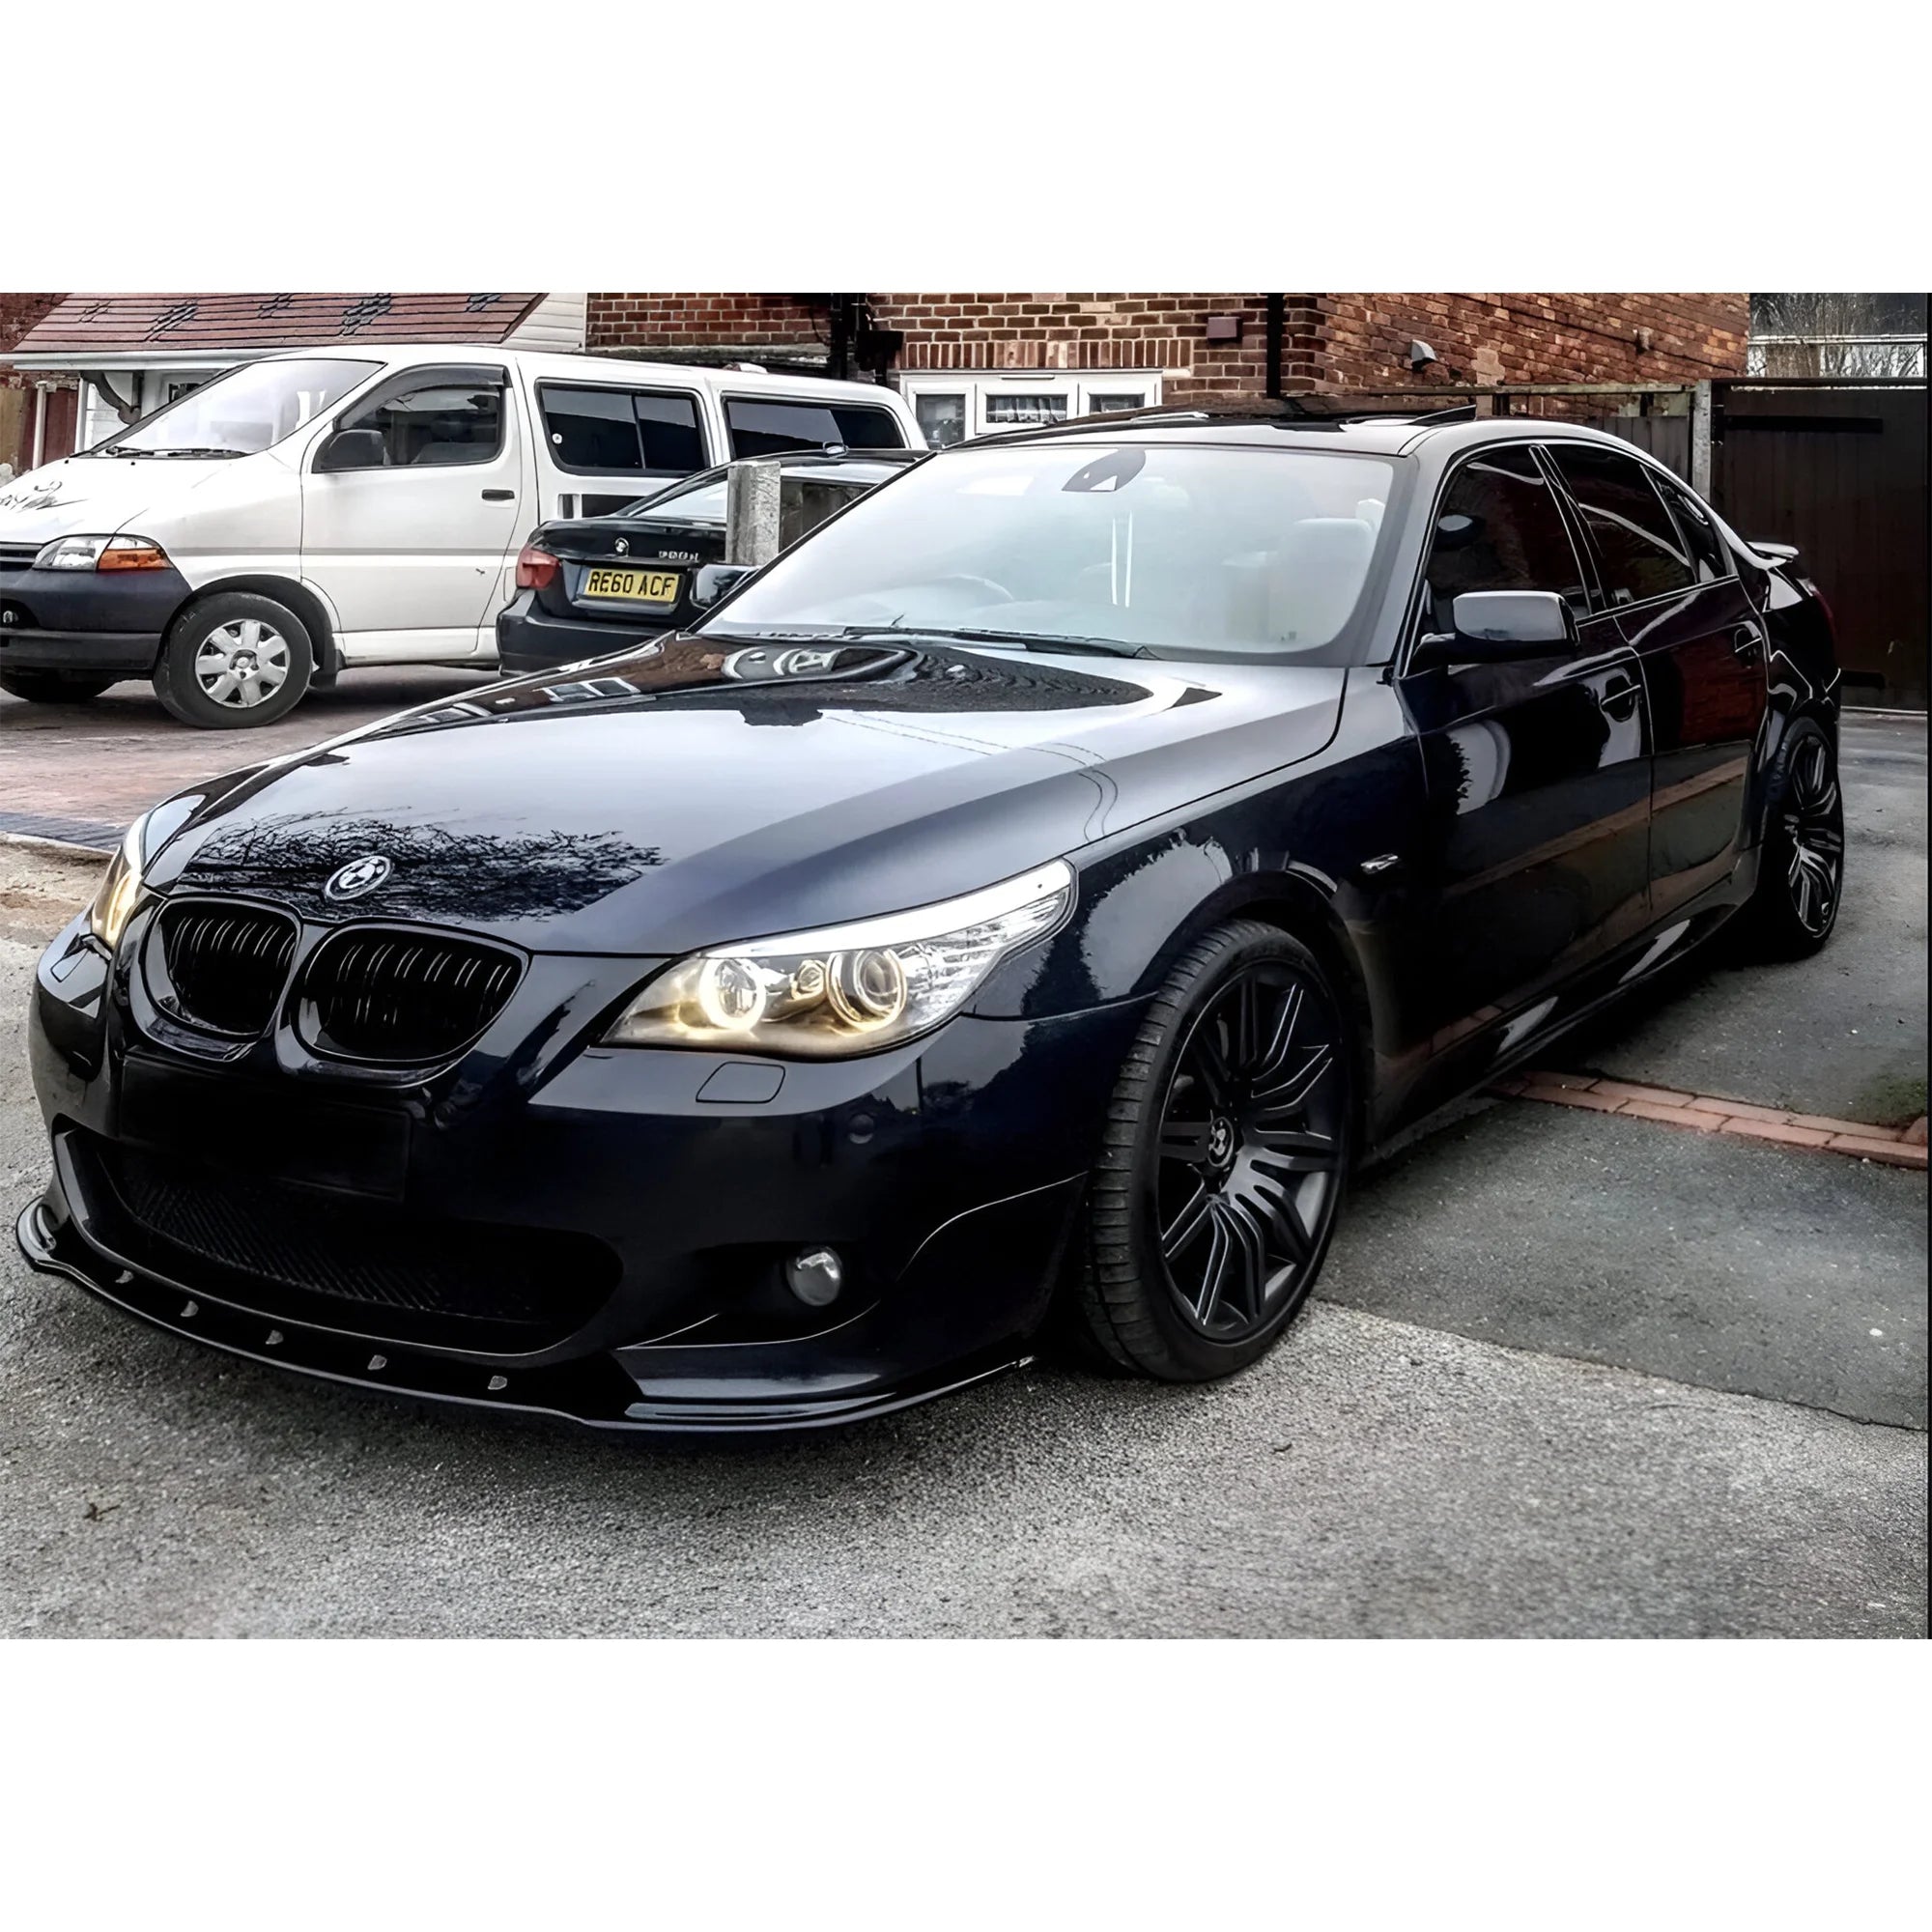
Your Car's Own History Works Against You
Even a car with a clean history has tiny imperfections in its bodywork. Minor bumps that were never repaired professionally, previous owners removing and refitting bumpers badly, or even the factory assembly tolerances can leave your bumper mounting points slightly off from where they should be.
When you fit a rigid aftermarket kit on a car that already has a slightly shifted radiator support or a tweaked headlight bracket, every millimetre of that misalignment shows up as a gap you cannot simply push away. Professional bodyshops often find they need to pull or realign the underlying chassis structure before a new kit will sit right.
Manufacturing Tolerances: Aftermarket vs Factory
Factory parts are made by robots operating to tolerances measured in fractions of a millimetre. Aftermarket kits, even good ones, are not made with the same equipment. If the kit is hand-laid fibreglass, each panel varies slightly because it depends on how much resin the technician used and how evenly they laid the mat. Even injection-moulded polyurethane parts can warp slightly during shipping or storage.
Mould shrinkage is a common issue. When a moulded part cools after production, it shrinks slightly, and if cooling happens unevenly, the part warps. A part that measured perfectly in the mould can arrive at your door a few millimetres off at one edge.
Mid-Cycle Model Updates Cause Silent Fitment Problems
This is one of the most overlooked causes of body kit gaps, and almost no competitor blog covers it properly. When a car gets a facelift, the visible changes are obvious, like new headlights or a revised grille. What you cannot see is that the mounting points, bumper reinforcement bar shape, and internal brackets often change, too.
A kit designed for the pre-facelift version of a BMW 3 Series or an Audi A4 may be sold as compatible with later models, but the internal crash structure it wraps around is different. The outer surface might look like it fits, but the kit is actually sitting against a differently shaped support, causing it to push out slightly at one edge or leave a gap at the top near the headlights.
Always check whether a kit was designed for your specific production year, not just your model name.
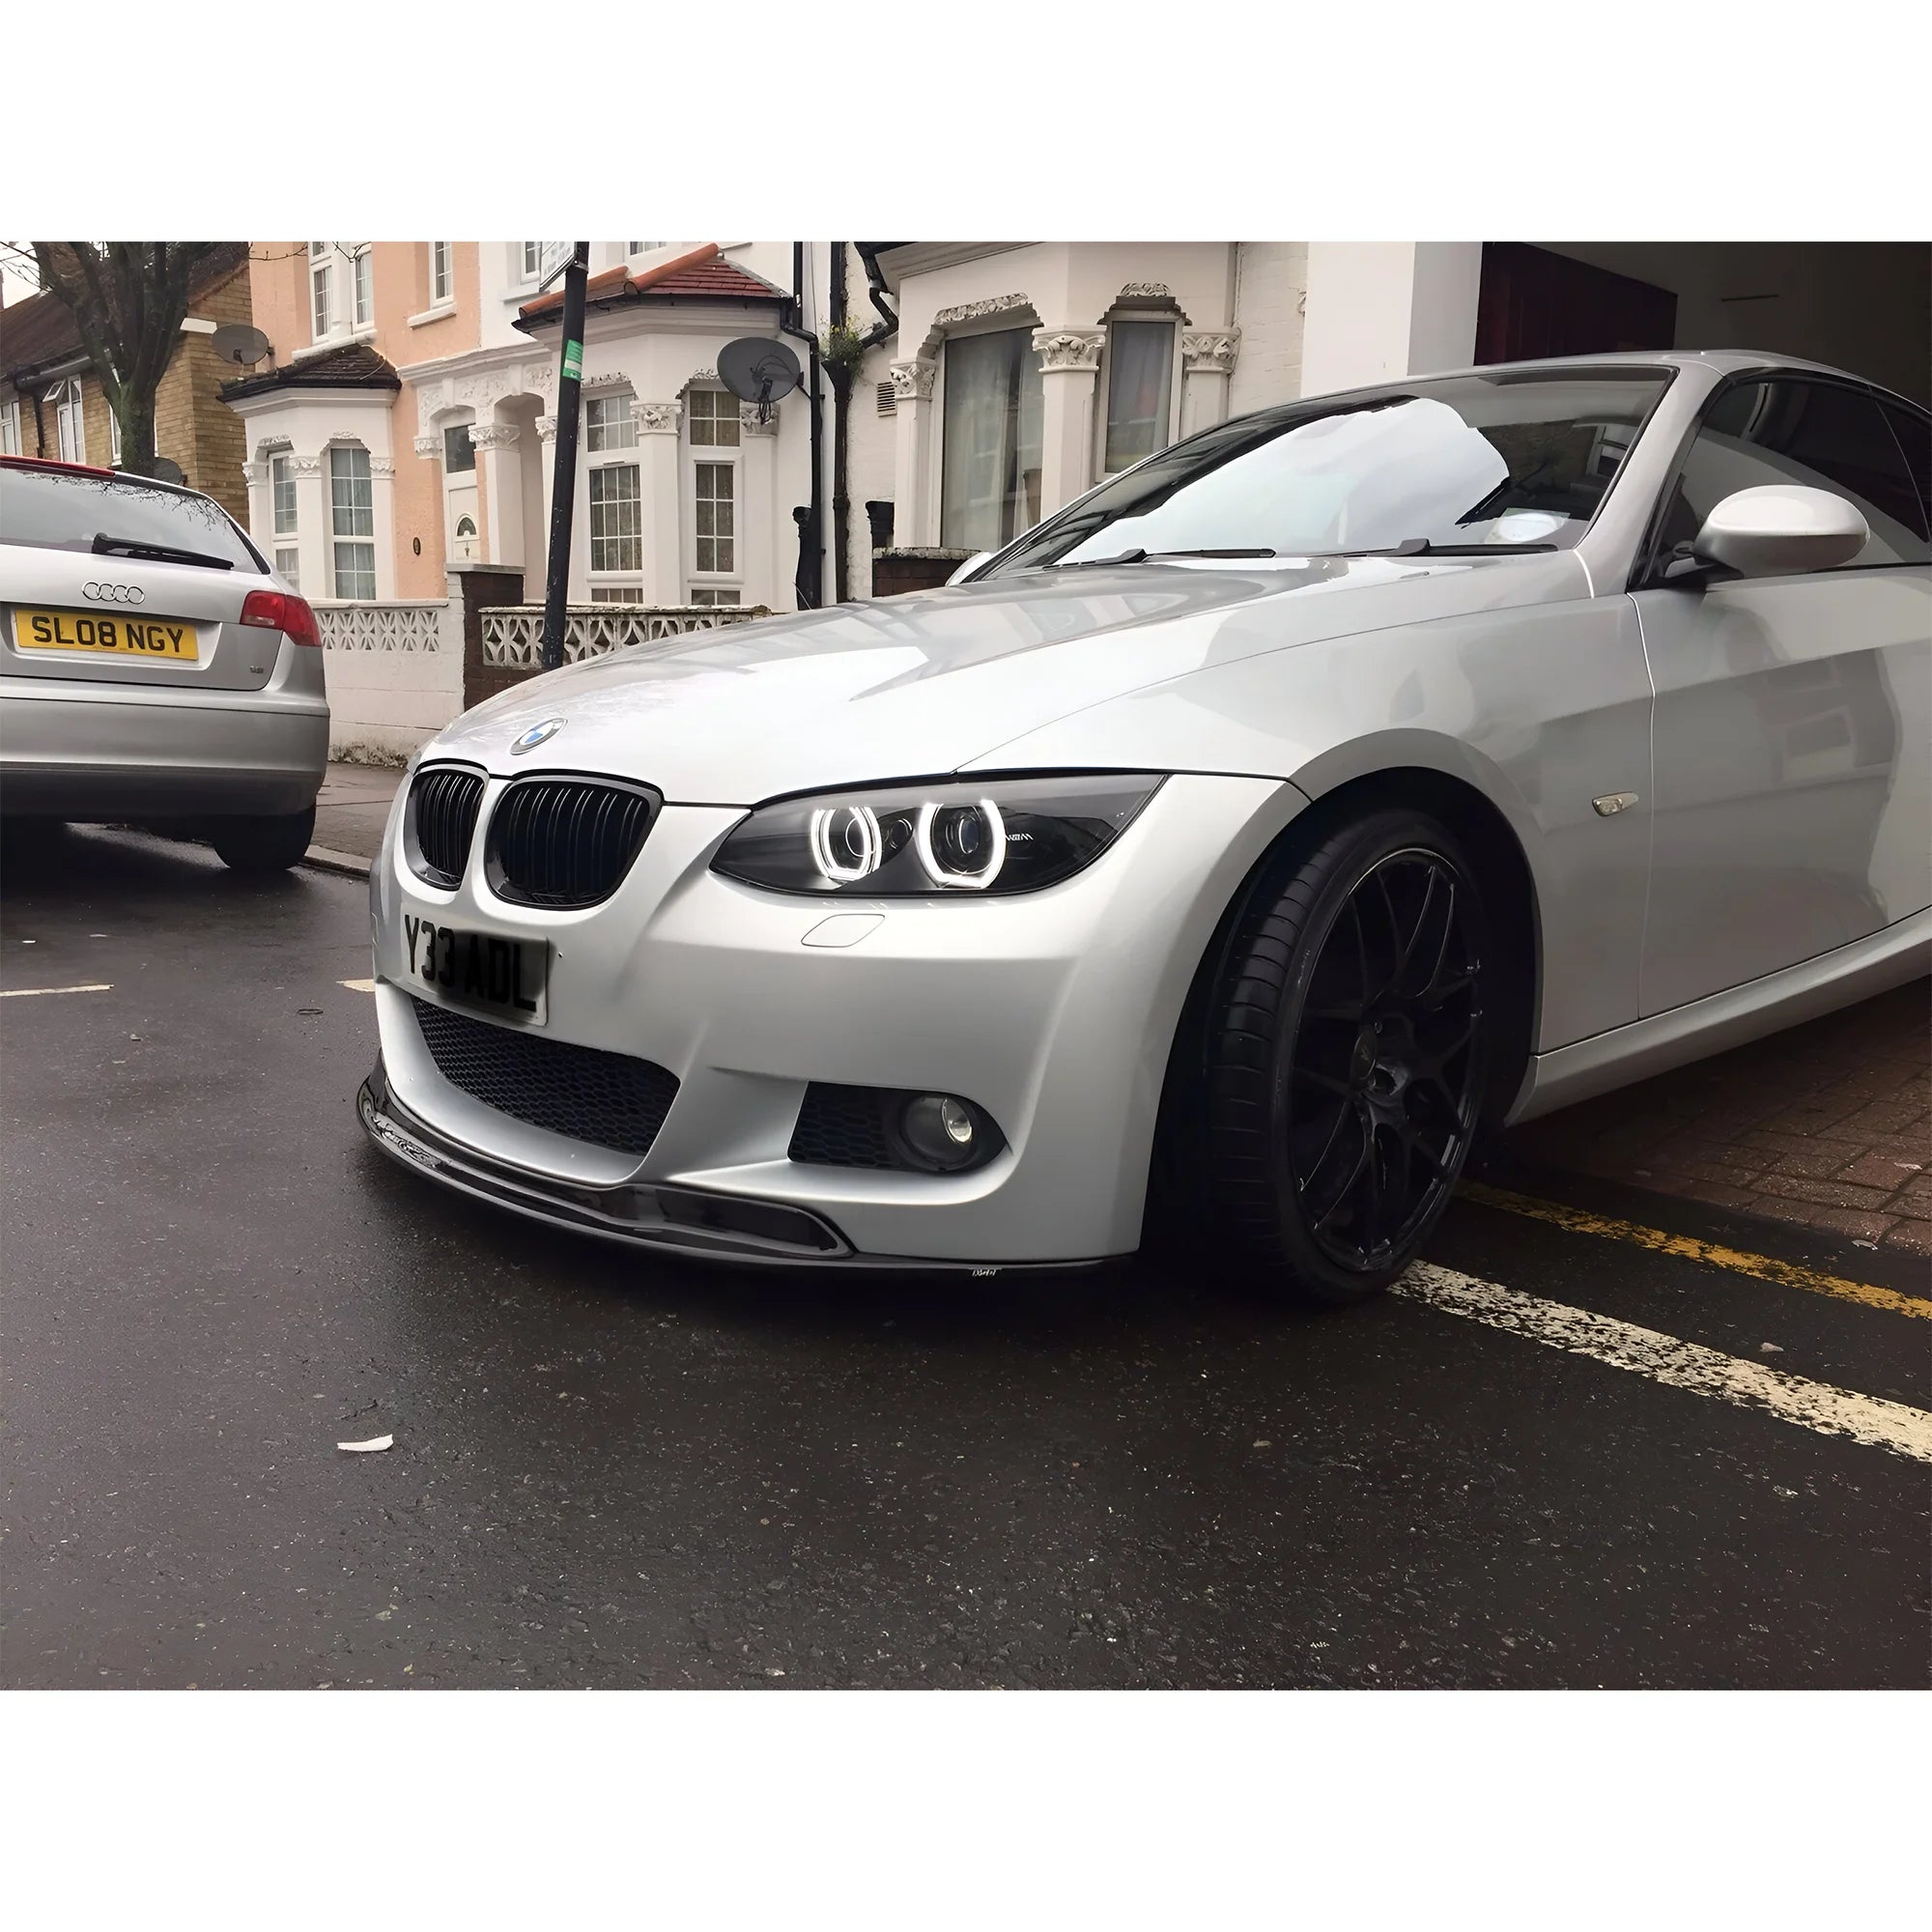
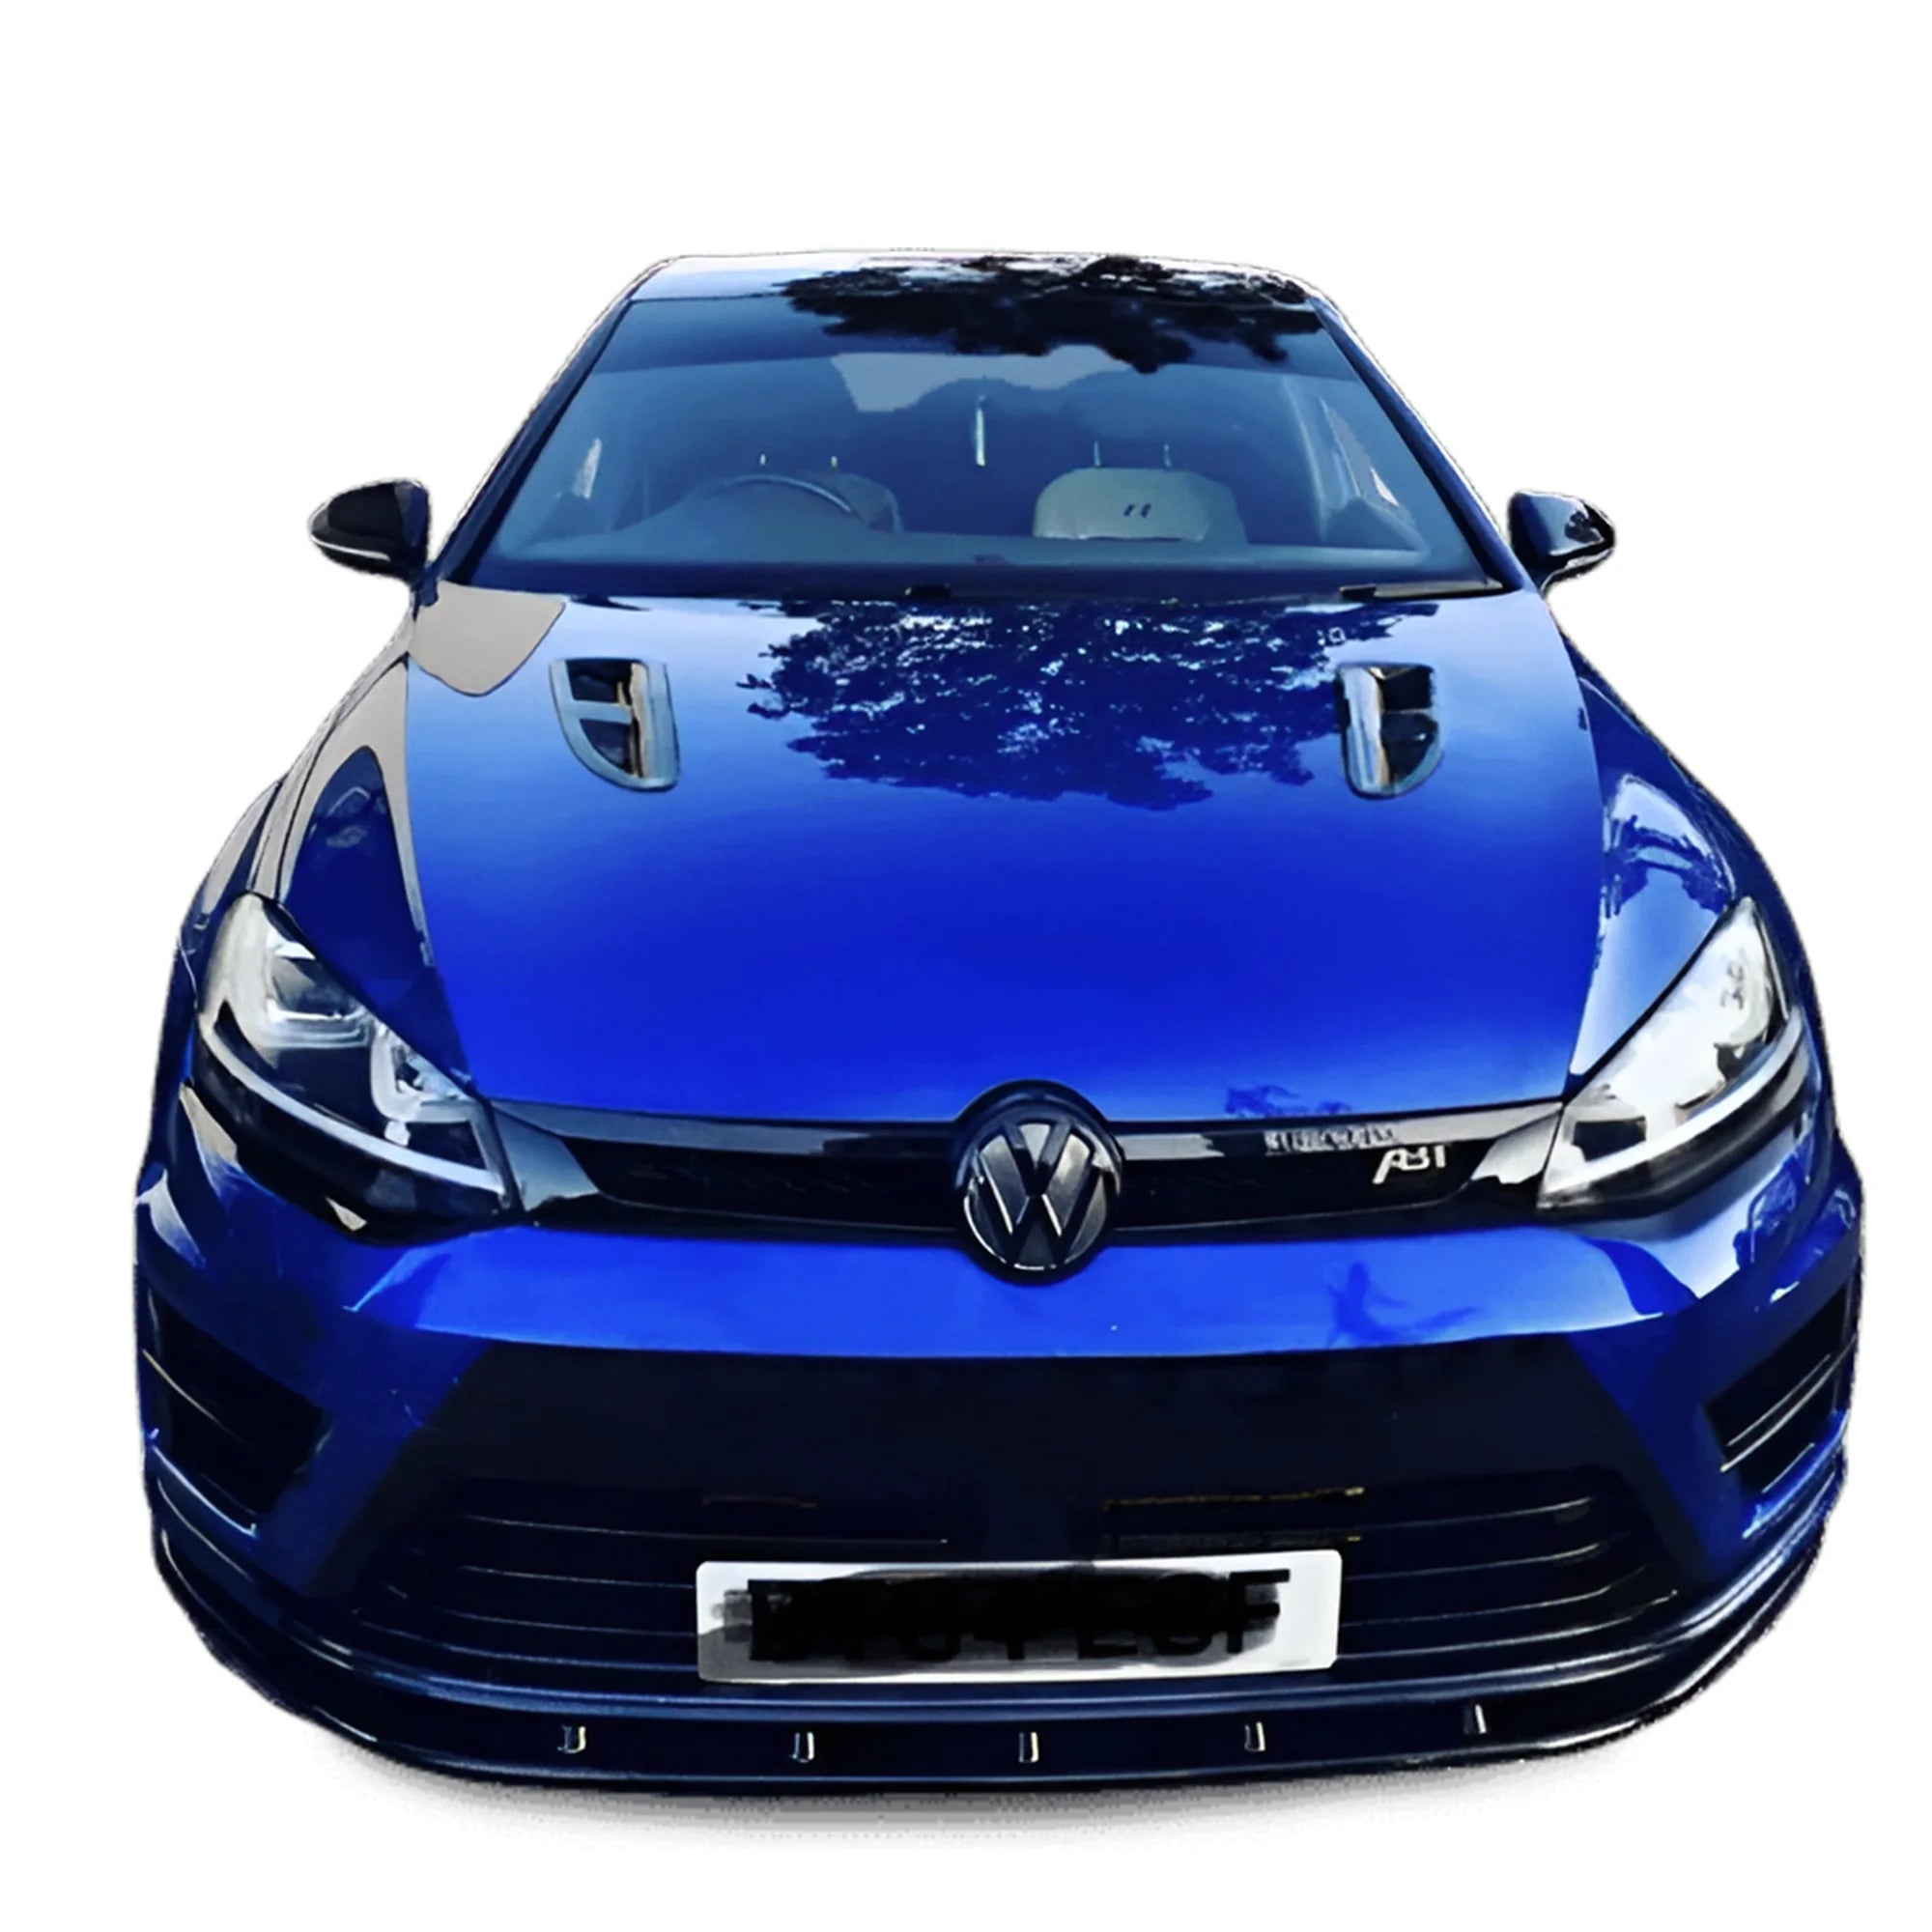
Regional Specs: The JDM vs UK Bumper Problem
Japanese Domestic Market body kits are some of the most sought-after in the UK car scene. The designs are often cleaner and more aggressive than what was sold here. But there is a fitment trap that catches people constantly.
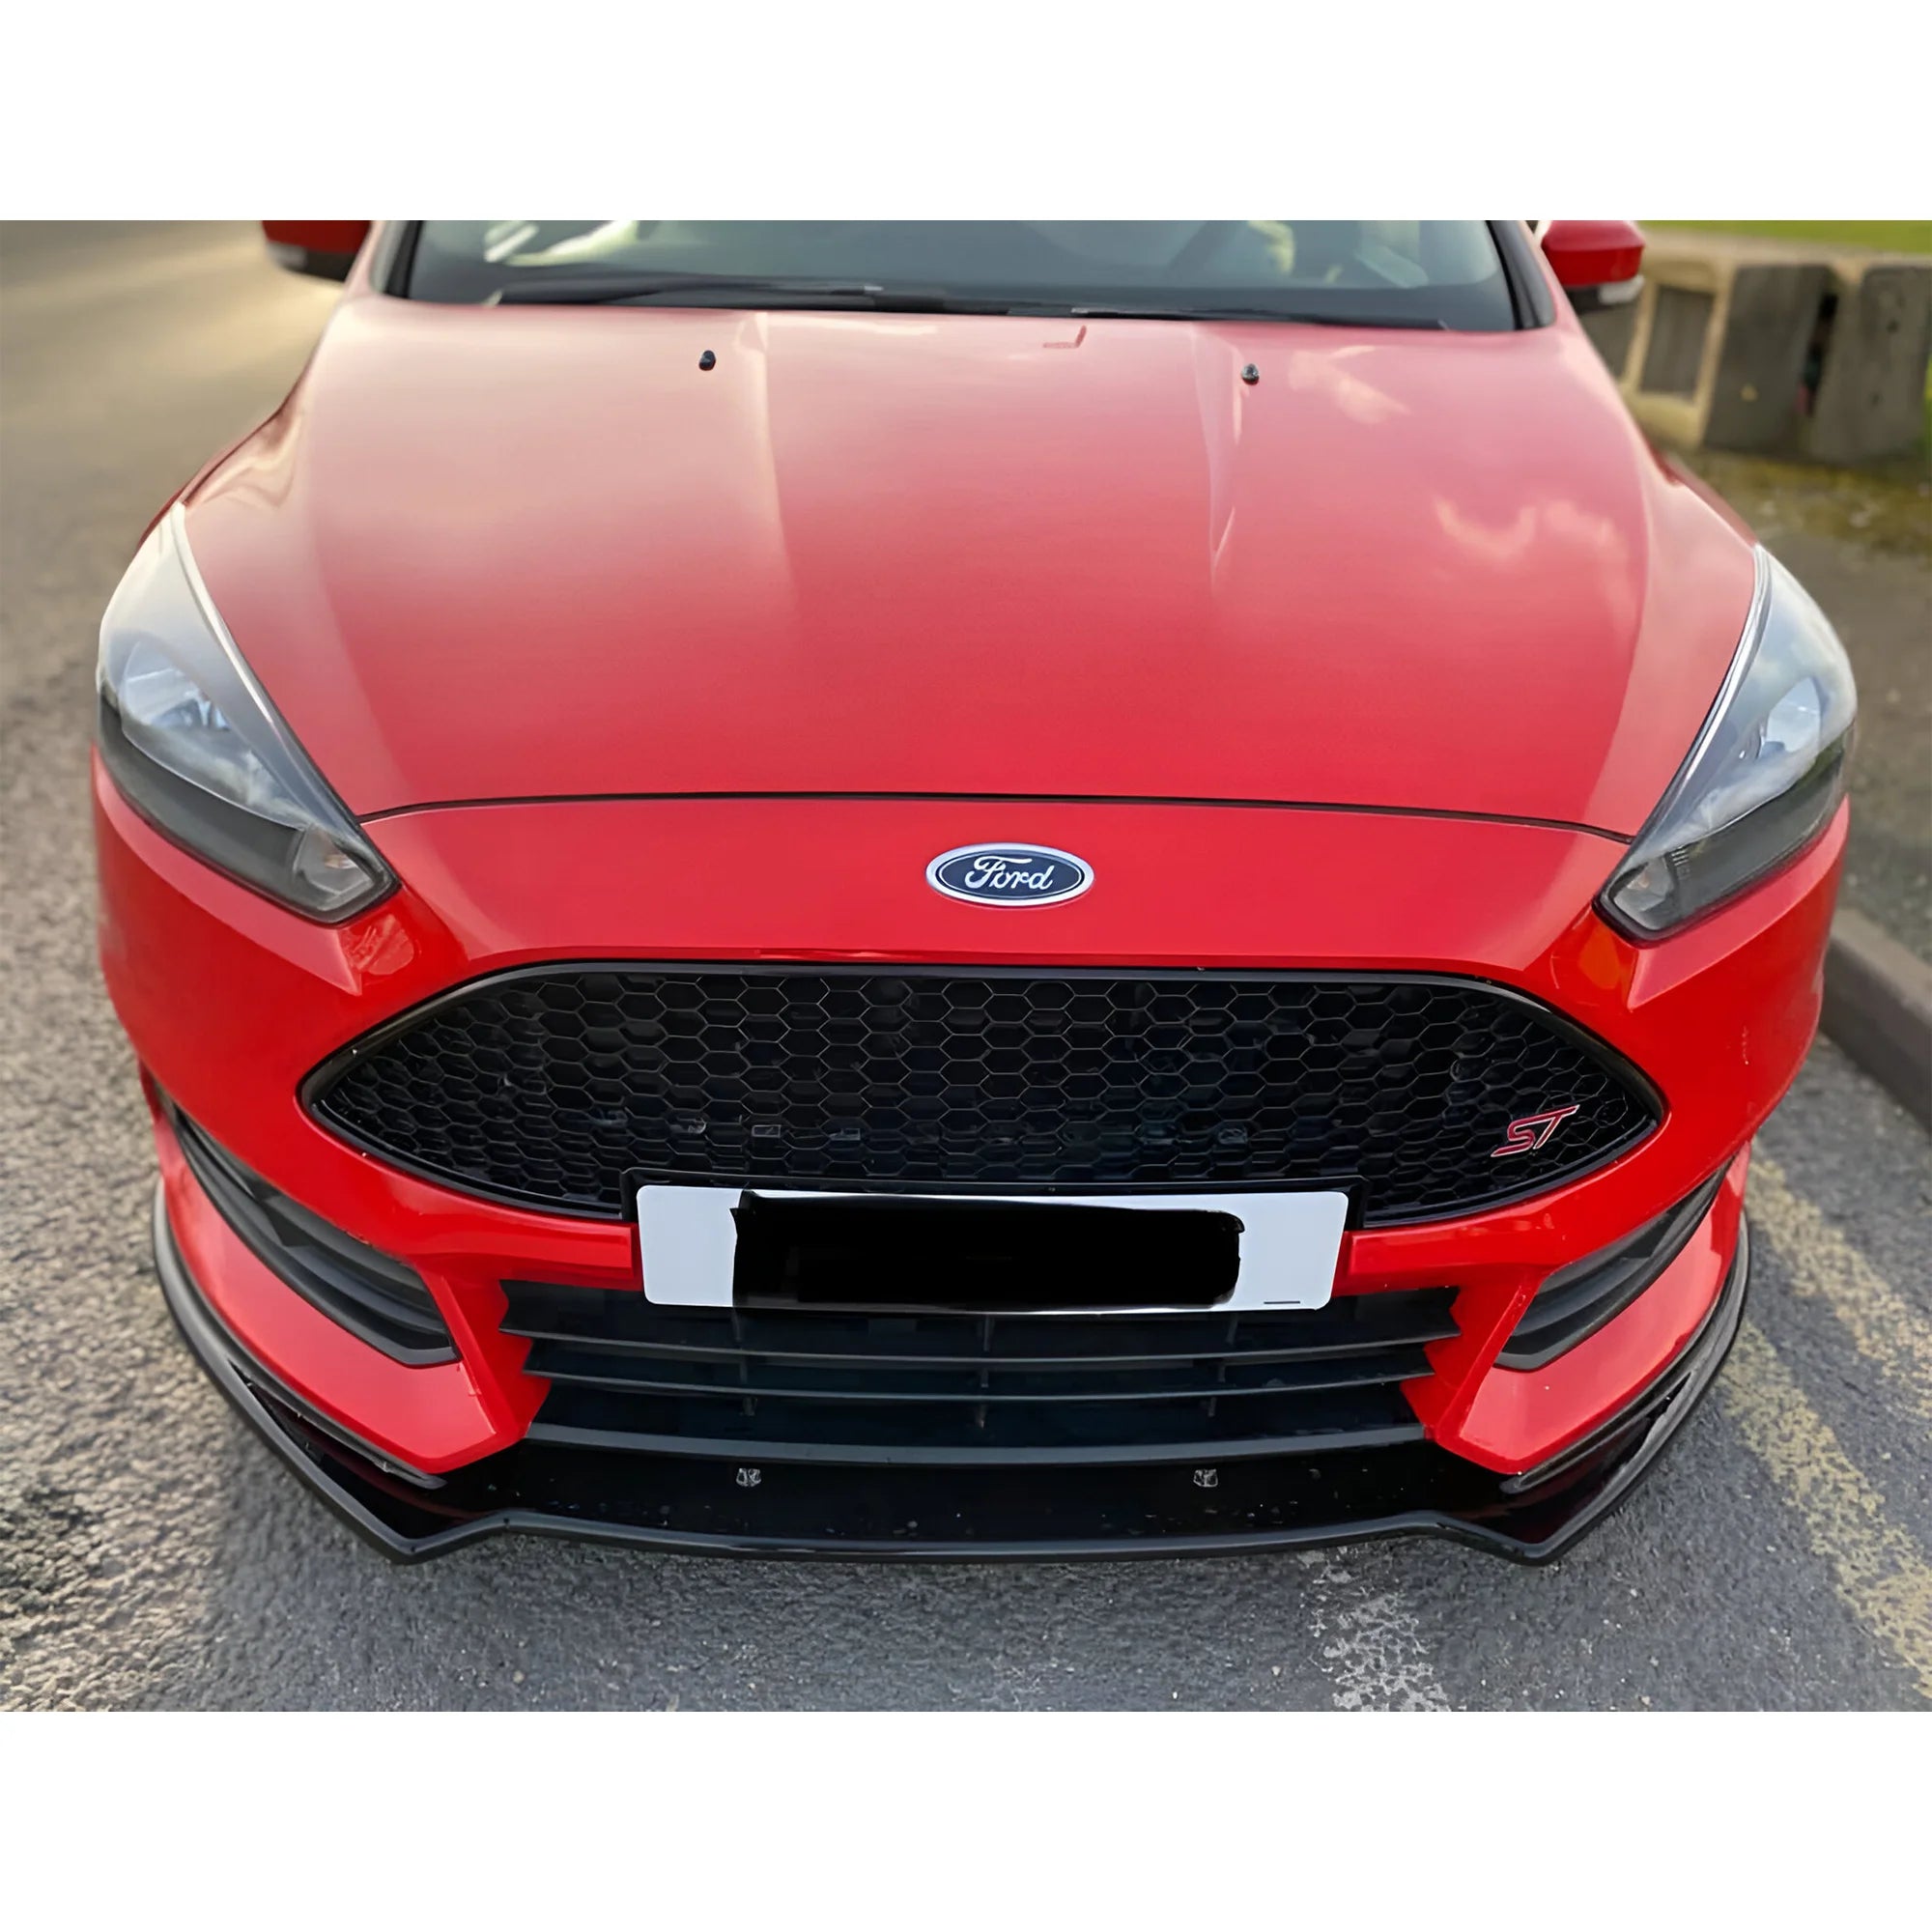
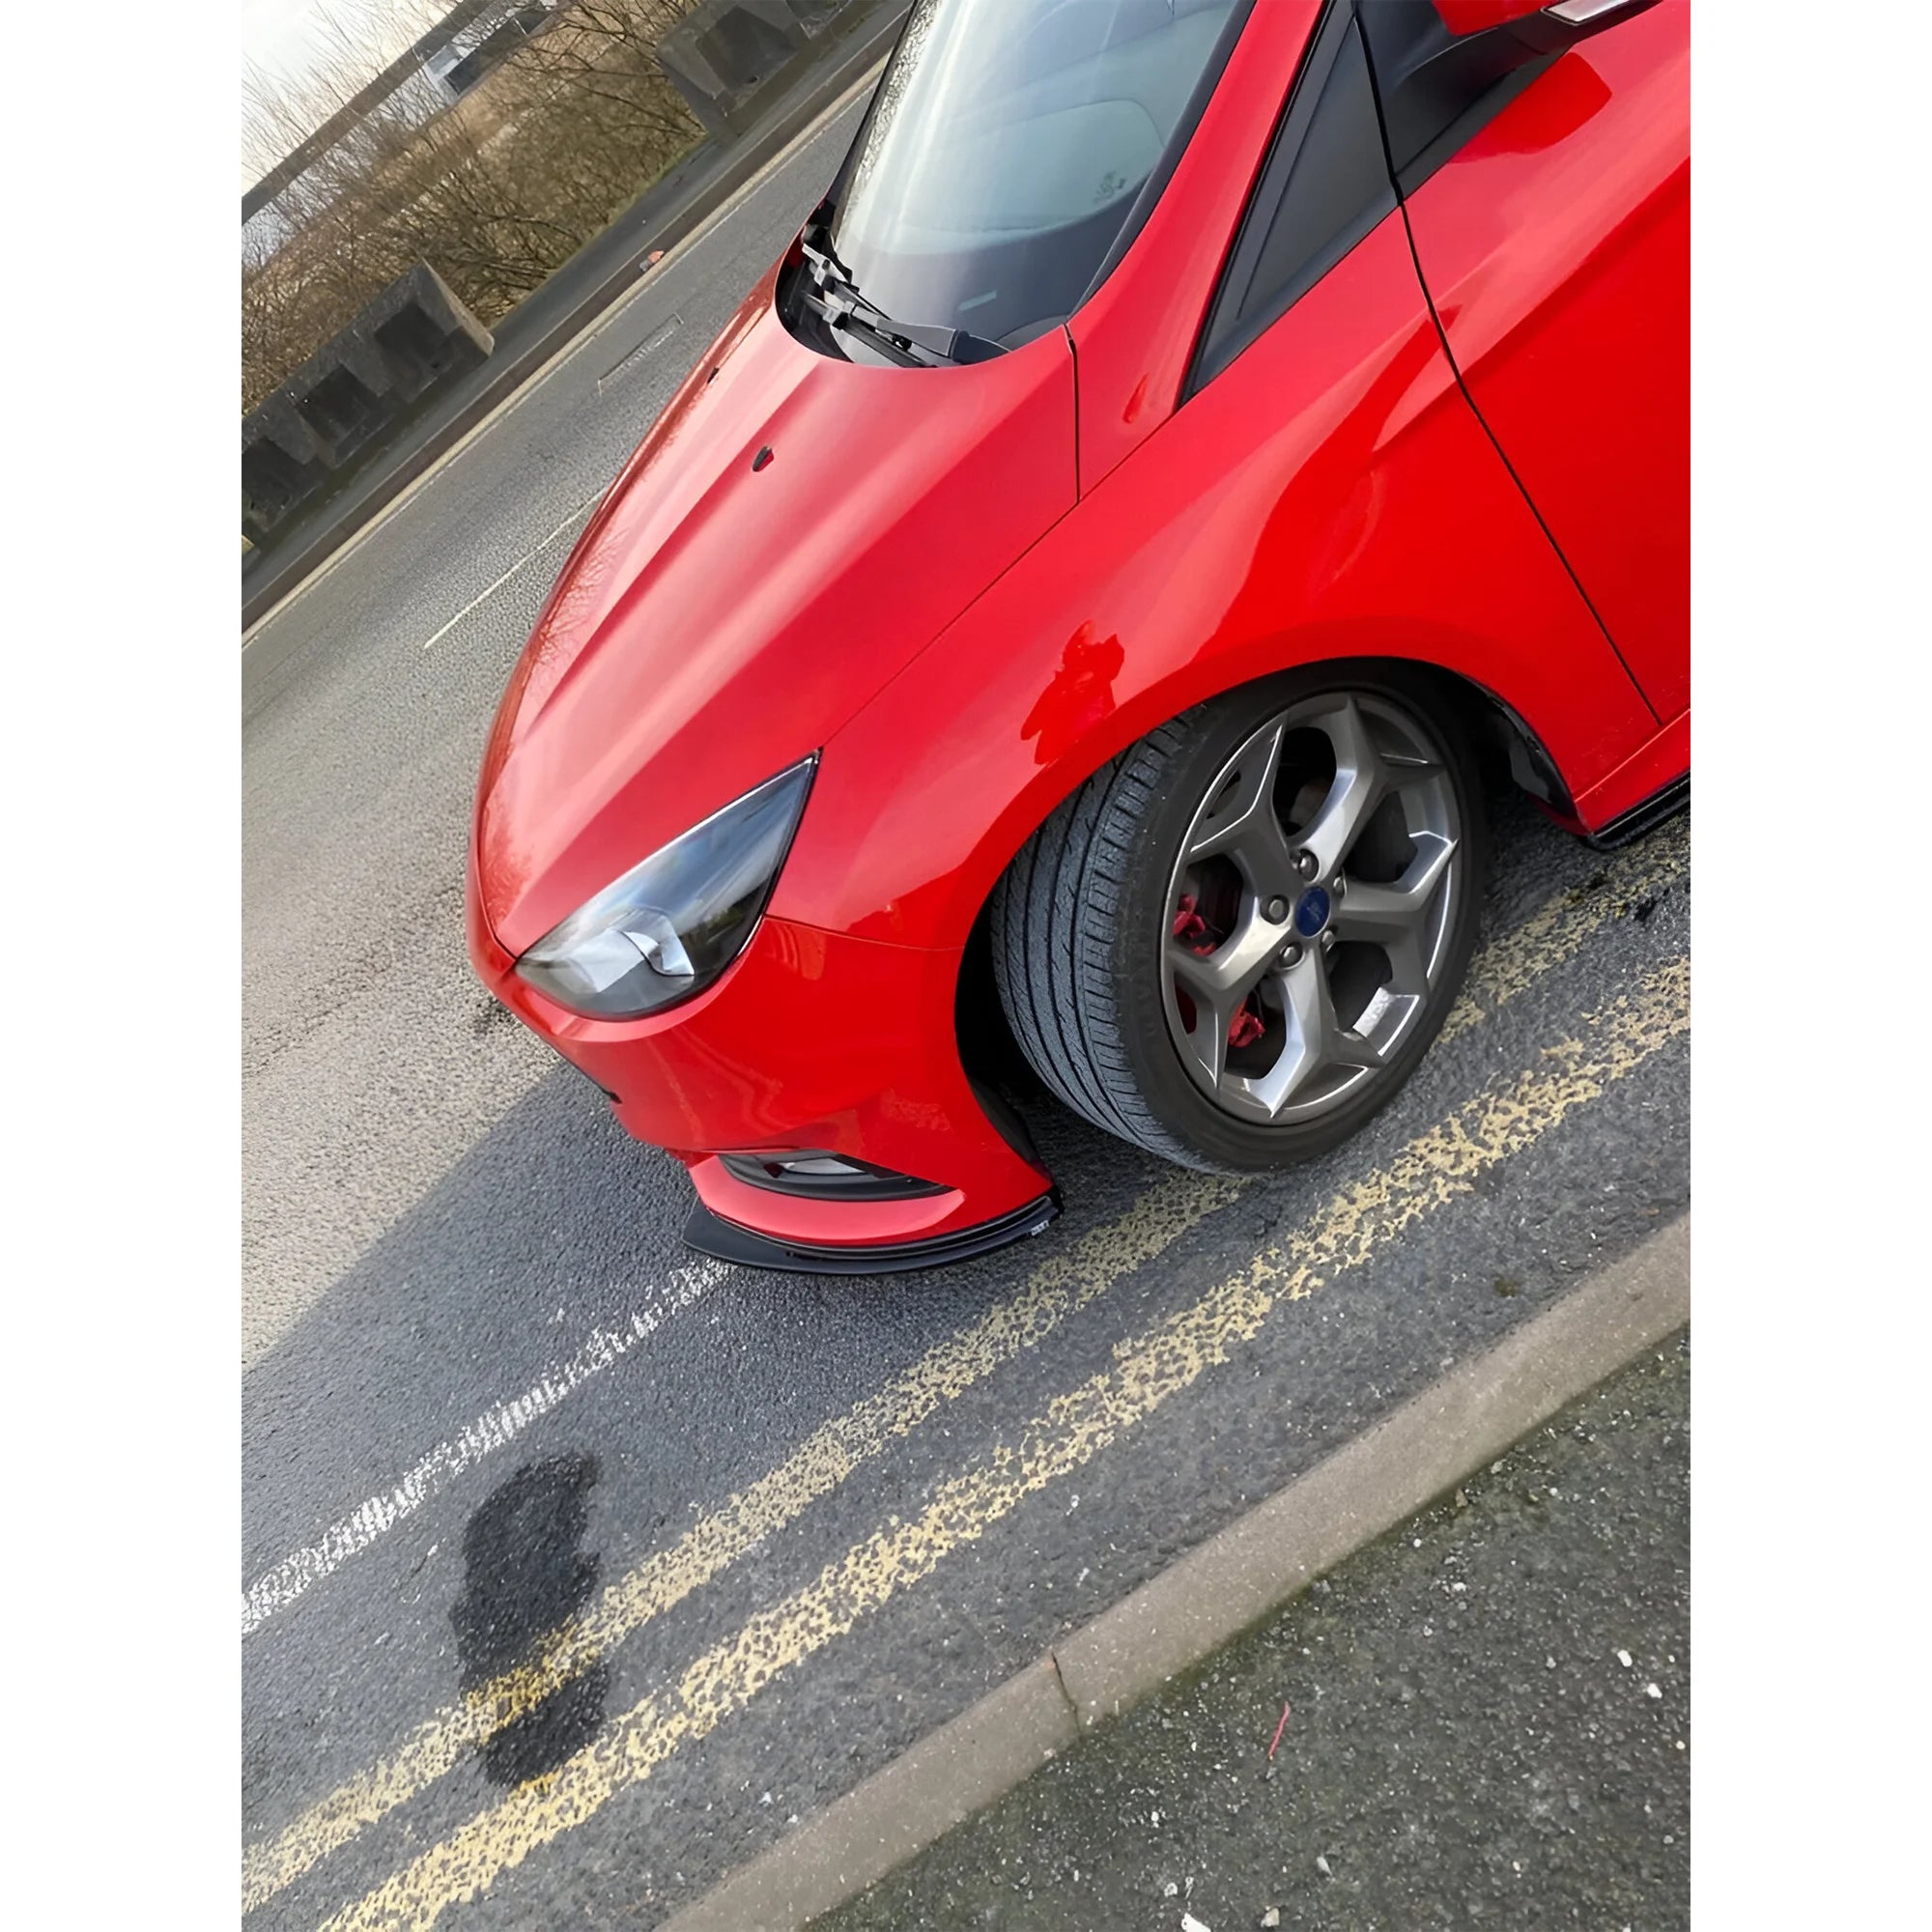
JDM cars have different crash bars behind the bumper than UK or European-spec cars. UK regulations require more substantial impact absorbers, which are physically bigger. When you buy a JDM kit and fit it to a UK-spec car, the bumper cannot sit flush against the fenders because it is bottoming out against a crash bar it was never designed for. No amount of trimming the outer edges fixes this. The kit was literally made around a different internal structure.
The same applies to US-spec kits fitted to UK cars, particularly with headlight washer housings and fog light cutouts that do not match.

Body Kit Materials: How They Affect Fitment Quality
The material your kit is made from determines how it behaves during installation, how much adjustment it needs, and whether it holds its shape over years of road use. Here is what you actually need to know.
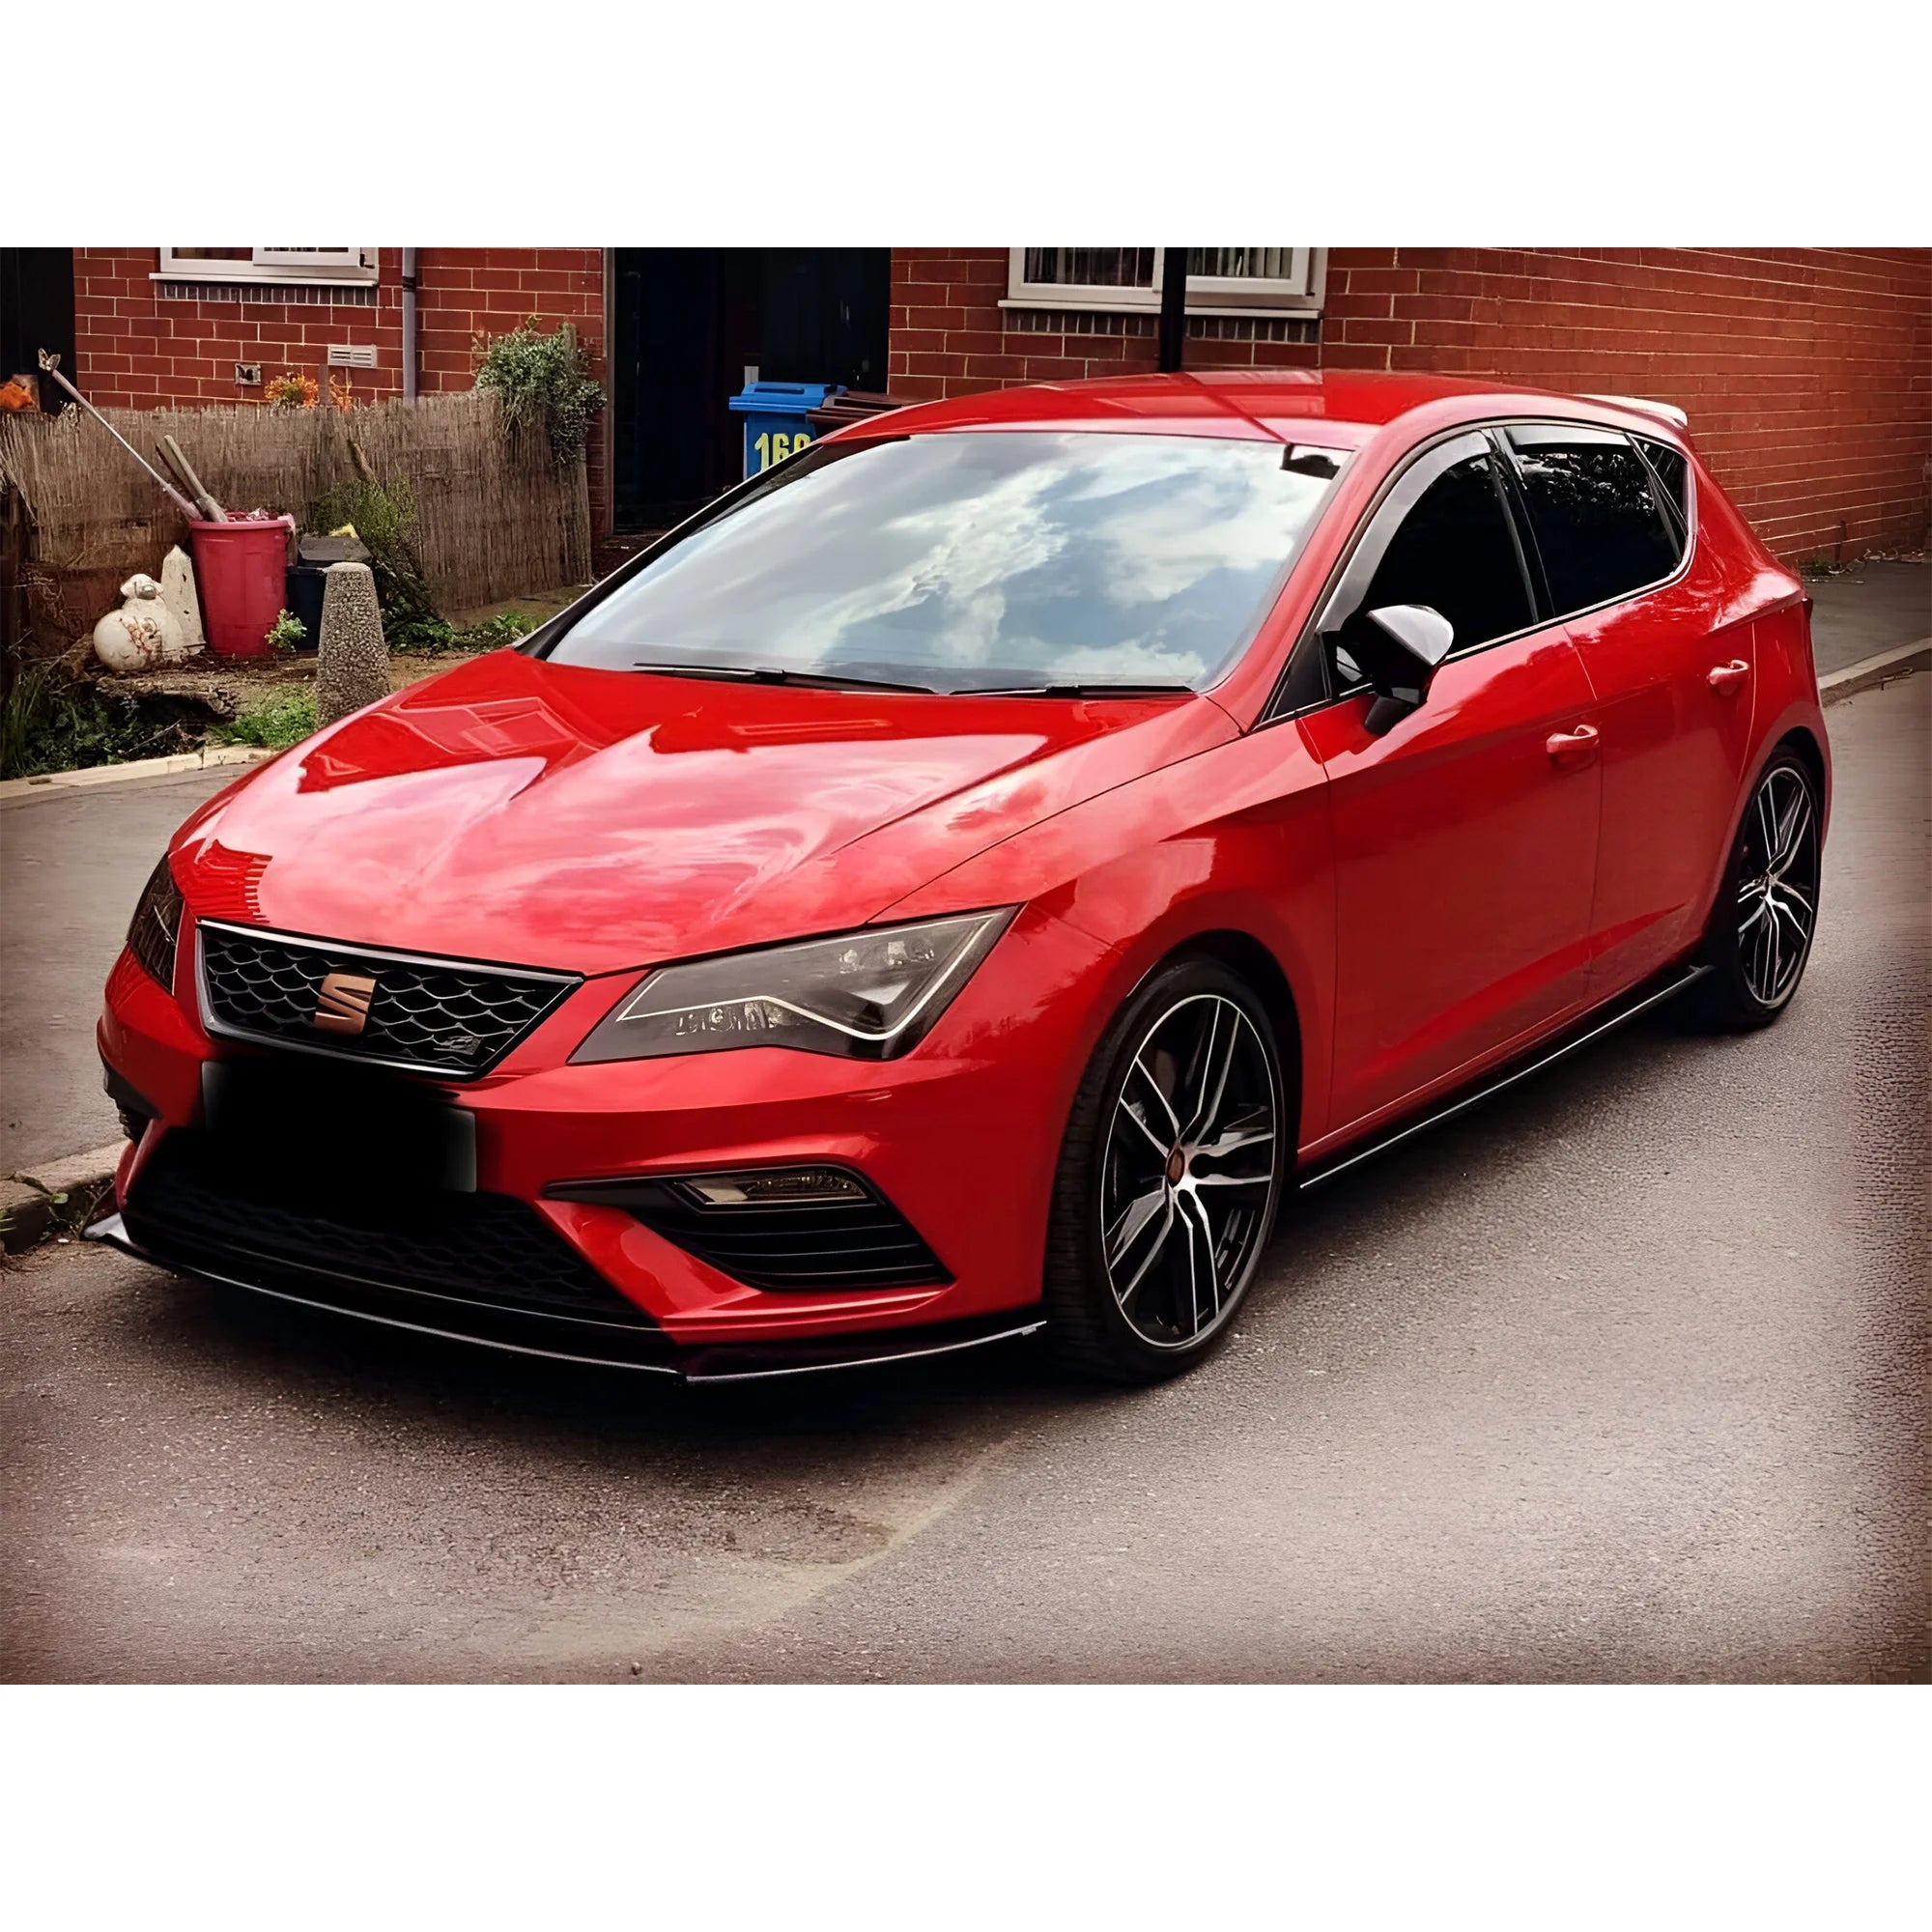
Polyurethane: The Best All-Round Choice for UK Roads
Polyurethane (PUR) is the closest thing to a perfect material for a daily-driven street car. It flexes instead of cracking when it hits a kerb or a speed bump, which matters a lot on UK roads where dropped kerbs and tight car parks are unavoidable. It also has good thermal stability, meaning it is less likely to develop surface ripples in direct summer sun or warp near the engine bay.
The downside is weight. A full polyurethane widebody kit can weigh significantly more than fibreglass equivalents, and the material has a "memory," meaning it can come out of shipping slightly warped. The fix for this is to use a heat gun to warm the part gently and allow it to return to its intended shape before you attempt a dry fit. Skipping this step is one of the most common reasons people report poor fitment straight from the box.

For UK buyers fitting a kit to a car used daily, polyurethane is almost always the right choice for street-facing panels.
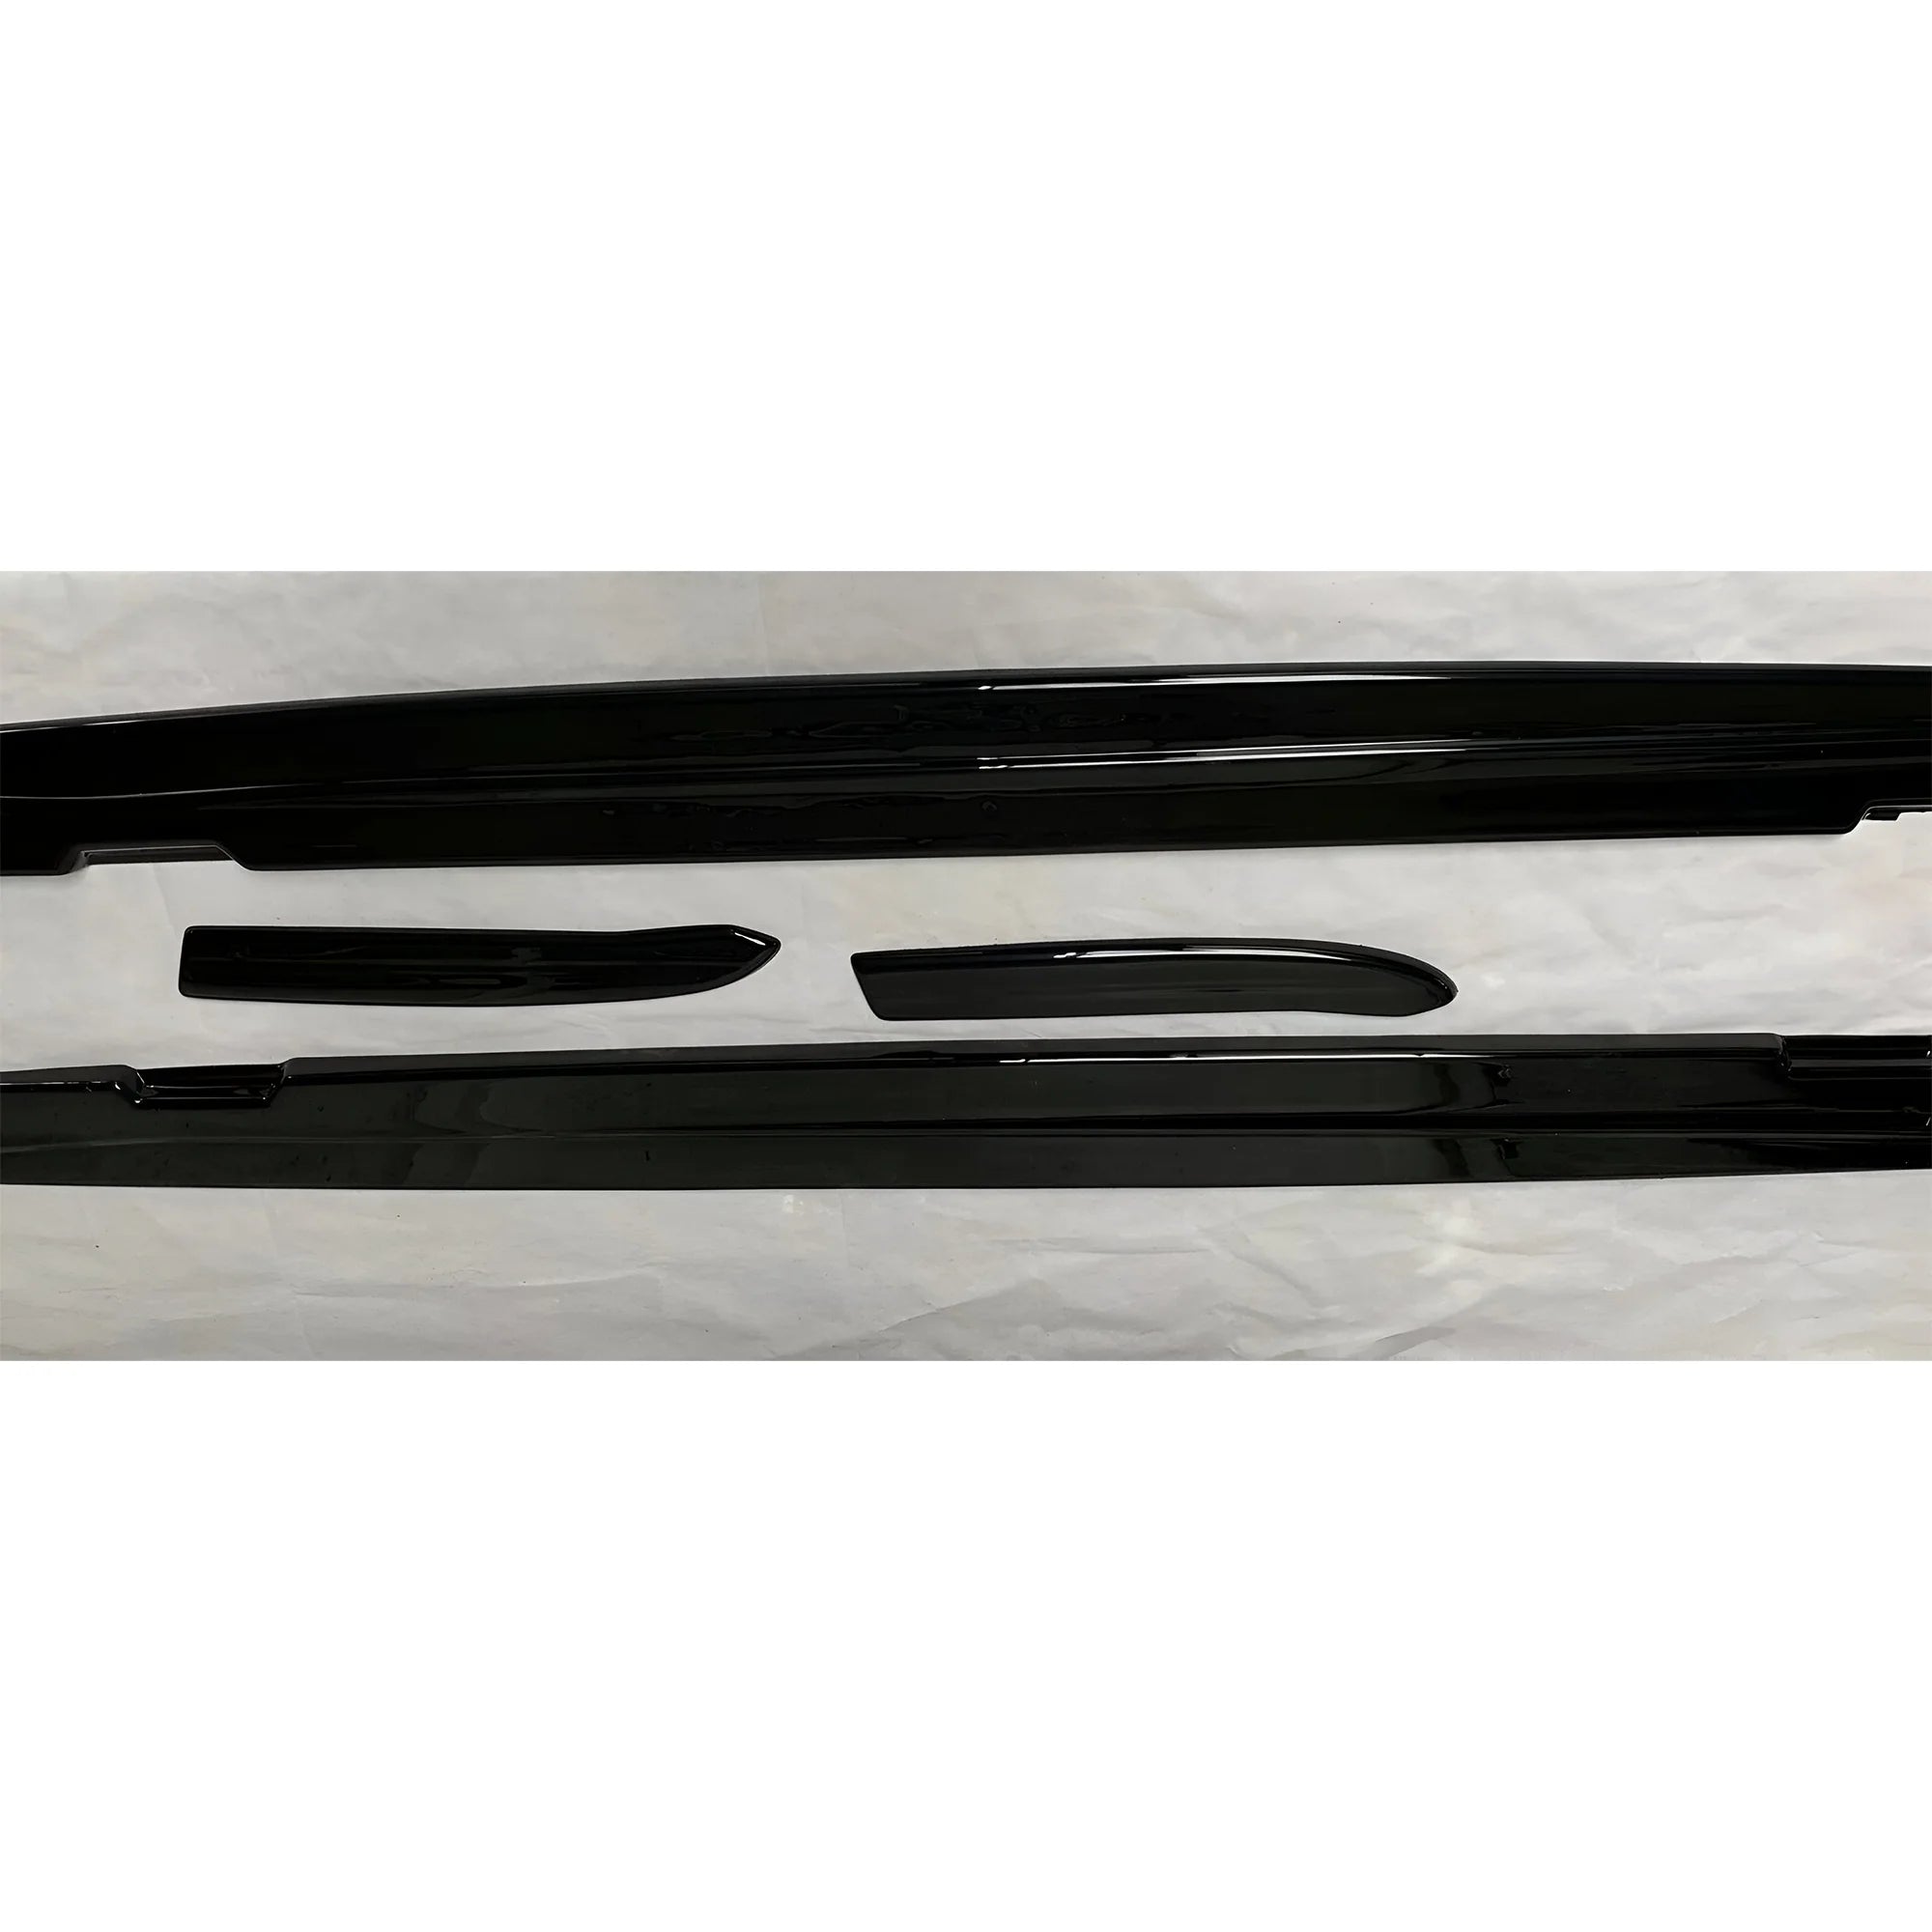
Fibreglass (FRP): Cheaper but Inconsistent
Fibreglass, or Fibre-Reinforced Plastic, is the most variable material in the aftermarket. Because many FRP kits are hand-laid in moulds, the resin thickness differs across the part. One corner might be 3mm thick, another 5mm. That variation alone causes fitment problems because the part is not dimensionally consistent.
FRP is also brittle. It does not flex; it cracks. At the dry-fitting stage, a fibreglass kit almost always needs "fettling," which means shaving edges, sanding high spots, and sometimes adding small amounts of resin to fill low areas. Budget at least a few extra hours of labour time if you are using a bodyshop, and budget the cost accordingly. A cheap fibreglass kit can easily become the most expensive option once you factor in the prep labour.
FRP does offer excellent rigidity, which is why it remains popular for track cars where ride comfort is not a priority, and the kit will not be expected to flex over road bumps.
ABS Plastic: OEM-Level Consistency
Acrylonitrile Butadiene Styrene plastic is injection-moulded, which means it is formed under controlled pressure and temperature every single time. The result is dimensional consistency that matches or approaches factory standards. High-quality manufacturers producing ABS kits use CAD data from the vehicle manufacturer to design their moulds, which means the part is engineered to the exact shape of the car it goes onto.
ABS kits typically need the least preparation work and produce the most consistent panel gaps. They are the go-to material for OEM-style styling upgrades where you want a factory-plus look rather than an aggressive track aesthetic.
Carbon Fibre: Precision at a Premium
Carbon fibre offers the best rigidity-to-weight ratio of any body kit material. Properly made carbon fibre parts are dimensionally stable even in high heat, which matters for splitters and front lips that sit close to the road and experience significant aerodynamic loads at speed.
A front splitter running at UK motorway speeds experiences real downforce, often in the range of 150 to 300 pounds, depending on the design and speed. Carbon fibre resists the flex that causes polyurethane or fibreglass splitters to develop permanent deformation over time. The trade-off is cost and the need for UV-clear coating to prevent yellowing, which adds to the ongoing maintenance expense.
Body Kit Fitment: Material Comparison Table
|
Material |
Manufacturing |
Fitment Consistency |
Impact Resistance |
Thermal Stability |
Best For |
|
Polyurethane (PUR) |
Injection moulded |
High (watch for shipping warp) |
Excellent (flexes) |
Moderate |
UK daily street use |
|
Fibreglass (FRP) |
Hand-laid |
Variable (prep required) |
Low (cracks) |
Low |
Track/budget builds |
|
ABS Plastic |
Injection moulded |
Very high |
Moderate |
High |
OEM+ styling |
|
Carbon Fibre |
Autoclave/vacuum |
Excellent |
High (rigid) |
Exceptional |
Performance/show |
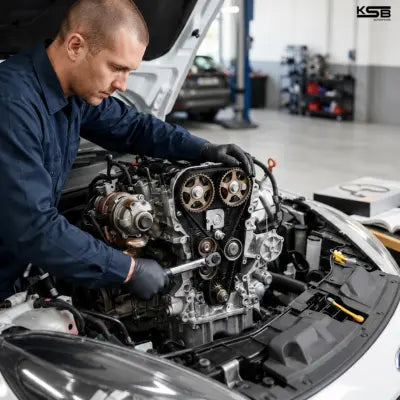
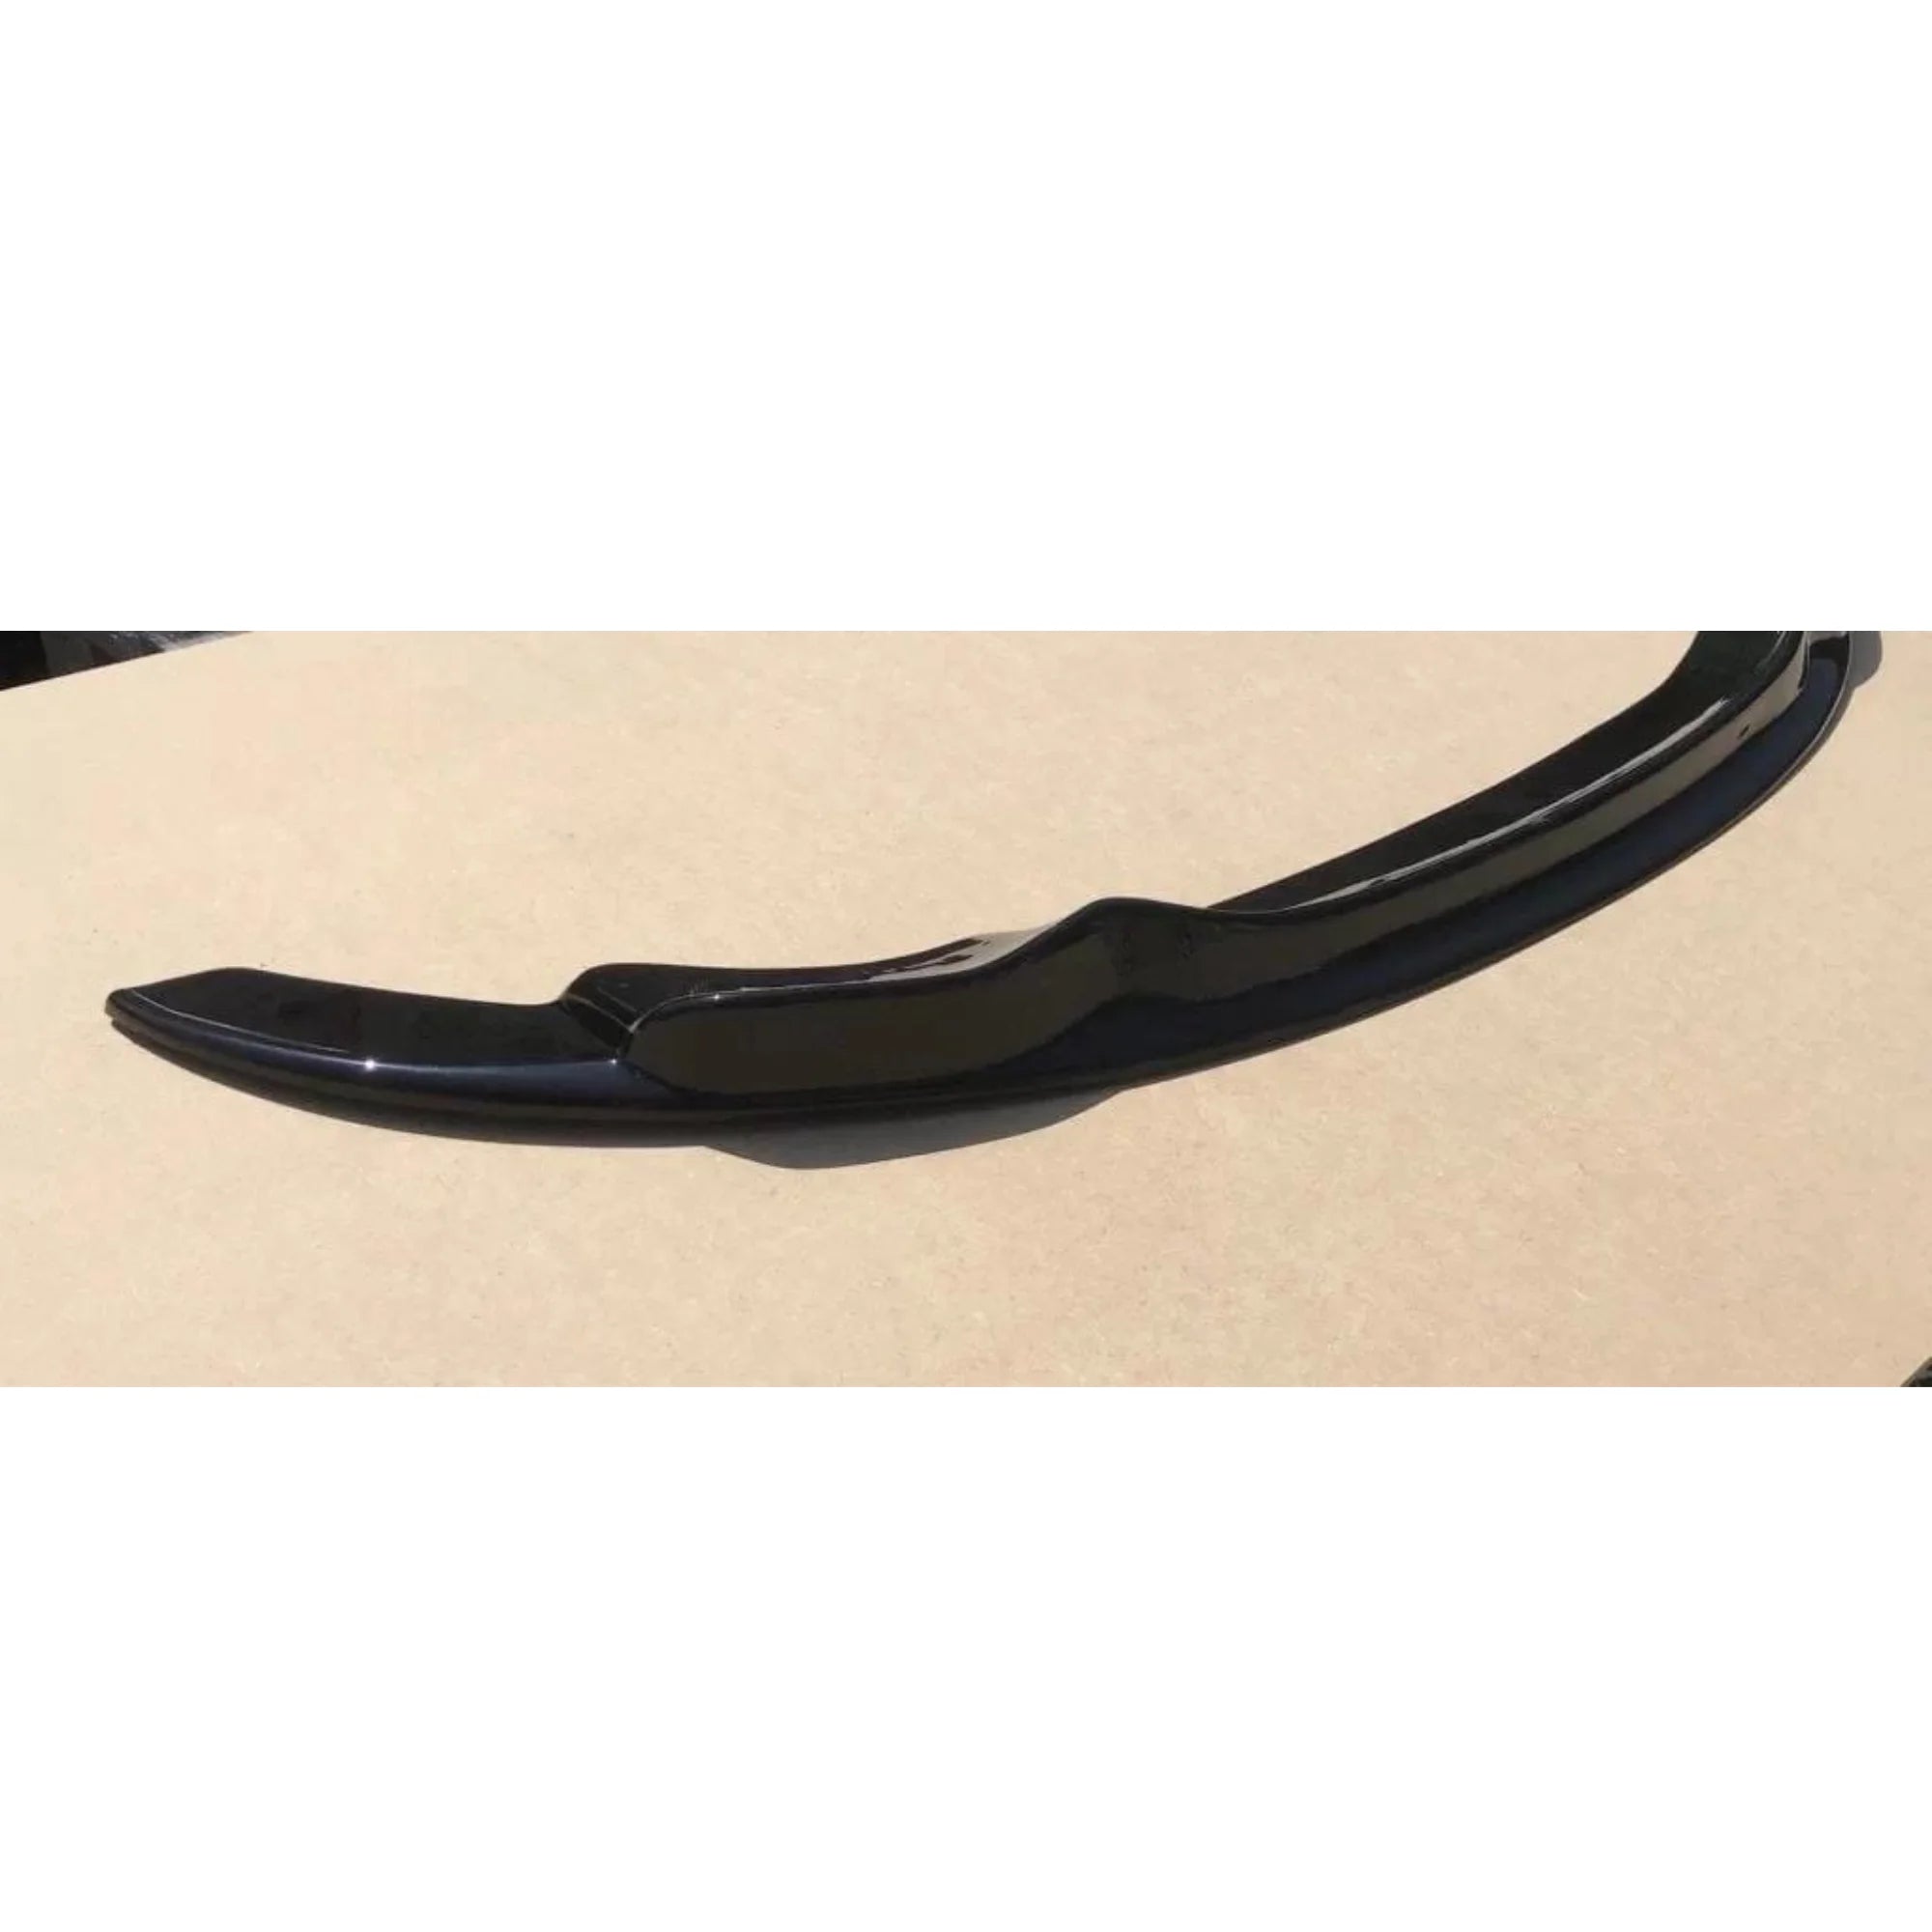
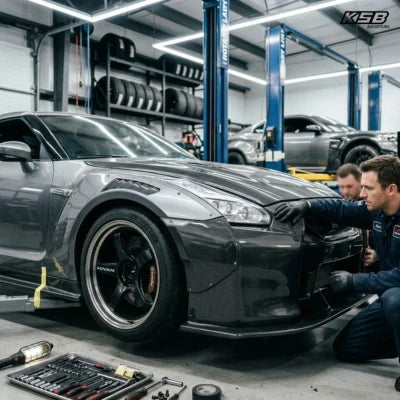
How Professionals Achieve Perfect Fitment: The Dry Fit Protocol
The single most important thing any installer can do, whether professional or DIY, is to complete a thorough dry fit before any paint is applied. This means mounting the entire kit to the car in its unpainted state, checking every gap and every mounting point, and marking or correcting any problem areas before committing to finish work.
Painting a kit that has not been dry-fitted and then discovering a gap that cannot be fixed without removing panels is an expensive mistake. Repainting even a single bumper in the UK typically costs between £250 and £500 once you factor in proper paint matching.
The dry fit process works like this. Remove all the factory panels that the kit replaces. Mount the new kit in position using its supplied clips and brackets, or temporary fasteners. Step back and check each panel gap carefully, both by eye and with a gap gauge if you have one. Note every point where the kit is binding against the chassis or wheel liner, where it is lifting away from the body, and where the gaps are uneven side to side.
Use those observations to trim interference zones on the hidden inner edges of the kit, elongate mounting holes to allow the panel to shift slightly in the correct direction, and use a heat gun to reshape any warped areas. Repeat until the gaps are consistent and the panel sits flush.
The Cleco Pin Technique
One technique rarely discussed outside professional fabrication circles is the use of Cleco fasteners. These are temporary, spring-loaded pins originally from aerospace manufacturing. They hold panels together with a strong clamping force through small pilot holes, letting you check symmetry and gap consistency across the whole car without committing to permanent fasteners.
Using Clecos means you can temporarily "rivet" the kit in place, check the entire car at once, make adjustments by drilling new pilot holes, and then remove the kit for painting. When it comes back from paint, you reinstall it in exactly the same position by reusing those pilot holes. The final rivets or bolts go into holes that were already proven to give perfect alignment.
Body Kit Fitment: Professional Installation Tips at a Glance
|
Tool or Method |
What It Does |
Why It Matters |
|
Heat gun |
Reshapes warped polyurethane |
Corrects shipping warp before paint |
|
Cleco pins |
Temporary panel alignment |
Ensures final holes are in the right place |
|
Adhesion promoter |
Prepares the surface for 3M tape |
Makes tape-on skirts last years, not weeks |
|
Ovalized mounting holes |
Allows lateral adjustment |
Closes hood-to-bumper and fender gaps |
|
Panel gap gauge |
Measures gap consistency |
Reveals problems invisible to the eye |
|
Stainless M6/M8 bolts with fender washers |
Permanent mounting |
Distributes aerodynamic load correctly |
Body Kit Fitment and Modern ADAS Sensors: The New Challenge
This is the area where most competitor blogs fall completely short. They mention sensors in passing but never explain the actual problem. Here is what is really happening.
Why Modern Bumpers Are Not Simple Plastic Covers
Cars built after approximately 2018 increasingly carry Advanced Driver Assistance Systems behind their bumpers. Radar units for adaptive cruise control and blind-spot monitoring sit behind the front and rear bumpers. Ultrasonic parking sensors sit flush with the outer surface. Cameras for 360-degree parking systems are integrated into grilles or lower valances.
When you replace or modify any of these panels, you are not just fitting a new piece of plastic. You are changing the housing of sensors that govern safety-critical functions.
Radar Signal Interference
Radar sensors work by sending radio waves through the bumper material and reading the reflections. Fibreglass, depending on its thickness and resin composition, can attenuate or bend that signal, causing false readings or system failure. Metallic paints applied too heavily over a radar sensor's field of view can reflect the signal back and trigger fault codes, typically appearing as communication errors in the B1xxx or U0xxx range.
If you are fitting an aftermarket bumper to a car with front radar, the area of the bumper in front of that sensor must either remain unpainted or be coated with specialist radar-transparent paint. This is not optional. A working radar sensor behind a metal-flake paint job is a radar sensor that no longer works reliably.
Parking Sensor Depth: The Bezel Shadow Problem
Aftermarket bumpers are often slightly thicker than the OEM parts they replace. If a parking sensor that was designed to sit flush with a 4mm-thick OEM bumper wall is now recessed 7mm deep in a thicker aftermarket bumper, the edges of the hole catch the ultrasonic wave. The sensor then thinks there is an object a few inches from the car all the time.
This is the real reason people complain about parking sensors beeping constantly after a bumper change. The fix is to carefully shave the back face of the bumper around each sensor hole so the sensor can sit at the correct depth, flush with the outer surface. This must be done with precision because you are working from the inside on a part that is already painted on the outside.
ADAS Recalibration Is Not Optional
Any change to the vehicle's ride height or front-end geometry requires recalibration of cameras and radar. This includes adding a heavy polyurethane kit that sits lower on the nose, lowering the car on coilovers after fitting a kit, or any front-end work that alters where the sensor is pointing.
A forward-facing camera that is tilted down by just one degree can misread the distance to a vehicle ahead by several metres at motorway speeds. In the UK, failing to recalibrate ADAS after significant bodywork creates a genuine insurance liability.
According to the Institute of the Motor Industry, there is already a shortage of technicians qualified to perform ADAS calibration in the UK, which is why booking in advance with a specialist is strongly advised. Costs typically run between £150 and £350 per calibration session, depending on the system complexity.
As UK specialists like KSB Autostyling note, altering bumpers and sensors can affect vehicle crash structures, pedestrian safety ratings, and ADAS function, all of which have legal implications beyond just aesthetics.
UK Legal Requirements: MOT, IVA, and Insurance
MOT Failure Points for Body Kits
The MOT does not ban body kits. It checks whether the modification has made the car unsafe or unroadworthy. The most common failure points for modified cars are:
Insecure panels
Any spoiler, splitter, or side skirt that wobbles when pushed by hand is a safety hazard and an automatic failure. The test requires panels to be firmly attached with no risk of detachment at speed.
Sharp projections
UK pedestrian safety regulations require that exterior modifications do not have sharp, un-rounded edges. Aggressive canards or wing endplates with knife-sharp edges are common culprits. A simple radius around the edge, even a small one, satisfies this requirement.
Light obstruction
Kits must not block the beam pattern of headlights or obstruct the visibility of indicators and brake lights from the angles specified in the regulations.
Tyre contact
A widebody kit that causes tyres to touch the wheel arch through the full range of steering movement will fail. MOT testers check this actively.

The 10-Year IVA Rule for Imported JDM Cars
Any vehicle under 10 years old imported to the UK must pass the Individual Vehicle Approval test before it can be registered. The IVA is substantially more rigorous than an MOT. It requires specific glass standards, documented noise levels for the exhaust, and defined radii on all exterior edges. Many JDM body kits will fail an IVA without modification, often requiring rubber edging on splitters and a significant amount of additional work.
Once a car is over 10 years old, it only requires a standard MOT, which explains why the UK's most aggressive JDM builds are almost always on older cars like the R33/R34 Skyline or early 2000s Evo and Impreza generations.
Insurance: The Modification Declaration You Cannot Skip
In UK law, a body kit is a "material modification" to your vehicle. Every single component, from a front lip spoiler to a rear diffuser to a full widebody conversion, must be declared to your insurer. This applies even if you think it is a subtle change.
Cosmetic alterations like body kits, spoilers, alloy wheels, or even a bumper sticker are considered modifications that must be declared, as well as technical mods like parking sensors. Failing to disclose any of these can result in your policy being voided, meaning that if you have an accident, your insurer has grounds to reject the claim entirely.
The practical steps are simple. Keep every invoice and photograph related to the kit purchase and installation. Contact your insurer before fitting, not after. Get confirmation of the change in writing. If your current insurer will not cover the modification at a fair price, specialist modified-car insurance brokers often offer agreed-value policies that properly reflect what your car is worth with the kit fitted.
UK Body Kit Installation Costs: 2025 and 2026 Figures
The purchase price of a body kit is rarely the full cost of the project. Labour and paint are where most of the budget goes. Here is what to realistically expect in the UK market.
Cost Breakdown Table
|
Service |
Typical UK Cost (2025/26) |
Notes |
|
Front/rear bumper prep, prime and paint |
£250 to £600 |
Requires professional paint matching |
|
Full body kit installation (prep, fit, paint) |
£1,500 to £4,500 |
Typically 15 to 25 labour hours |
|
ADAS sensor recalibration |
£150 to £350 per system |
Requires specialist equipment |
|
Fibreglass kit prep and fettling (before prime) |
£200 to £400 additional |
Labour to correct manufacturing defects |
|
Carbon fibre UV-clear coating |
£300 or more per panel |
Prevents yellowing of exposed carbon |
|
Minor repair to the kit (scratch or small crack) |
£60 to £250 |
Localized bodywork |
Why Cheap Kits Are Often More Expensive
A budget fibreglass kit purchased for £400 can easily cost £600 to £800 more in labour than a quality ABS kit purchased for £800. The body shop has to correct the manufacturing defects before it can even prime the part. When you add paint, labour, and the additional prep time, the total project cost for the cheap kit frequently exceeds what you would have spent on a better kit from the start.
This is why professional installers consistently recommend spending more on the part itself and less on trying to fix a badly made one at the bodyshop stage.
Polyurethane vs Fibreglass: Detailed Head-to-Head
|
Comparison Point |
Polyurethane |
Fibreglass |
|
Out-of-box fitment |
Good, but check for shipping warp |
Variables often need fettling |
|
Impact resistance |
Flexes and recovers |
Cracks and requires repair |
|
Weight |
Heavier than FRP |
Lighter than PUR |
|
Prep time for paint |
Lower |
Higher (more sanding and filling) |
|
Long-term durability on UK roads |
Excellent for daily use |
Good for track/show, avoid daily kerbs |
|
Total project cost (inc. labour) |
Lower in most cases |
Often higher due to prep labour |
|
Recommended use |
Daily driver, street use |
Track cars, show builds |
The Complete Dos and Don'ts of Body Kit Fitment
Body Kit Fitment: What You Should Always Do
Always dry-fit before painting
No exceptions. Fitting a painted part and discovering a gap that requires trimming means repainting, which adds hundreds of pounds to the project cost.
Use an adhesion promoter on tape-mounted skirts
If your side skirts are being attached partly or fully with 3M body tape, adhesion promoter is the difference between a panel that stays on for years and one that starts peeling within a few weeks, especially in cold and wet UK winters.
Use quality stainless steel fasteners
The self-tapping screws often included in body kit boxes are not designed for long-term structural loads. Replace them with stainless M6 or M8 bolts with large fender washers to spread the load across a wider area of the panel.
Confirm your car's regional spec before buying
Check whether the kit was designed for JDM, US, or European-spec cars. The internal bumper support structure differs between markets and is the most common reason a kit that looks right on paper does not fit in practice.
Get ADAS recalibrated professionally
If your car has radar, cameras, or ultrasonic sensors in any panel you are changing, recalibration is required. Skipping this creates a safety hazard and an insurance liability.
Declare the kit to your insurer before fitting
Not after. Not eventually. Before.
Body Kit Fitment: What You Must Never Do
Never use expanding foam to fill gaps
This appears on Reddit and automotive forums as a quick fix. It is not. Expanding foam traps moisture against metal, accelerating rust, and as it expands, it can actually push panels further out of alignment than they were before. The structural integrity of the installation becomes compromised, and the problem is much harder to fix.
Never paint a kit without a flex additive in the paint
Aftermarket plastic and rubber parts flex during normal driving. Paint applied without a flex agent will crack along high-flex areas, typically at the corners of bumpers, within weeks of fitting.
Never apply paint too soon after moulding.
Plastics and resins outgas for several days after manufacture. If a fresh part is painted too quickly, trapped gases cause the paint surface to bubble, a problem called solvent pop. Allow new parts to off-gas for at least 48 to 72 hours before priming.
Never eyeball drill holes
A hole that is 2mm off centre creates a visible permanent gap that cannot be adjusted away once the panel is mounted. Use a template, use Cleco pins to mark position first, or have the holes drilled after final dry-fit alignment is confirmed.
Never assume "universal fit" parts actually fit your specific car
Universal splitters are flat. Modern bumpers are curved. Forcing a flat part onto a curved bumper creates internal stress that will cause the part to crack or the bumper to deform over time. Vehicle-specific parts almost always produce better results.
What Downforce Actually Does to Your Splitter
A front splitter at 70 mph (UK motorway legal limit) experiences meaningful downforce. Depending on the design and depth, this can be anywhere from 50 to 300 pounds of downward force pressing on the front of the splitter. That force tries to rotate the splitter forward, levering against its mounting points.
A splitter mounted only with two small bolts through the bumper face is going to fail. Splitters need support rods or cables running back to the radiator support or a subframe-mounted bracket to resist that rotational load. Carbon fibre splitters resist deformation under this load far better than polyurethane or fibreglass ones, which is why they dominate track applications.
The Paint Cure Window You Are Probably Skipping
Even professional bodyshops sometimes rush this. A freshly painted body kit panel needs time for the paint to fully cure before the car is driven at speed. Water-based basecoat and clearcoat systems used by most UK shops typically reach handling strength within hours, but full cross-link curing takes 30 days. During this period, the paint is susceptible to scratching, pressure marks from clips, and stress cracking at mounting points.
Aggressive driving, pressure washing, or fitting tight clips onto a freshly painted panel within the first few days risks marking or cracking the finish. Let fresh paint cure for a minimum of 48 to 72 hours before normal road use, and avoid pressure washing for at least two weeks.
Final Thoughts: Fitment Is a Structural Issue, Not a Cosmetic One
A gap in a body kit is not just an eyesore. It signals internal stress on mounting points, potential aerodynamic disruption, or a misaligned sensor that may not be working correctly. Getting fitment right requires understanding the material, knowing your car's exact spec, doing a thorough dry-fit, and never rushing the paint process.
In the UK, where roads are demanding, regulations are strict, and insurance requirements are clear, cutting corners on body kit installation is almost always the most expensive approach in the long run. A quality polyurethane or ABS kit, professionally dry-fitted and painted with proper preparation, will look better, last longer, pass its MOT, and hold its value far better than a cheap fibreglass kit rushed to completion.
Take the time. Do the dry-fit. Declare the modification. And if your car has ADAS sensors behind any panel you are changing, get them recalibrated by a qualified technician before driving on the road.
Information in this article references publicly available data from the Institute of the Motor Industry, UK MOT regulations, and specialist UK automotive bodywork pricing. For vehicle-specific advice on UK-legal body kit modifications, consult a qualified installer and your insurance provider before making any changes.
FAQs
Why does my aftermarket bumper not line up with my fenders?
This is almost always one of three things. The kit was designed for a different regional spec than your car (check JDM vs UK spec first). The underlying bumper mounting points on your car are slightly misaligned from a previous bump or poorly done repair. Or the kit itself has a manufacturing variance that needs correcting with hole elongation and careful adjustment during dry-fitting. Start with a thorough dry-fit and work through each gap systematically rather than trying to force it into position.
Can I use expanding foam to fill body kit gaps?
No. Do not do this. Expanding foam traps moisture against your car's metal structure and causes rust from the inside out. It also expands unevenly, which can push already-tight panels further out of alignment. If you have a gap that needs filling, the correct solution is to identify why the gap exists during the dry-fit phase and fix the root cause, whether that is a misaligned mounting point, a warped panel, or a hole that needs adjusting.
How do I fix side skirts that keep falling off?
Side skirts peel away for two reasons: inadequate surface preparation before applying the 3M tape, or skirts being used without any mechanical fastener backup. Clean the mounting surface with IPA wipe-down, apply a thin coat of adhesion promoter to the vehicle body where the tape will contact it, and allow it to become tacky before pressing the skirt on firmly. For best results, use a combination of body tape and small self-tapping screws through the inner lip, hidden from view, for mechanical backup.
Do body kits pass the MOT?
A body kit itself is not an MOT failure. The MOT checks whether the result of fitting it creates a safety problem. The most common failures are insecure panels (anything that wobbles), sharp, unradiused edges, obstruction of lights, and tyre contact with wheel arches. A kit that is securely fitted, has no sharp edges, and does not obstruct lighting or cause tyre rub will pass.
Does fitting a body kit invalidate my car insurance?
Not automatically, but failing to declare it to your insurer does. A body kit is a material modification under UK insurance law. You must tell your insurer before fitting. If you have an accident and your insurer discovers an undeclared kit, they have grounds to void your policy, which means no payout and potential legal consequences for driving uninsured.
How much does professional body kit installation cost in the UK?
For a basic lip kit (front lip, side skirts, rear diffuser) on a straightforward car, expect to pay £1,500 to £2,500, including paint. A more complex full bumper conversion with ADAS calibration can run £2,500 to £4,500. A full widebody conversion with custom arch work is typically £4,000 to £8,000 or more, depending on the work required. These are 2025 and 2026 figures based on UK market rates.
Why are my parking sensors constantly beeping after fitting a new bumper?
This is the bezel shadow problem. The new bumper is likely thicker than the OEM one, causing the parking sensors to sit recessed further into the panel than they should. The edge of the hole around the sensor is catching the ultrasonic wave and causing false readings. The fix is to carefully shave or countersink the back face of the bumper around each sensor hole so the sensor face sits at or very close to the outer surface of the bumper.
Will a JDM body kit fit my UK-spec car?
Not always without modification. UK-spec cars have different crash bars behind the bumpers compared to JDM cars. The JDM bumper was designed around a slimmer crash bar, and when fitted to a UK car with a bulkier impact absorber, it cannot sit flush against the fenders. In some cases, the crash bar needs reshaping or replacing with a JDM equivalent, though this has safety and insurance implications you need to be aware of before making that decision.
Can body kit fitment affect my car's aerodynamics?
Yes, significantly. A front splitter that is mounted too high does not generate the ground effect it is designed to produce. A rear diffuser with uneven mounting creates asymmetric airflow that can cause unpredictable behaviour at speed. More practically, a kit with panels sitting proud of the body line creates drag and lift at speed. Proper fitment is not just cosmetic; it is directly related to whether the aerodynamic design of the kit actually does what it is supposed to do.
Why are my parking sensors beeping constantly after fitting a new bumper?
This is often caused by the 'bezel shadow' effect. Aftermarket bumpers are typically thicker than OEM parts, causing the sensor to sit too deep. The sensor then detects the edge of the bumper hole as an obstacle. Shaving the back of the bumper so the sensor sits flush usually fixes the issue.
Do body kits pass the MOT test in the UK?
Yes, provided they are safe. A body kit will only fail an MOT if it has insecure panels that wobble, sharp edges that could injure pedestrians, obstructs the lights, or causes the tyres to rub against the wheel arches.