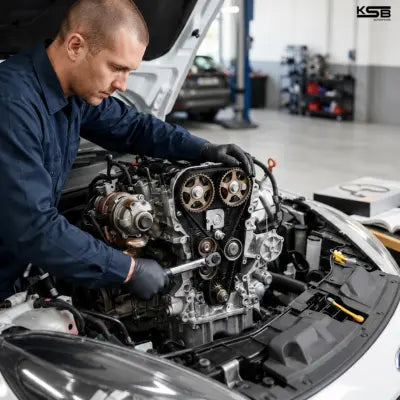

How to Install a Body Kit. A Beginner Guide
To install a body kit, remove factory bumpers and skirts, do dry-fitting of all new parts, align and mark mounting points, drill carefully, prepare surfaces, secure parts with a combination of fasteners and tape, and finish with clearance and alignment checks.
What Installing a Body Kit Means
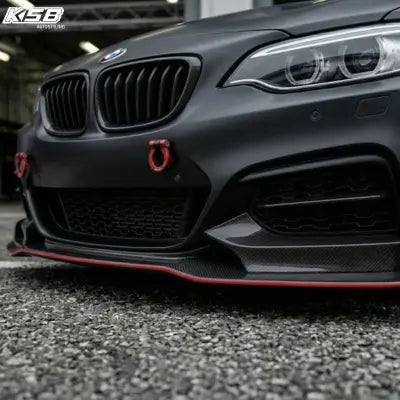
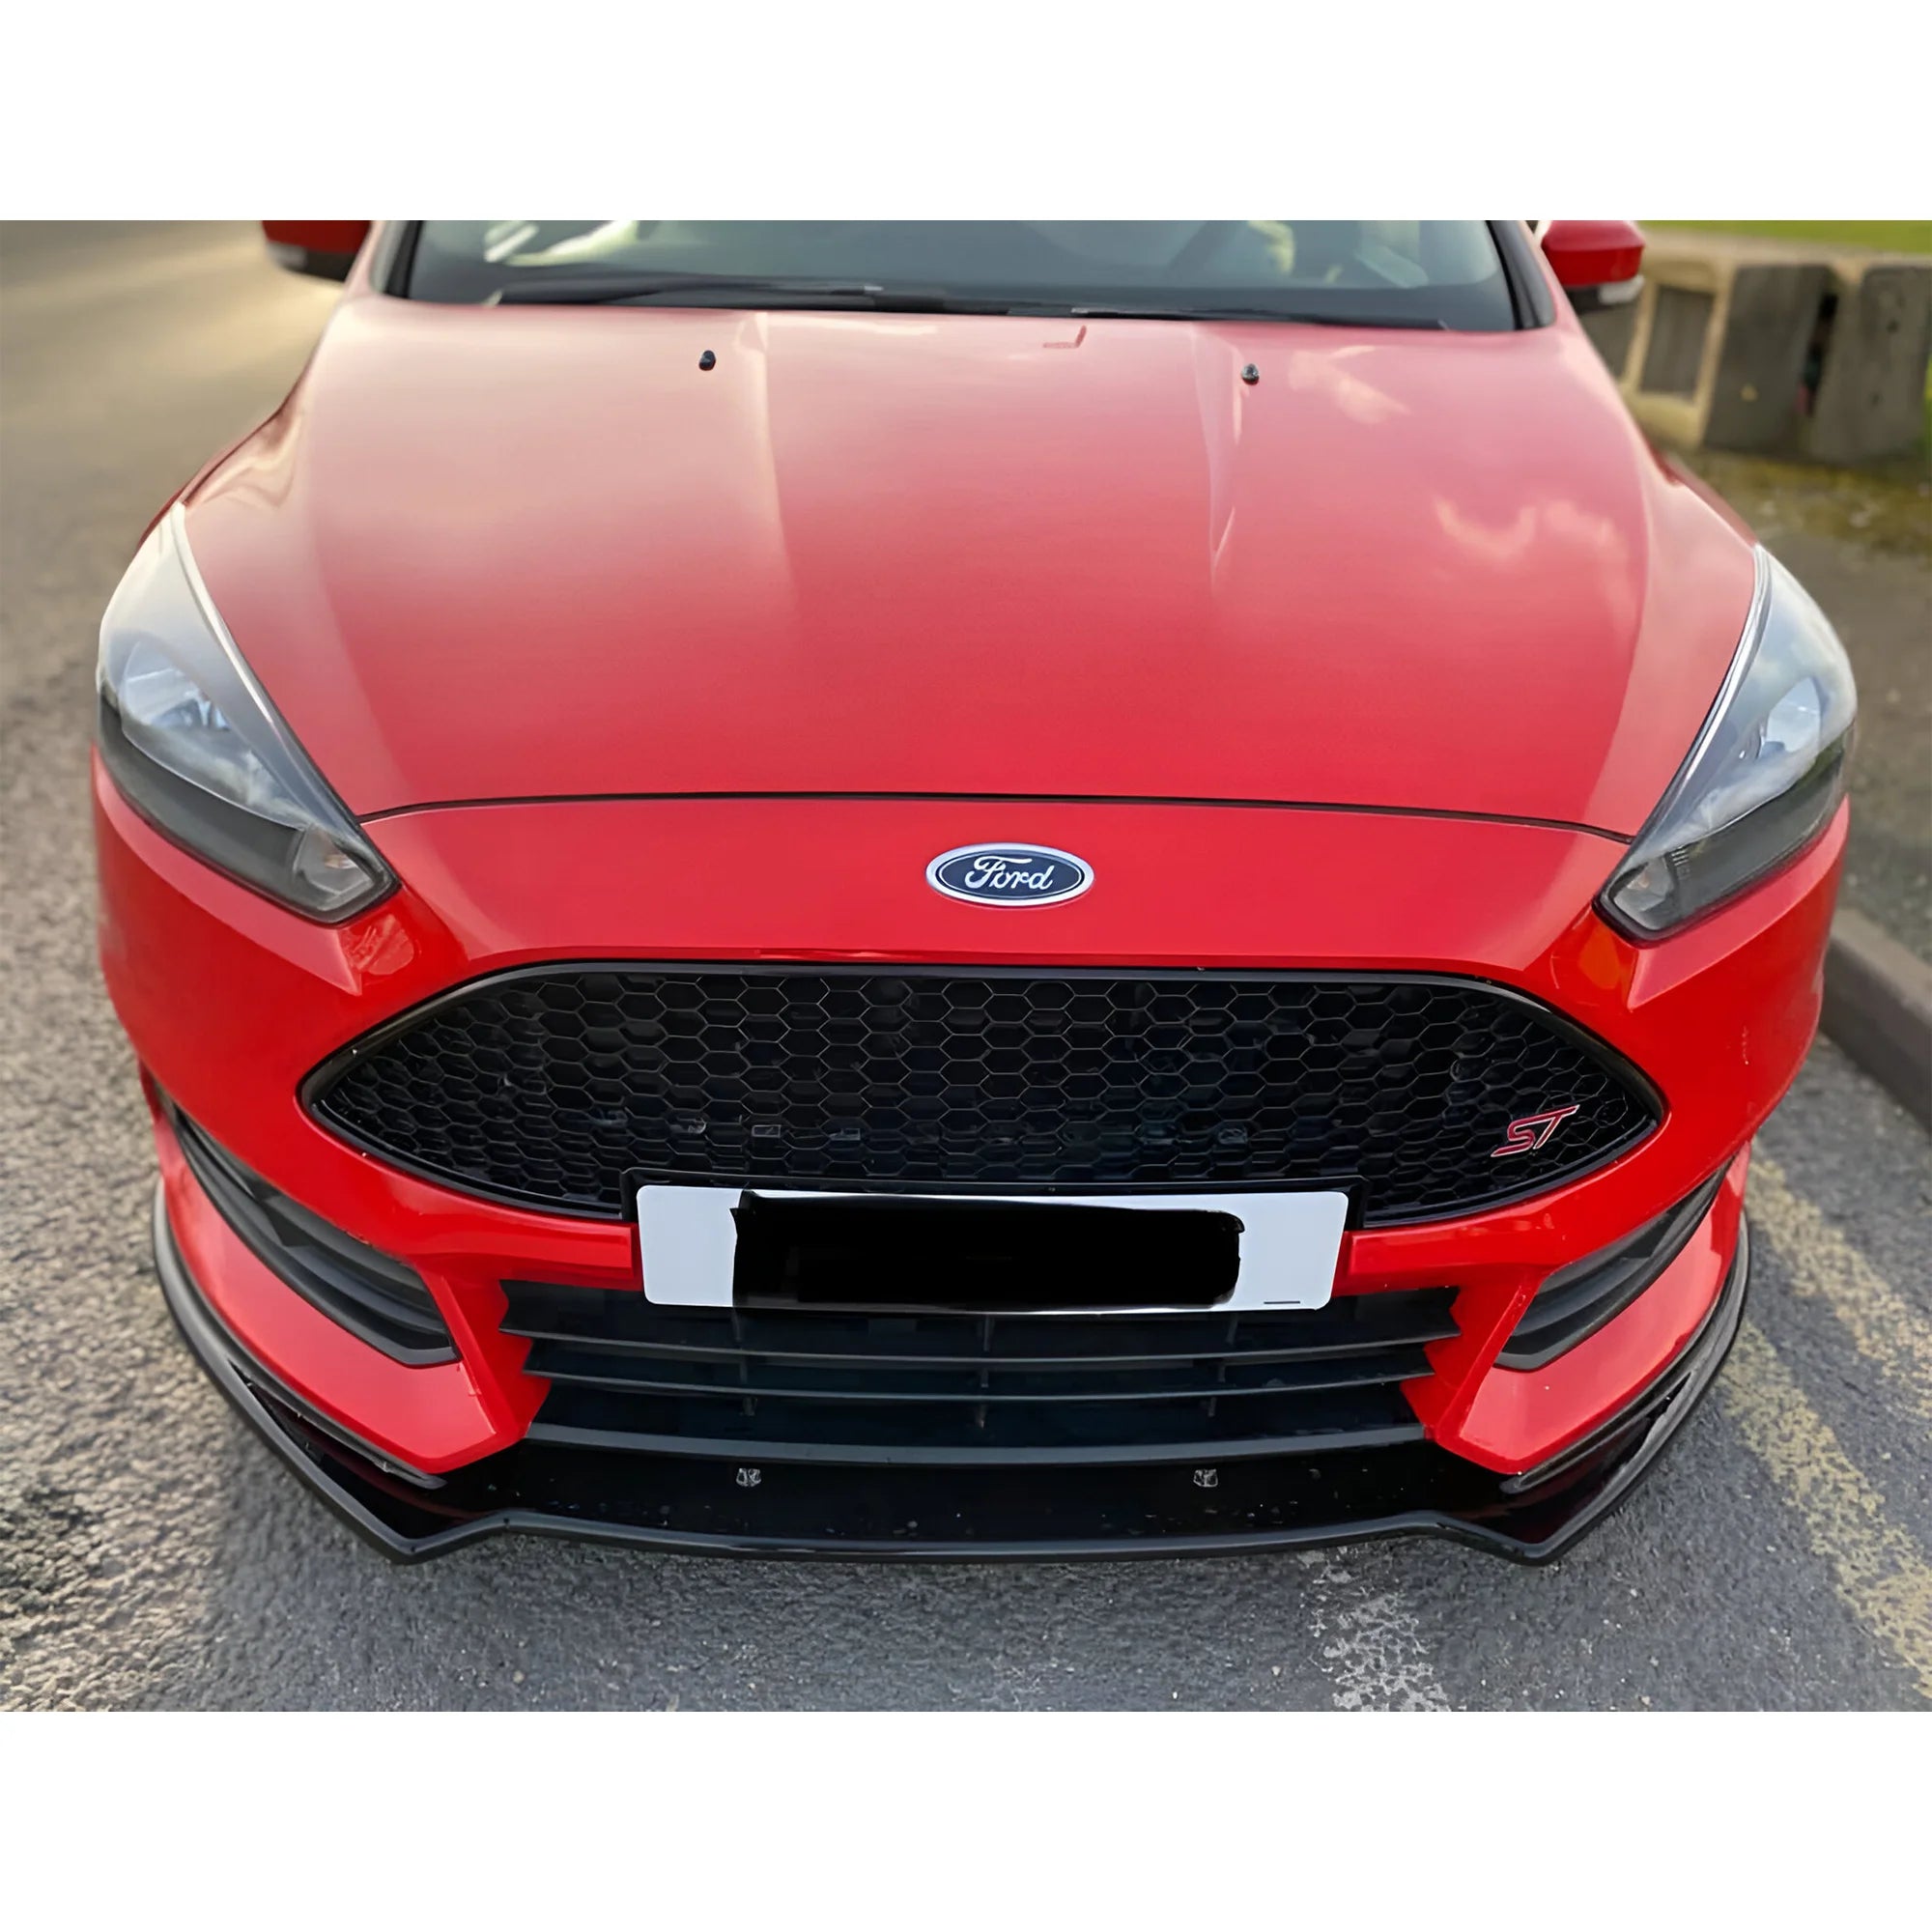
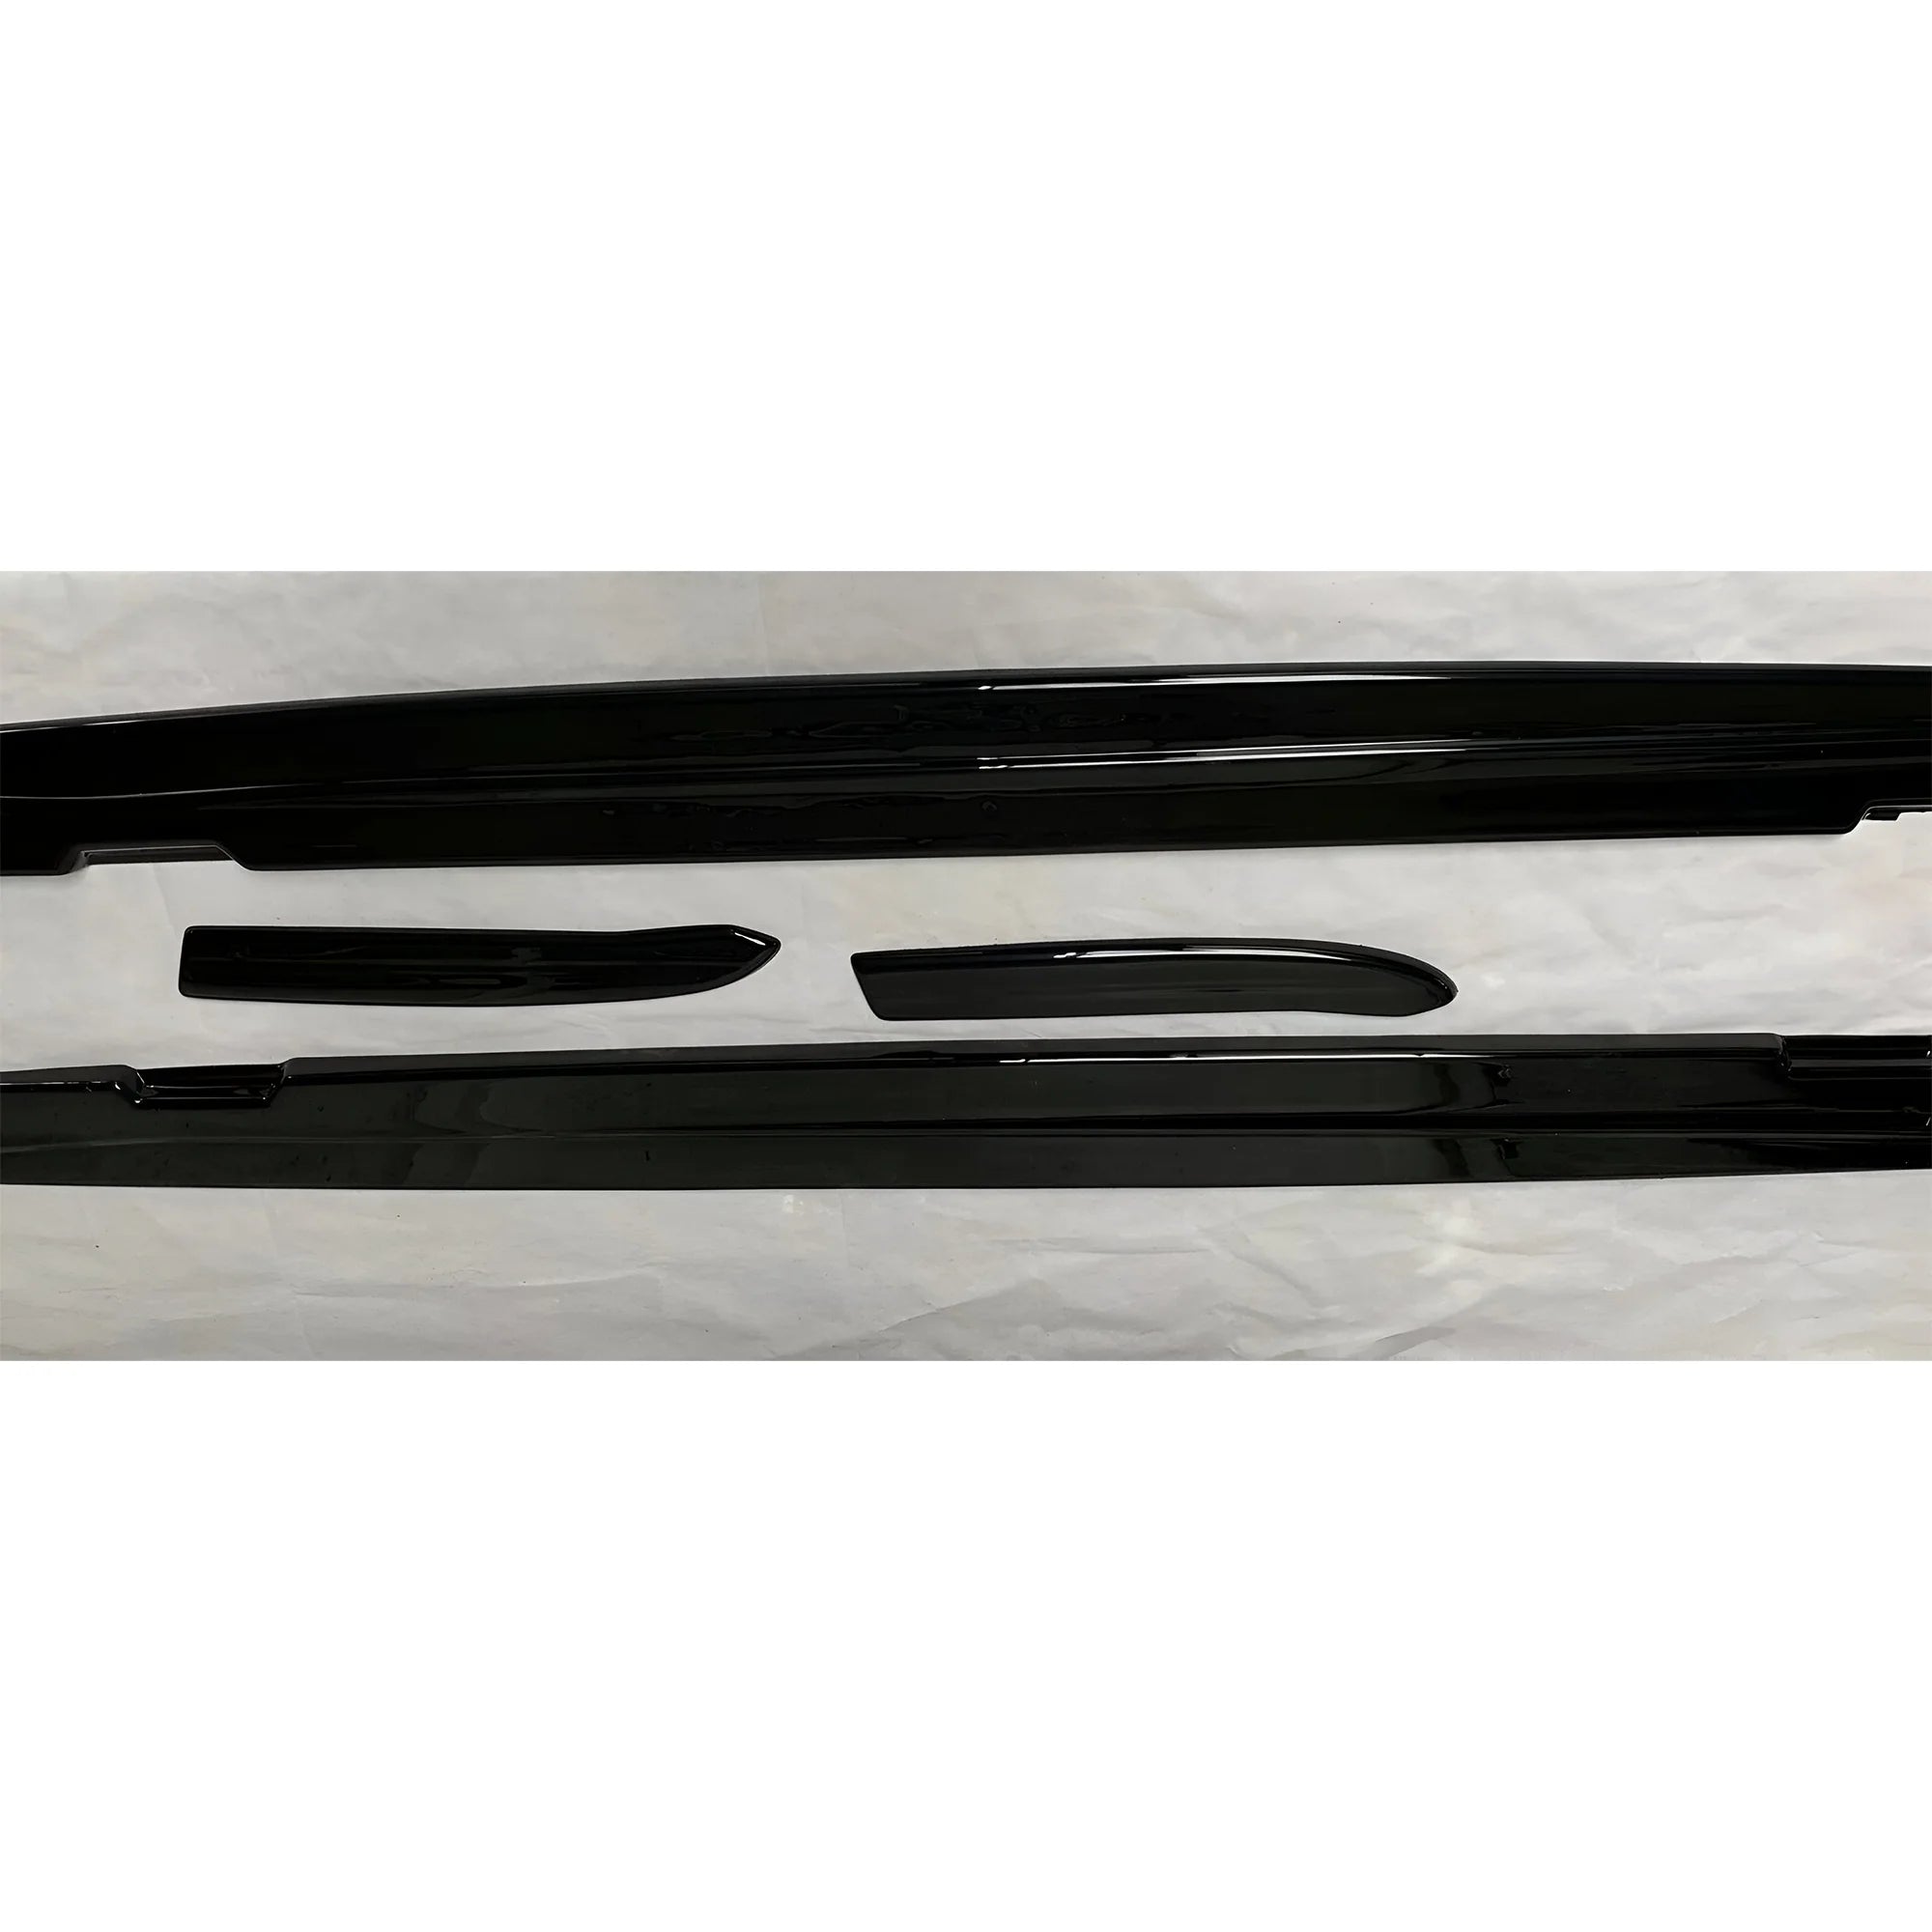
Installing a body kit is not just about attaching cosmetic parts to your car. It is a structural exterior modification that replaces or extends factory-installed panels. A typical body kit includes a front bumper or front lip, side skirts, and a rear bumper or diffuser. Some kits also include spoilers, splitters, or fender extensions.
When people search for how to install a body kit, they are usually looking for clarity on three things. How difficult the process is, what mistakes to avoid, and whether it can be done safely at home. The answer depends heavily on the type of kit, the material, and the car model.
Is Installing a Body Kit Hard for Beginners
For beginners, installing a body kit can be done, but only with patience and a bit of skill. Full bumper replacements and widebody kits increase difficulty because alignment, drilling accuracy, and paint quality matter more, while the lip body kits can be installed with little or no experience.
The most common reason beginners struggle is rushing the process. Body kit installation rewards slow, careful work and precise measuring. Anyone willing to take the time and follow the manual can successfully apply the body kit to their car.
Lip Kit vs Full Body Kit Installation
A lip kit is attached to the factory-installed bumper and follows the existing body lines. Its installation is mainly focused on positioning and a more secure mounting. While a full body kit replaces the whole factory bumper and skirts, which also requires transferring sensors, lights, and a few additional mounting points, it is also drilled.
Lip kits are ideal for first-time installers, while full-body kits require more preparation and are best approached only after understanding dry fitting and alignment.
Best Body Kit Material for Daily Driving
Material choice affects installation difficulty, durability, paint longevity, and how forgiving the kit is when mistakes are made. The table below compares the most common body kit materials using real-world factors.
Body Kit Material Comparison
|
Type of Material |
Flexibility |
Impact Resistance |
Crack Risk |
Install Difficulty |
Fitment Consistency |
Paint Adhesion |
Repair Ease |
Daily Driver Friendly |
|
ABS Plastic |
Medium |
Medium to High |
Low |
Easy |
Good |
Good |
Medium |
Yes |
|
Polyurethane |
High |
Very High |
Very Low |
Easy to Medium |
Very Good |
Medium |
Medium |
Yes |
|
Fiberglass |
Low |
Low |
High |
Medium to Hard |
Variable |
Excellent |
Easy |
No |
|
Carbon Fiber |
Very Low |
Medium |
Medium |
Hard |
Good |
Clear coat dependent |
Hard |
No |
|
Composite Hybrid |
Medium |
High |
Low |
Medium |
Very Good |
Good |
Medium |
Polyurethane and ABS are best for daily-driven cars because they tolerate flex and vibration. Fibreglass works for show builds but cracks more easily. Carbon fibre is lightweight but unforgiving.
Tools You Need Before Installing a Body Kit
Installing a body kit requires more than basic tools. You should expect to drill, measure, clean surfaces, and lift the car safely. Proper tools prevent broken clips, uneven mounting, and paint damage. Here is a list of tools you may require while installing a body kit:
Basic Tools for Installing a Body Kit
- Socket set, screwdrivers
- Trim removal tools (for clips)
- Jack and stands or ramps
- Drill and drill bits
- Tape measure and masking tape
- Marker or paint pen
- Microfiber cloths
Must-Have Installation Supplies for Installing a Body Kit
- Automotive double-sided tape (high-quality)
- Adhesion promoter (especially for plastics)
- Isopropyl alcohol or panel wipe
- Washers and extra clips
- Rust protection spray for drilled metal
What Dry Fitting Means and Why It Is Mandatory
Dry fitting means placing every body kit component on the car before paint or permanent mounting to confirm alignment, reveal clearance issues, and identify where trimming or adjustments are needed.
Skipping dry fitting is the most common reason body kit installations fail. Even high-quality kits benefit from test fitting. Once paint is applied, mistakes become costly.
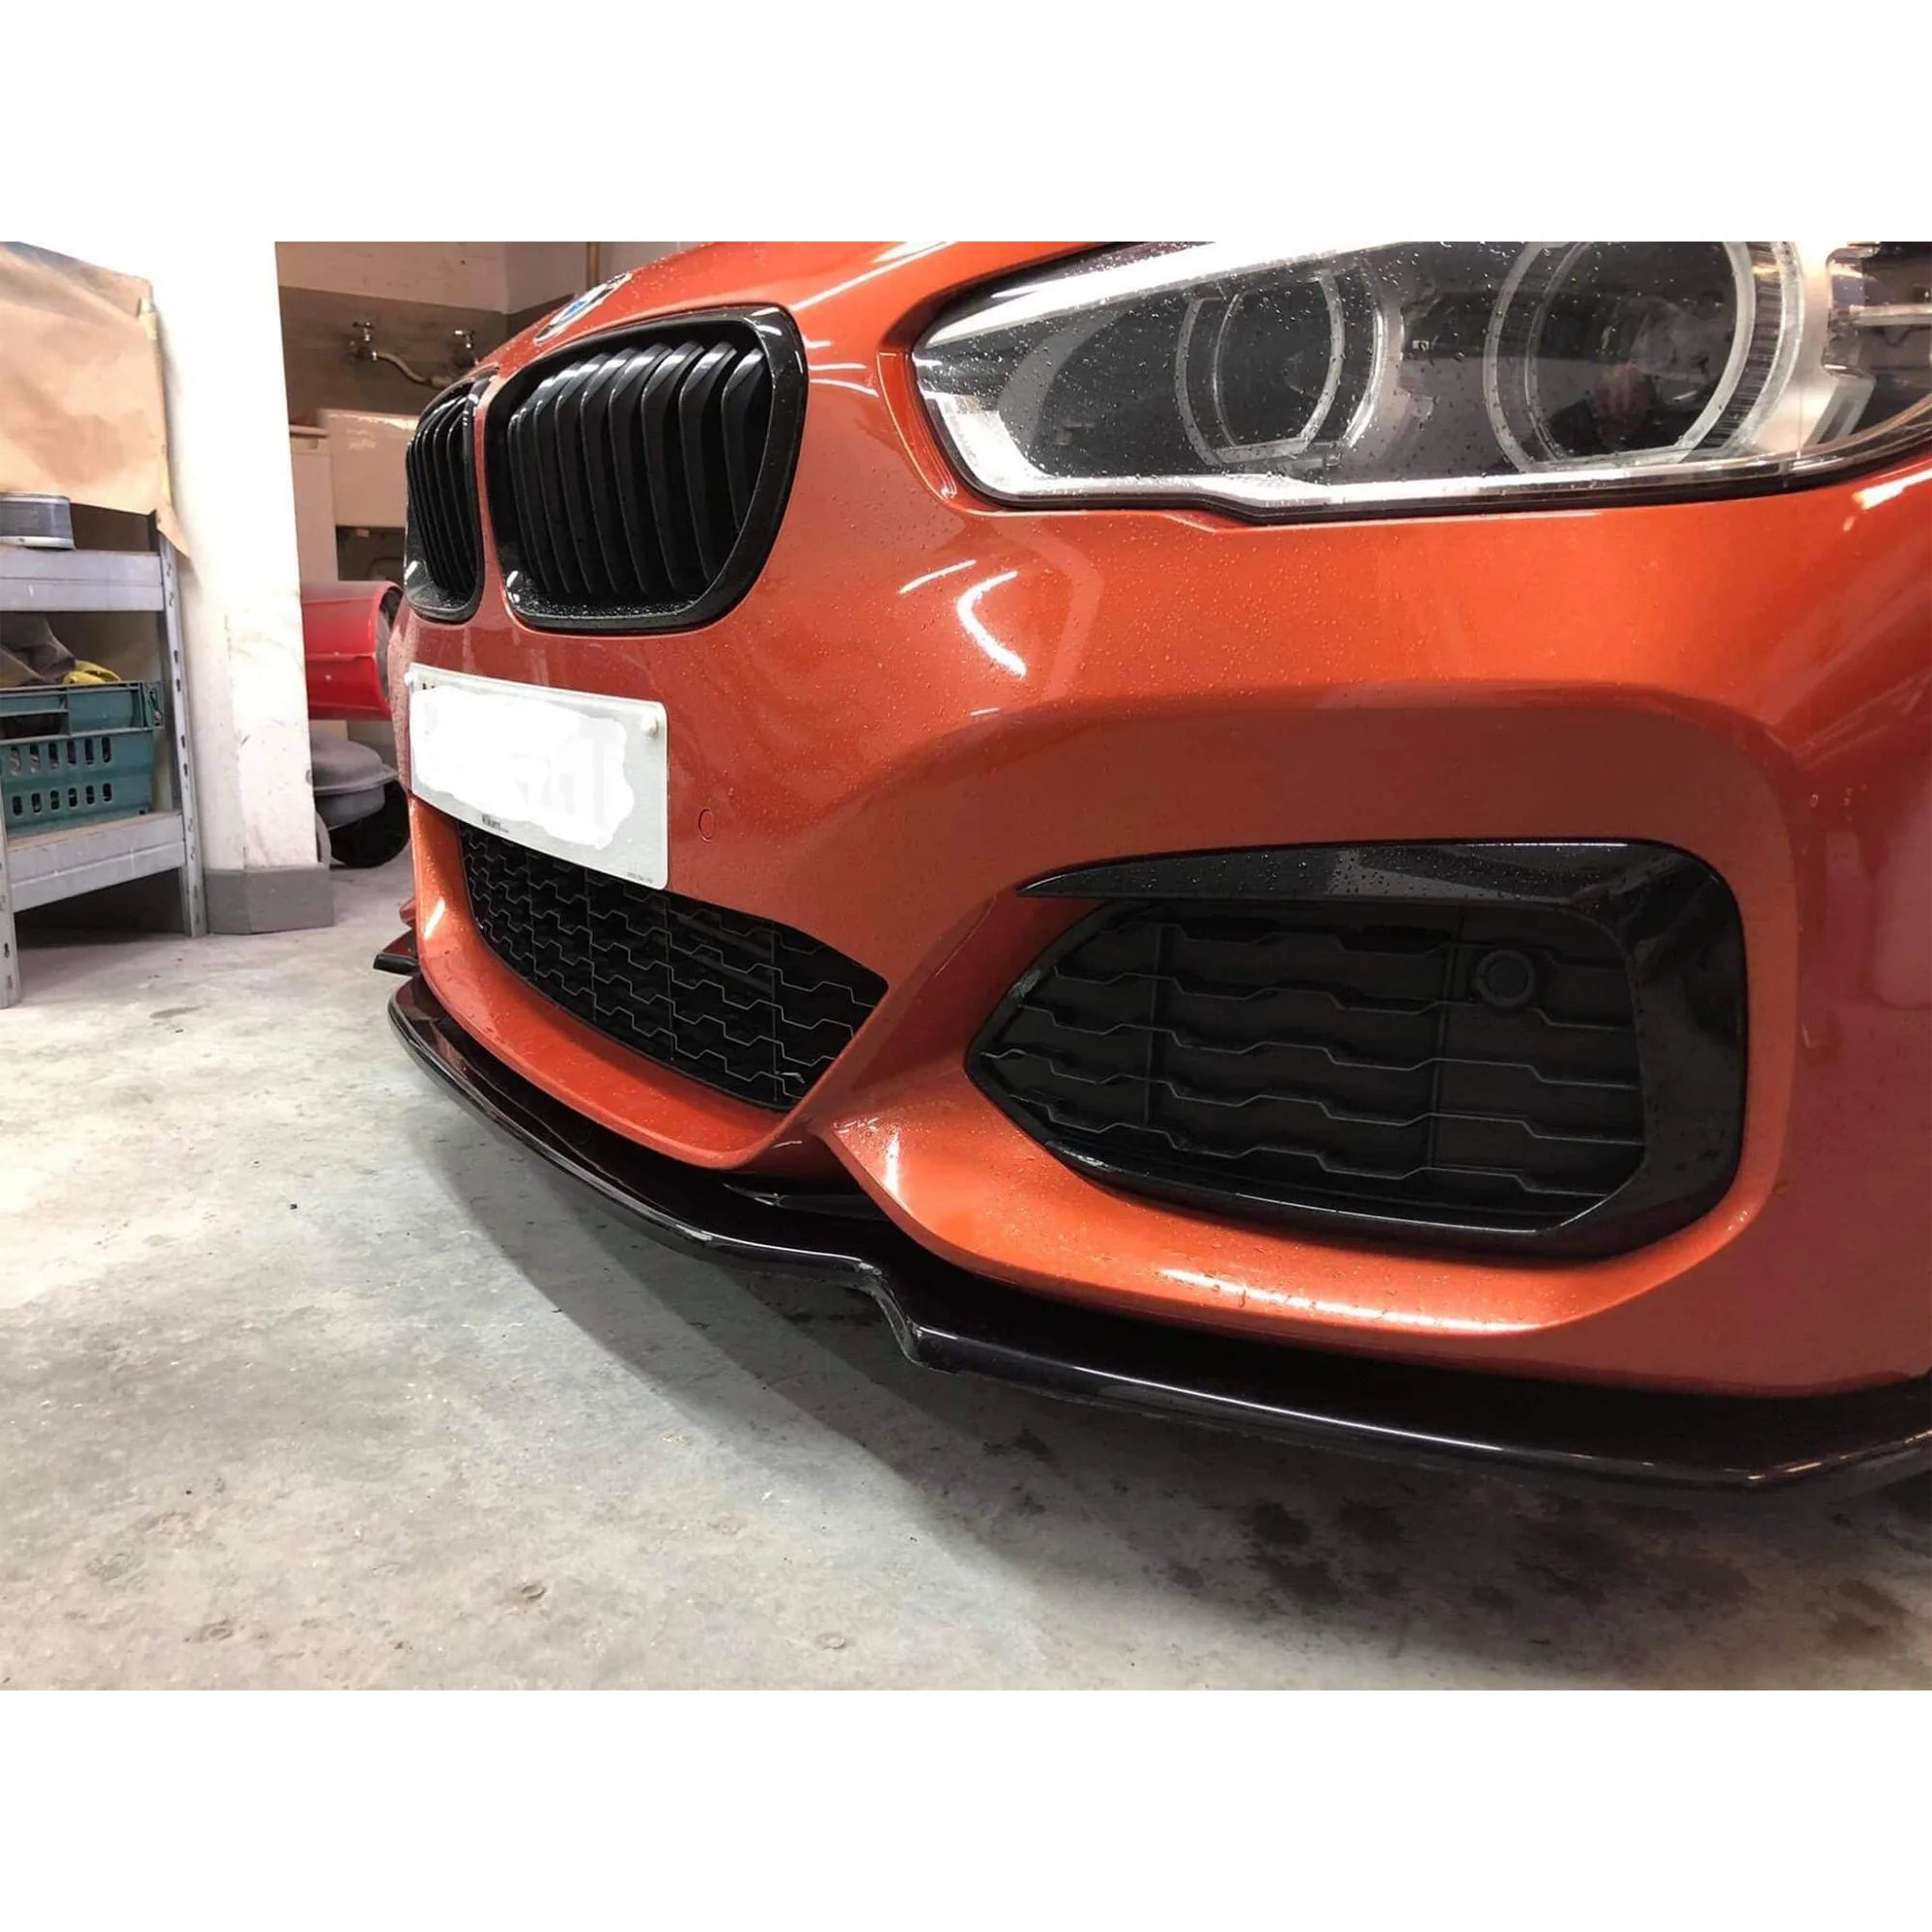
How to Remove Factory Bumpers
To remove a factory bumper safely, first locate all screws, bolts, and plastic clips in the wheel arches, undertray, and grille area. Use plastic trim tools to release clips one at a time by unlocking the centre pin rather than pulling the bumper. Next, apply slow, even pressure near where the bumper connects to the fenders, and don’t use force. Taking your time is the key to removing the bumper without damage.
How to Remove Factory Bumpers on Audi
On BMW, Audi, and Volkswagen Golf models, factory bumpers are secured with tightly spaced clips and hidden fasteners around the wheel arches and undertray. Remove all screws first, then use a plastic trim tool to unlock centre pin clips before pulling. At the fender edges, gently lift and pull outward to release the locking tabs. These platforms are sensitive to force, so support the bumper evenly and avoid twisting it. With slow, controlled pressure, the bumper will release cleanly without breaking clips or triggering sensor issues.
How to Remove Factory Bumpers on Audi A4 B9 (2016 to 2019)
On Audi A4 B9 models, the bumper is closely combined with parking sensors and grille clips, so patience is key. To begin, remove the wheel arch screws and the undertray bolts. Following that, unclip the sides near the headlights by pulling outward while supporting the bumper and use only plastic trim tools and avoid sudden force, as sensor brackets and grille tabs can be damaged if pulled unevenly.
How to Remove Factory Bumpers on Audi A5 B9 (2017 onward)
The bumpers on Audi A5B9 are secured with well-built side retention clips and concealed fasteners, which are located below the undertray. To remove the bumper, loosen the screws first, then lift (gently) the corners near the wheel arches while pulling it outward with no sudden force. Additionally, add a manual support to the bumper to avoid damaging the sensor wiring and prevent cracking near the mounting points close to the headlights.
Step-by-Step Body Kit Installation Process
Here are the detailed steps to install a body kit, and each component follows a different process:
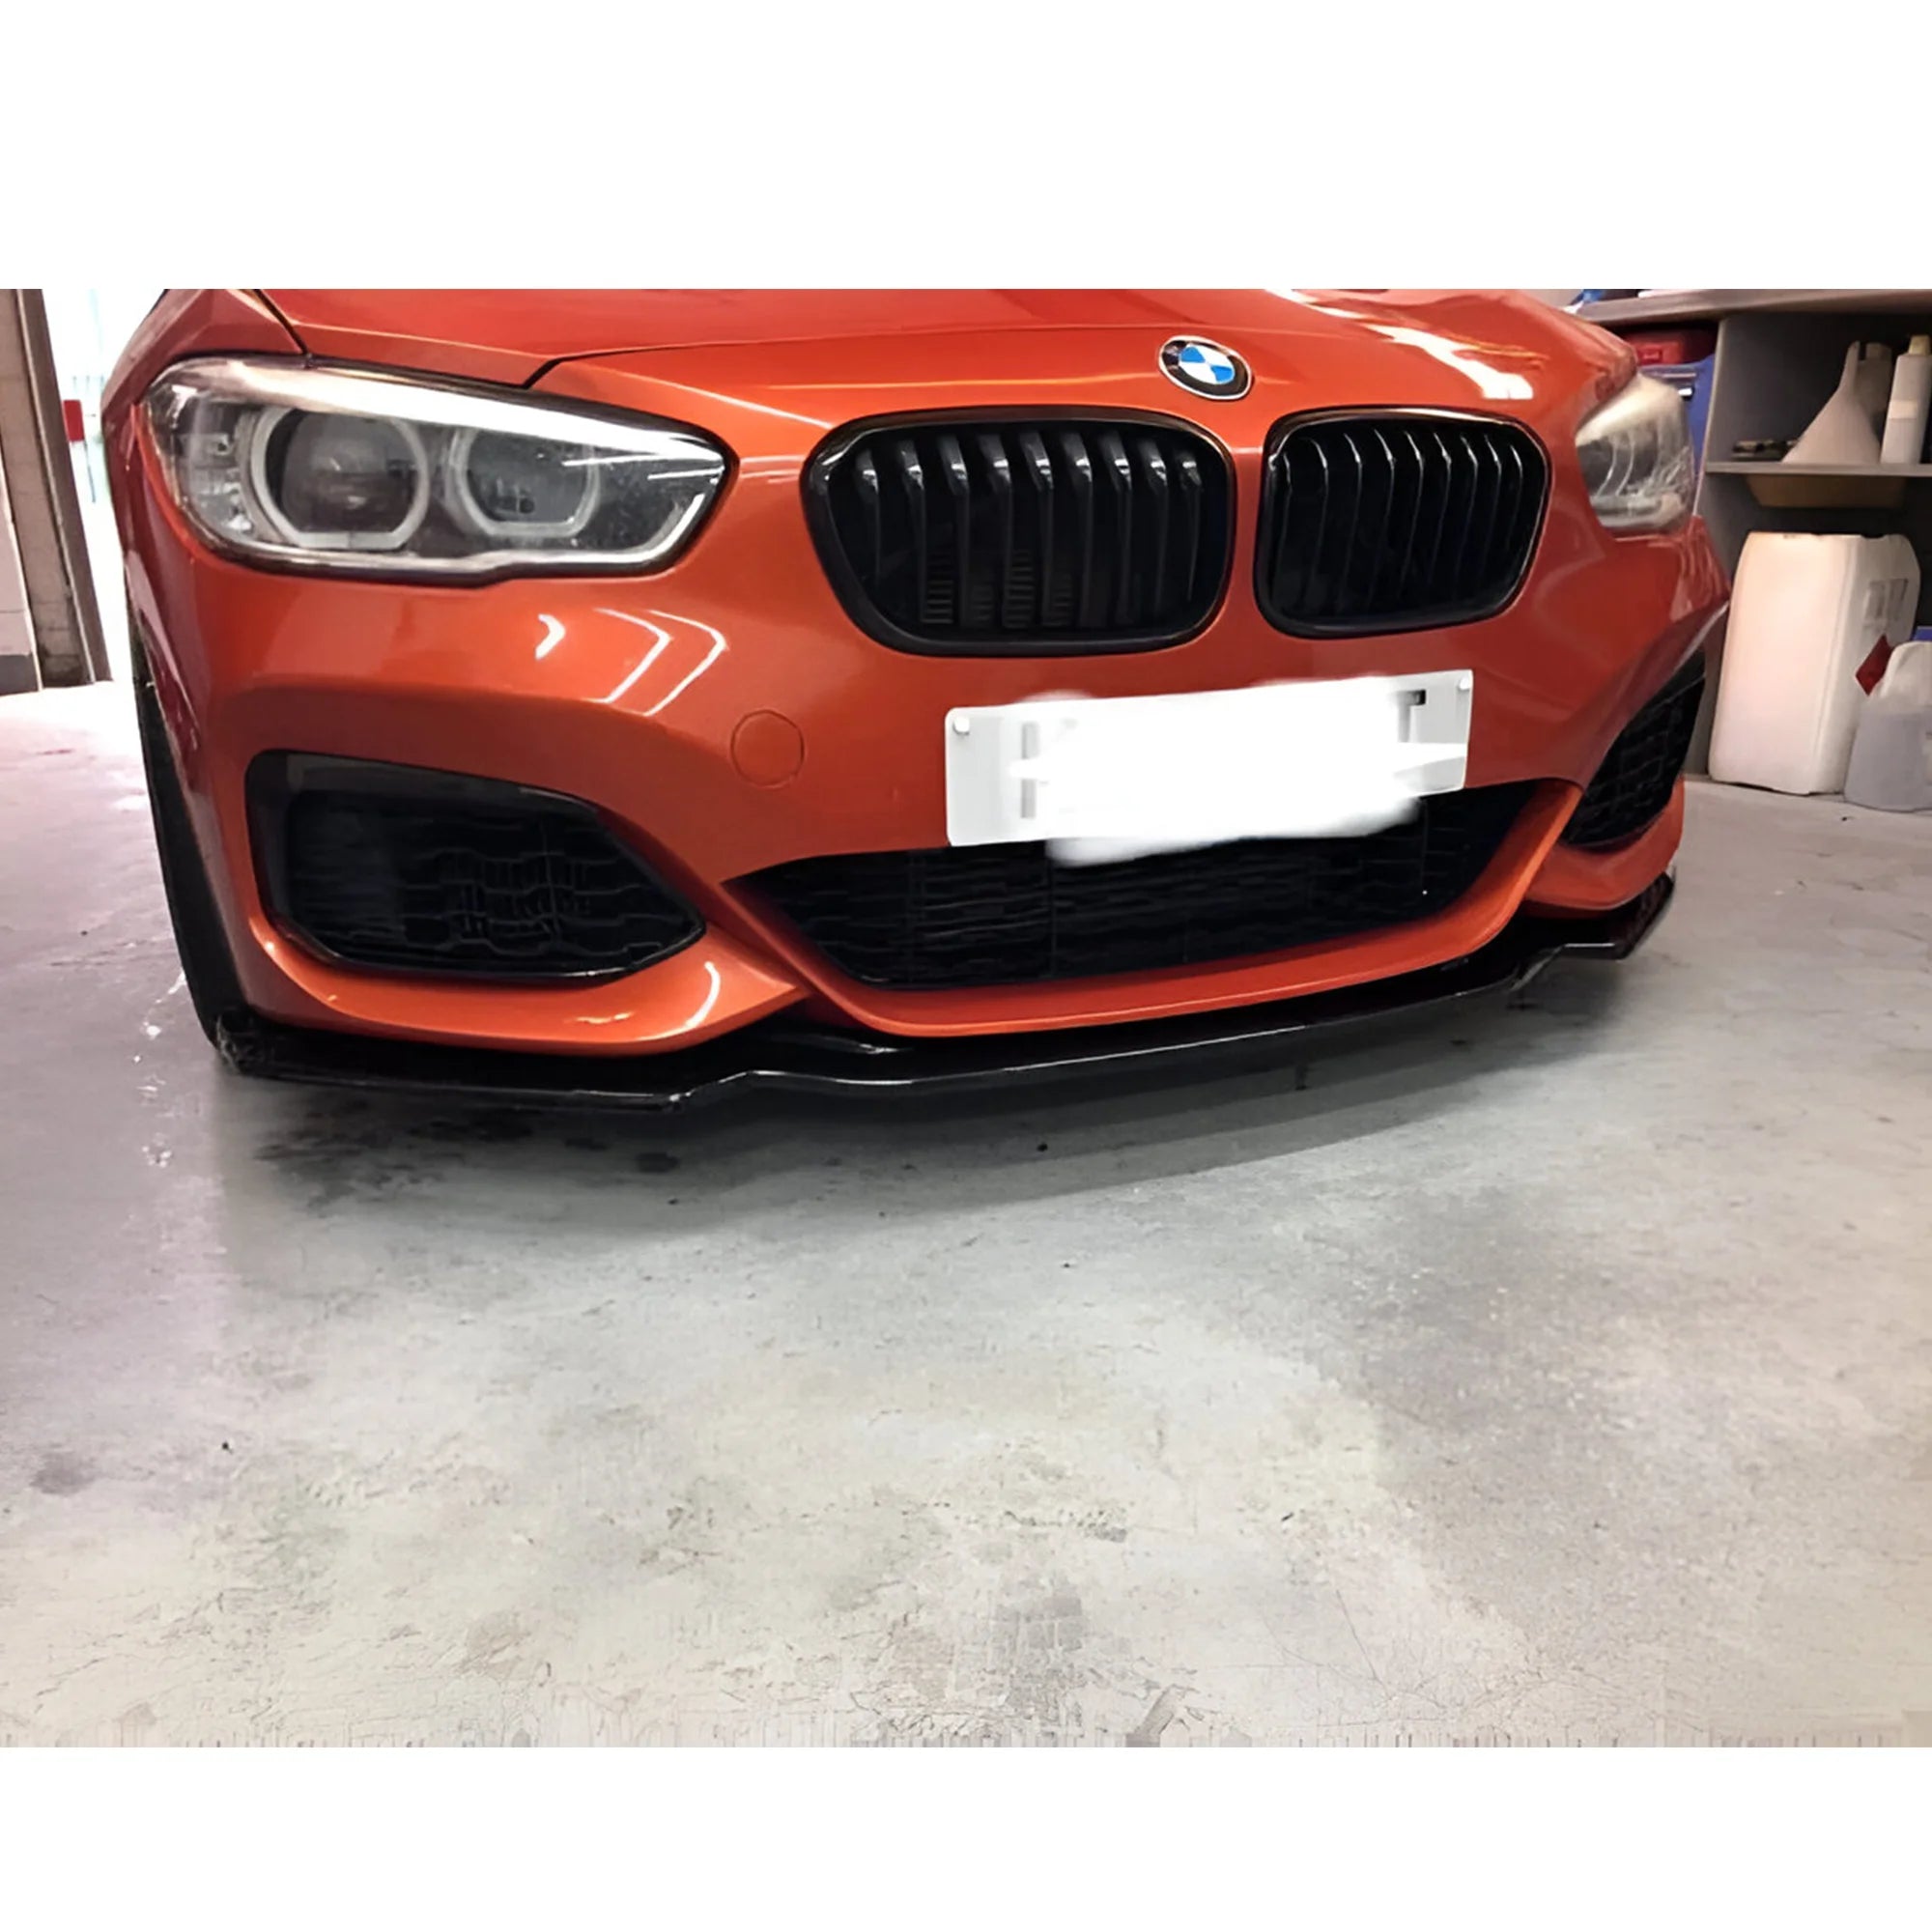
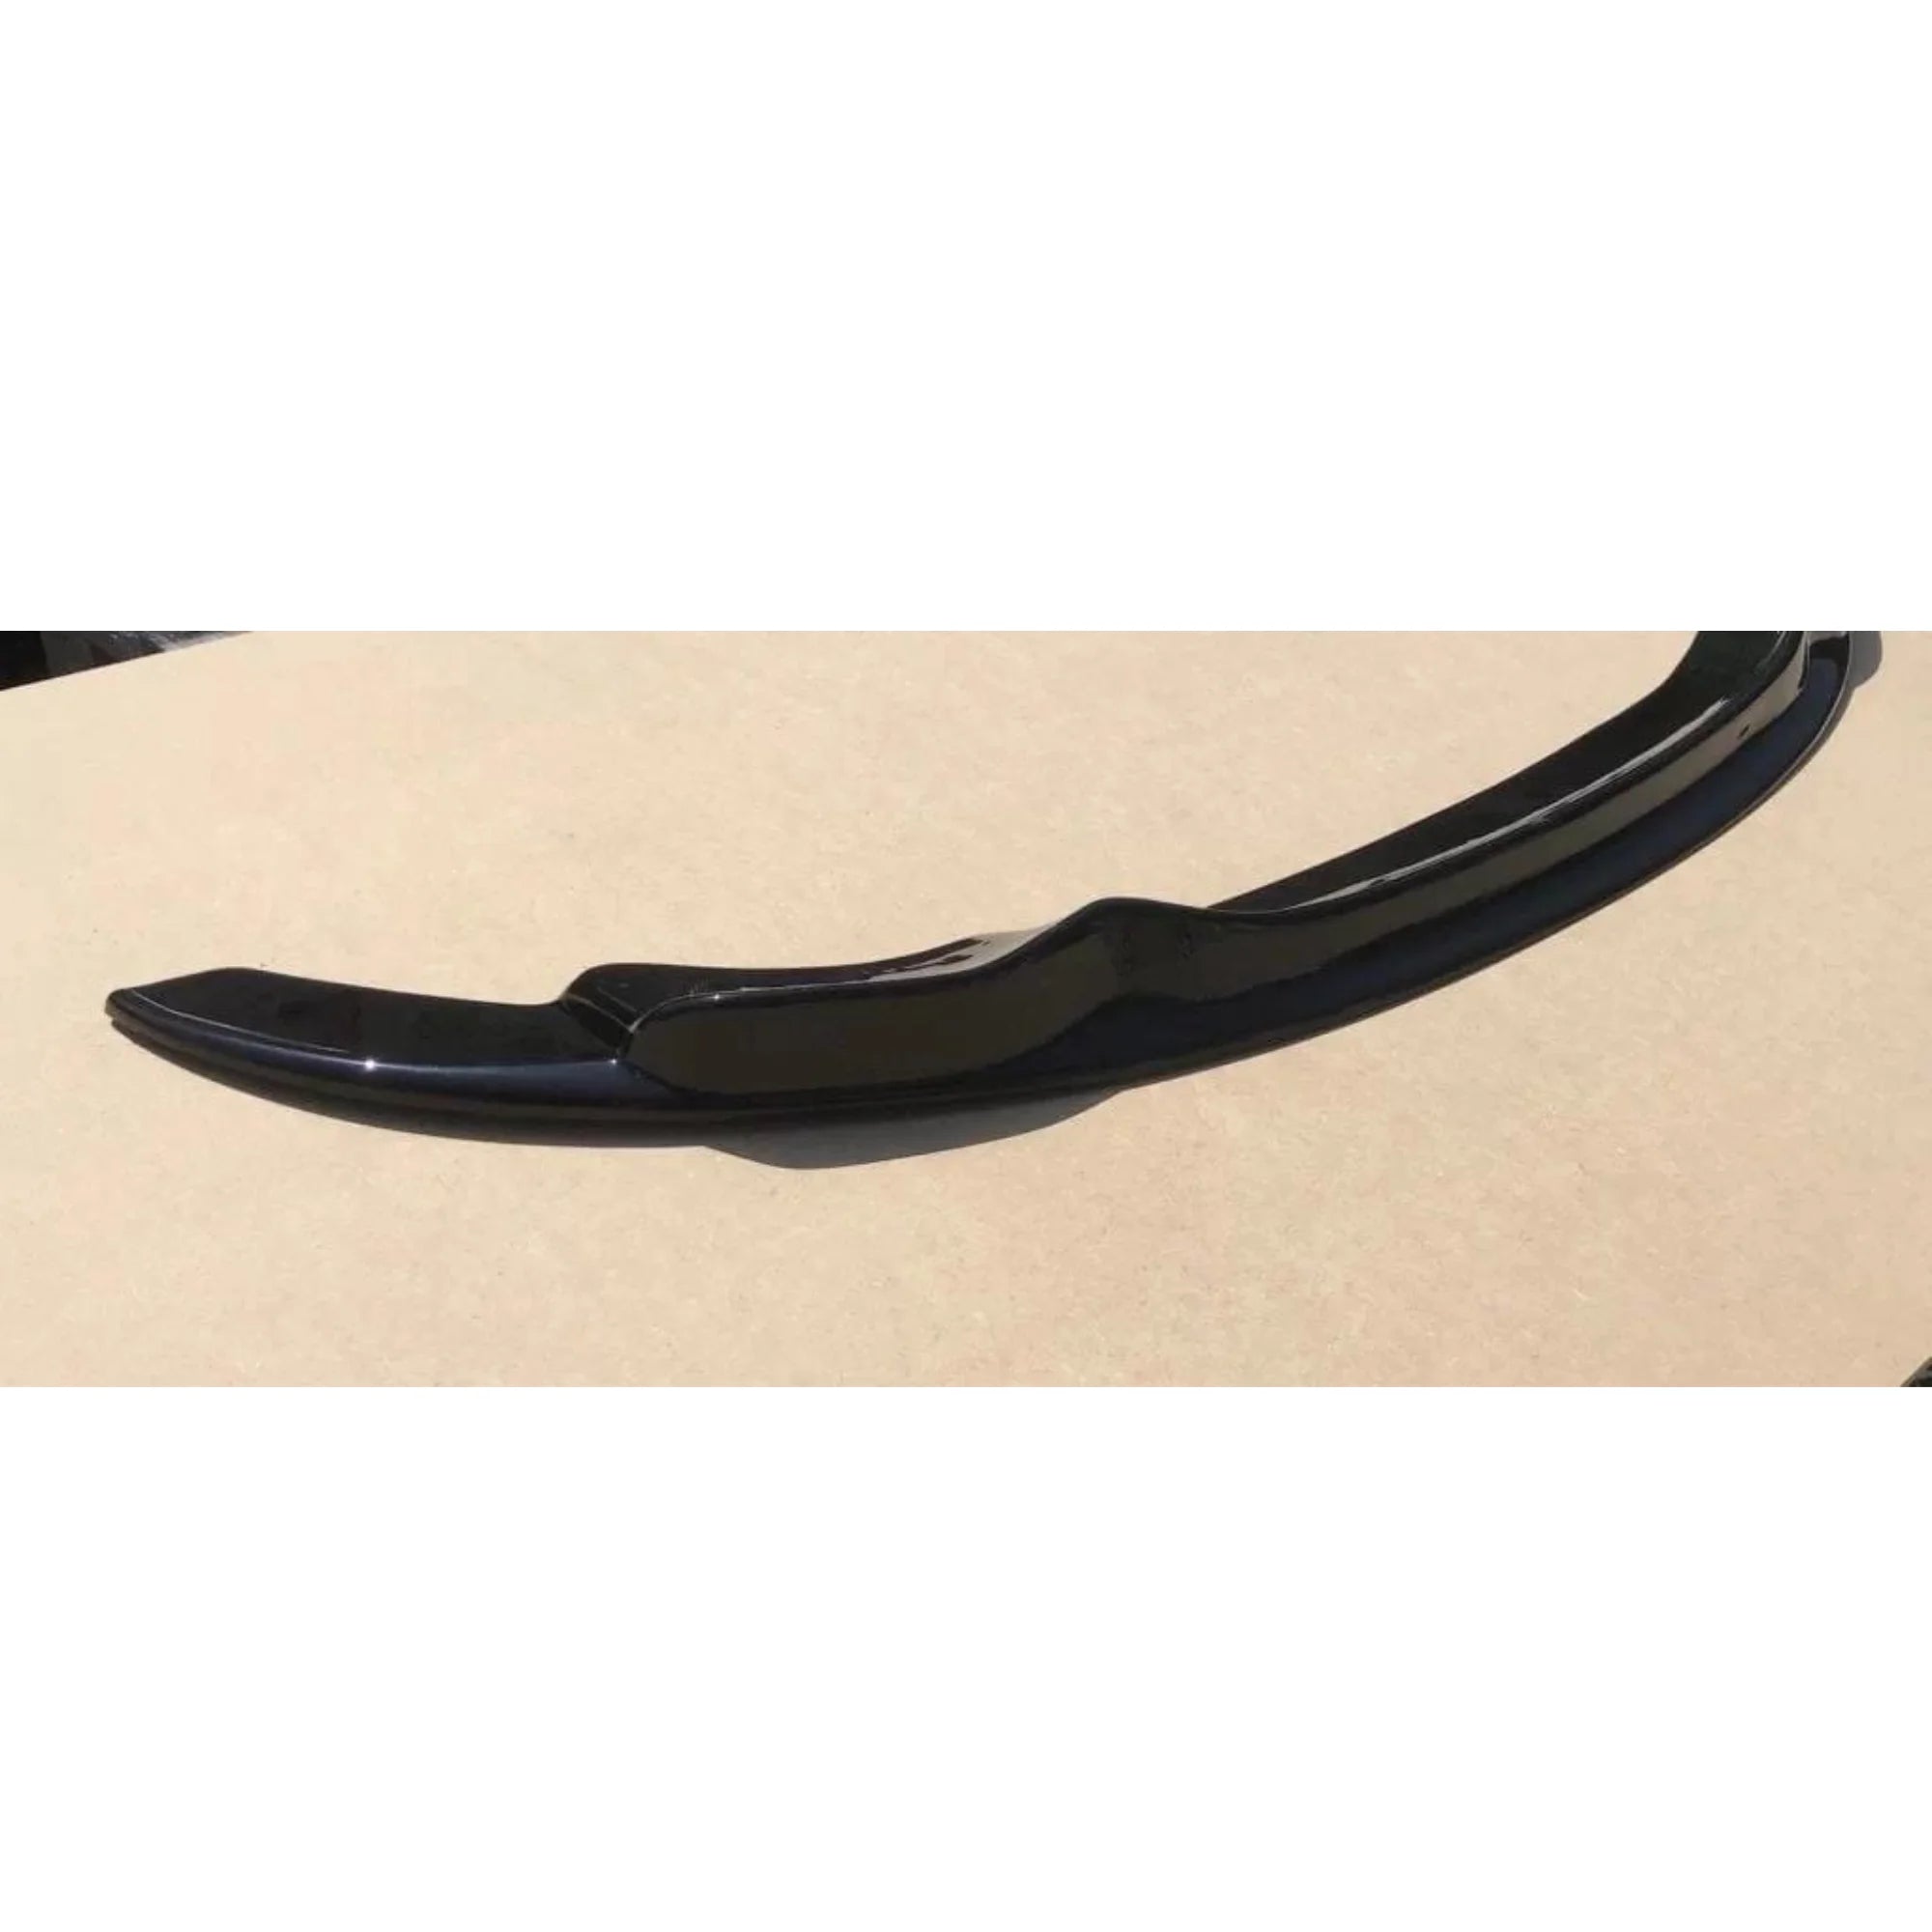
Front Bumper Installation Steps
- Position the bumper on the car and support it so it sits naturally without sagging.
- Align the bumper using headlights, fenders, and body lines as reference points.
- Mark mounting holes only after alignment looks correct from all angles.
- Drill pilot holes carefully and avoid forcing hardware into place.
- Install all screws and bolts loosely at first.
- Tighten evenly across the bumper once alignment is confirmed.
- Reconnect sensors and lights before final tightening.
Side Skirts Installation Steps
- Hold the side skirt in place and align it with the door sill and front bumper edge.
- Use masking tape to mark the correct height and position along the body.
- Clean contact areas before applying automotive tape.
- Press tape firmly and secure the skirt with screws underneath for strength.
- Start all screws loosely and adjust alignment as needed.
- Tighten evenly and allow the tape time to cure before driving.
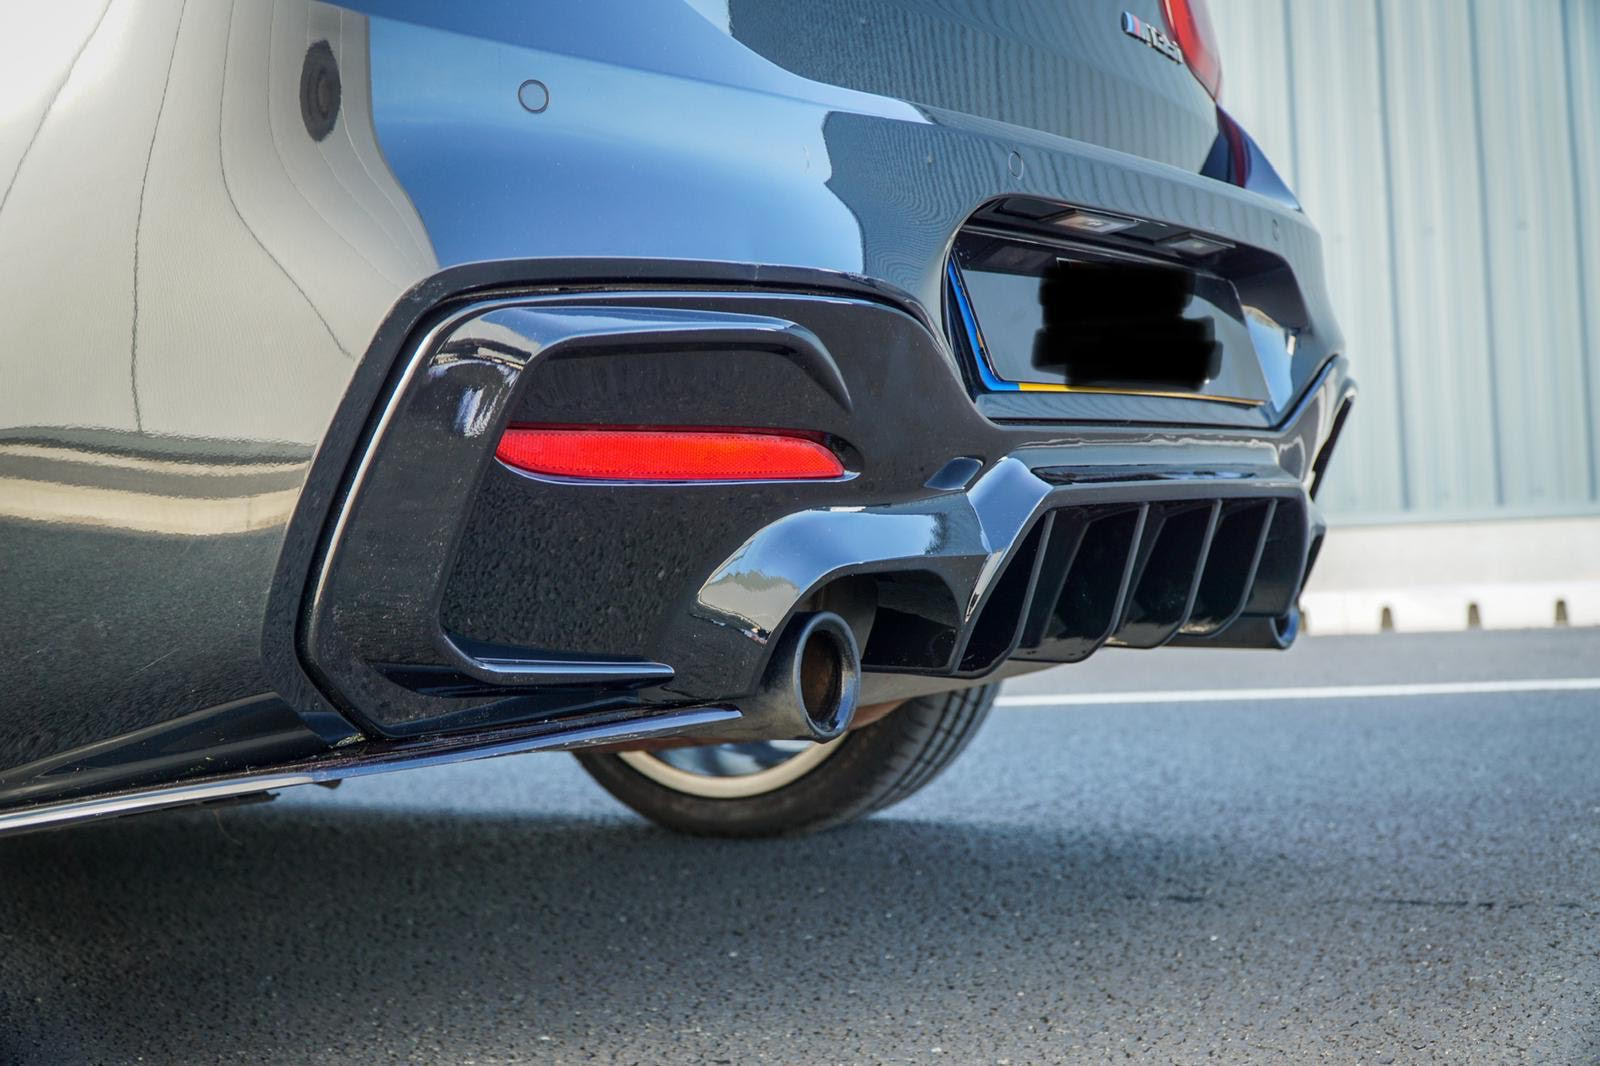
Rear Bumper Installation Steps
- Position the rear bumper and align it with the quarter panels and taillights.
- Check exhaust clearance before marking any mounting points.
- Mark and drill pilot holes once alignment looks correct.
- Install hardware loosely and verify bumper sits level.
- Tighten bolts evenly across the bumper.
- Reconnect sensors and clips before final checks.
Painting a Body Kit Before or After Installation
To paint a body kit before or after installation, follow these steps:
- Dry-fit every body kit part on the car before doing any paintwork.
- Remove the parts once fitment and alignment are confirmed.
- Paint the body kit off the car for better coverage and cleaner edges.
- Allow paint to cure before fully handling or installing.
- Install painted parts carefully to avoid scratches or chips.
- Avoid painting after installation unless blending is required, as masking is harder and results are often less consistent.
Key takeaway: dry-fit first, paint second, install last for the cleanest, safest result.
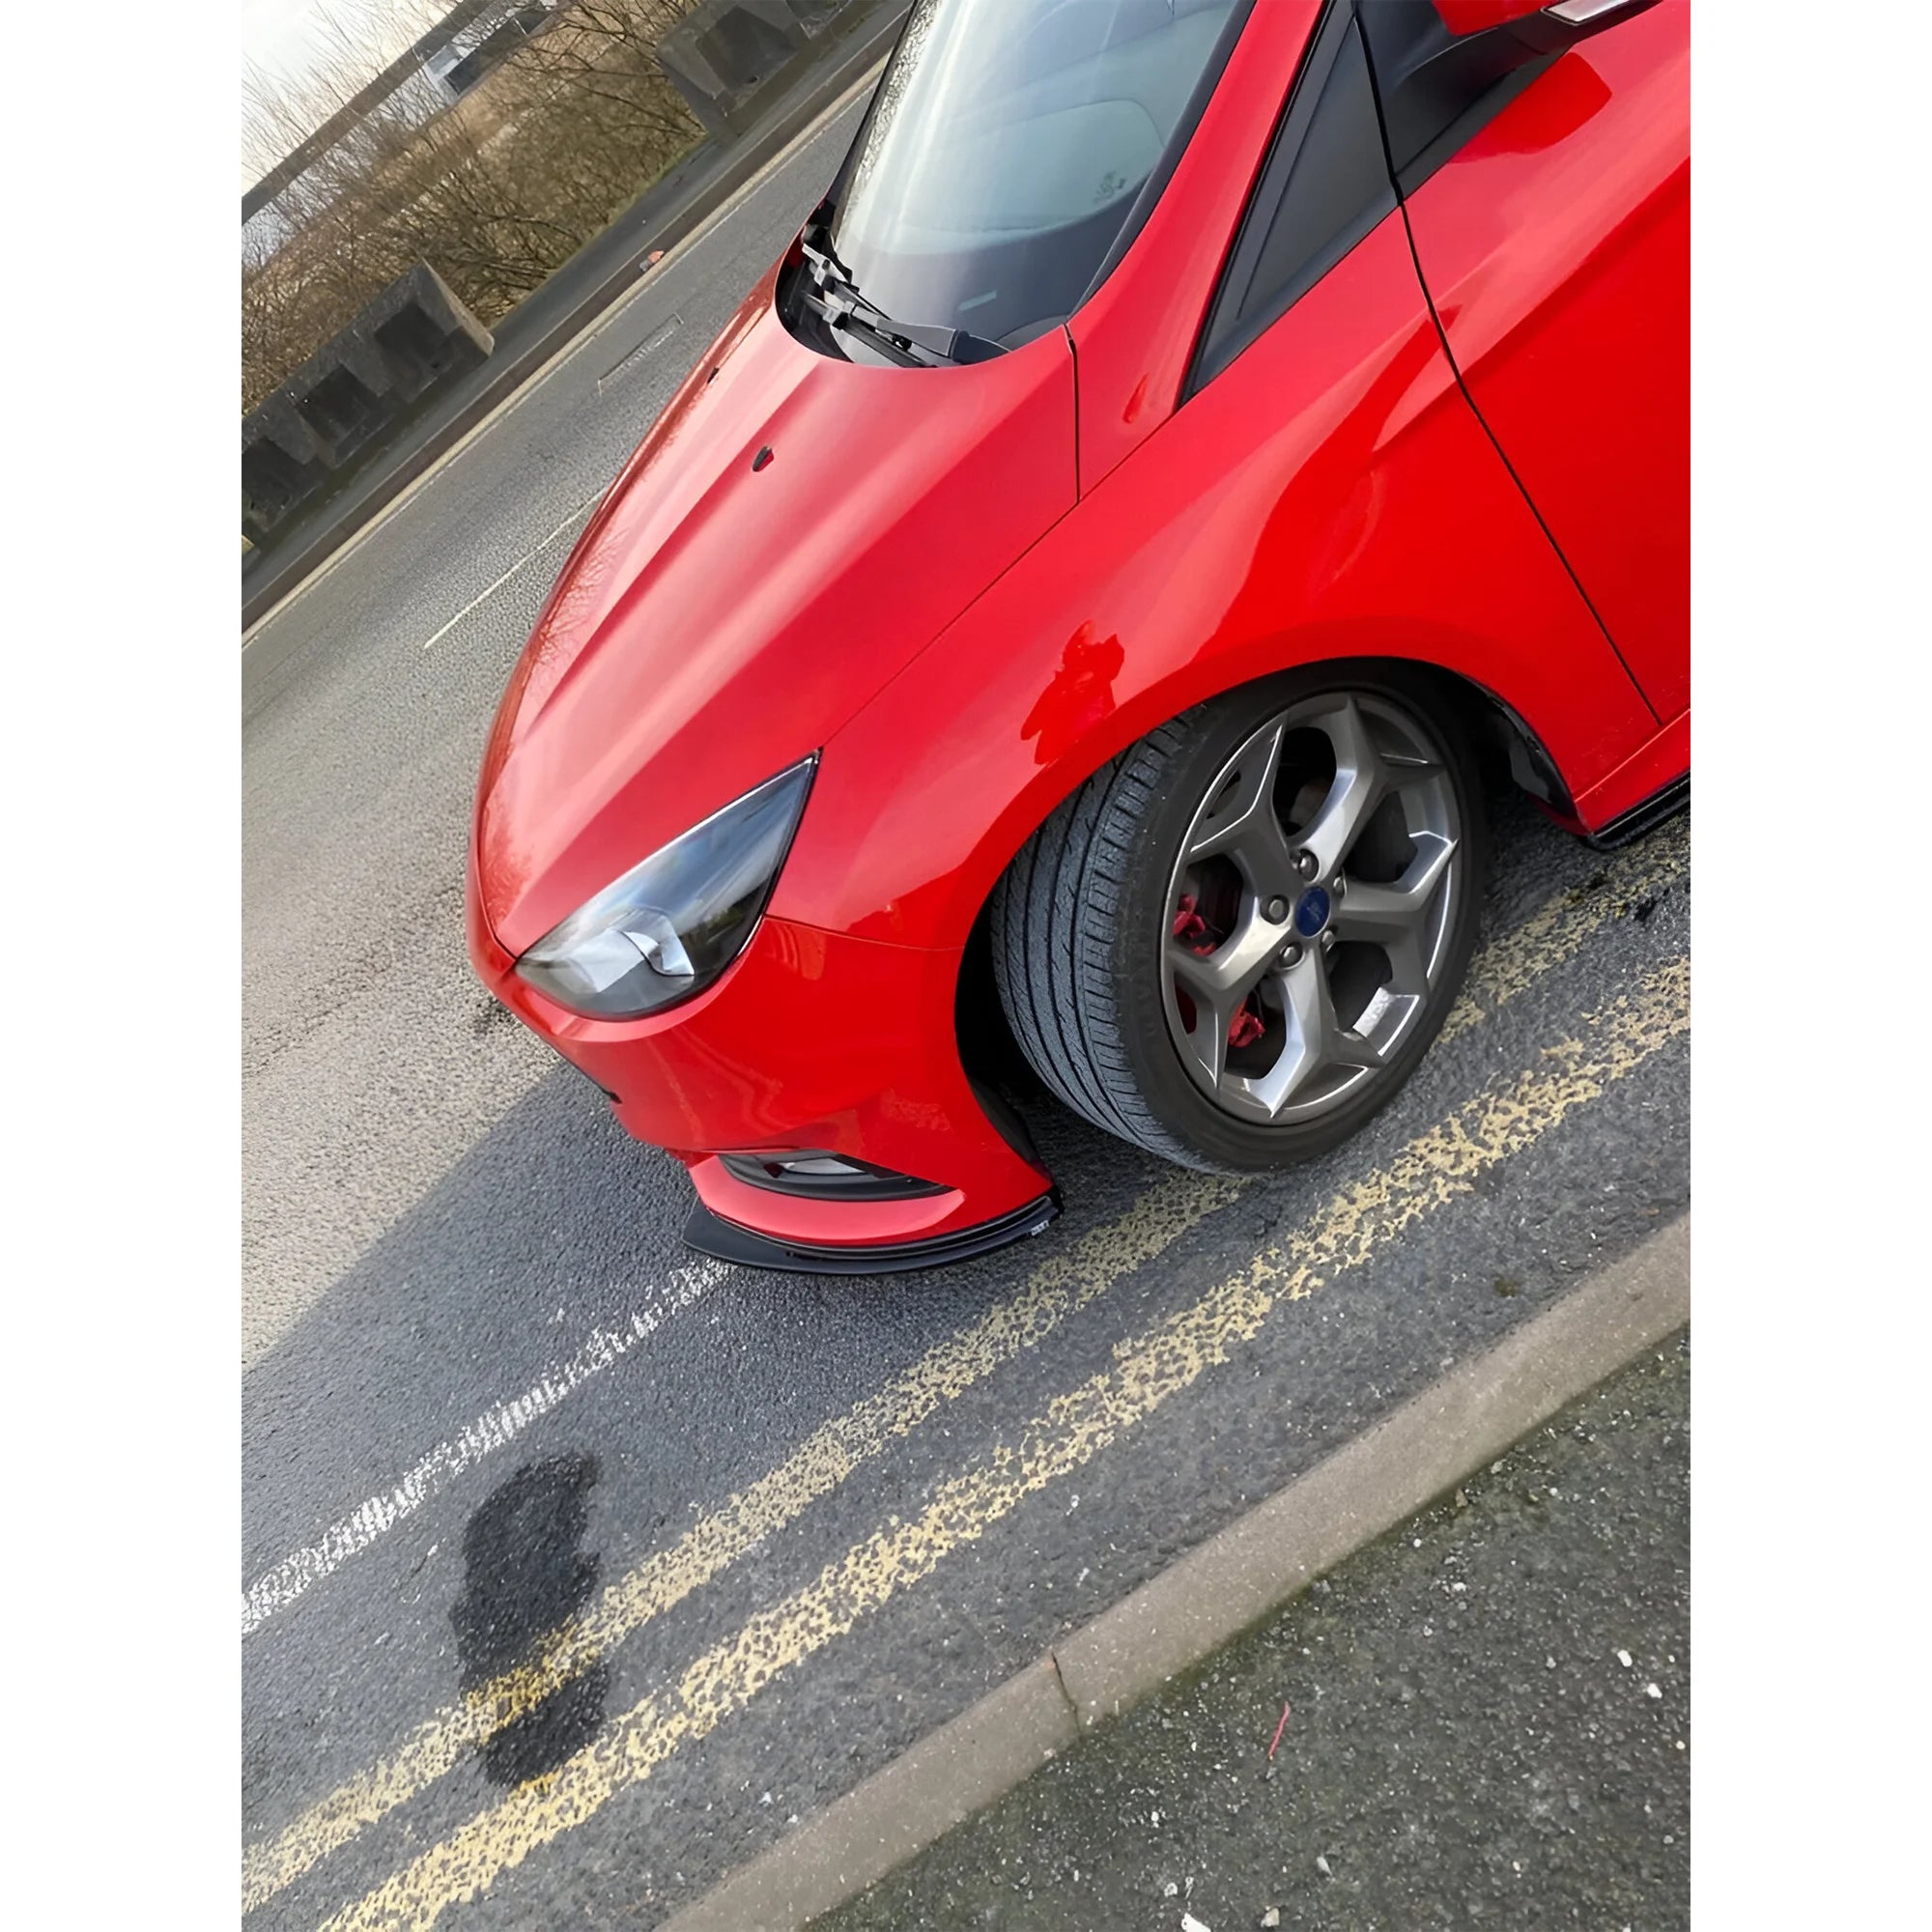
Fixing Fitment Issues and Tire Rubbing
Follow these steps to avoid fitment and tyre rubbing issues:
- Turn the steering fully left and right to identify where rubbing occurs.
- Inspect the tyre, inner liner, and body kit edge for contact marks.
- Trim the inner edge of the body kit or liner where contact is visible.
- Reposition or secure loose fender liners if they are causing interference.
- Adjust ride height or wheel alignment if rubbing continues.
- Re-check clearance after changes and before regular driving.
Key takeaway: fix rubbing immediately, as ignoring it damages tyres, paint, and body panels over time.
Body Kit Installation Differences by Car Model
Here is a detailed table of how car models differentiate when it comes to body kit installation:
|
Car Model |
Install Difficulty |
Sensor Complexity |
How is the Mounting Quality? |
Paint Matching |
Is the Cutting Required? |
Is it Beginner Friendly? |
|
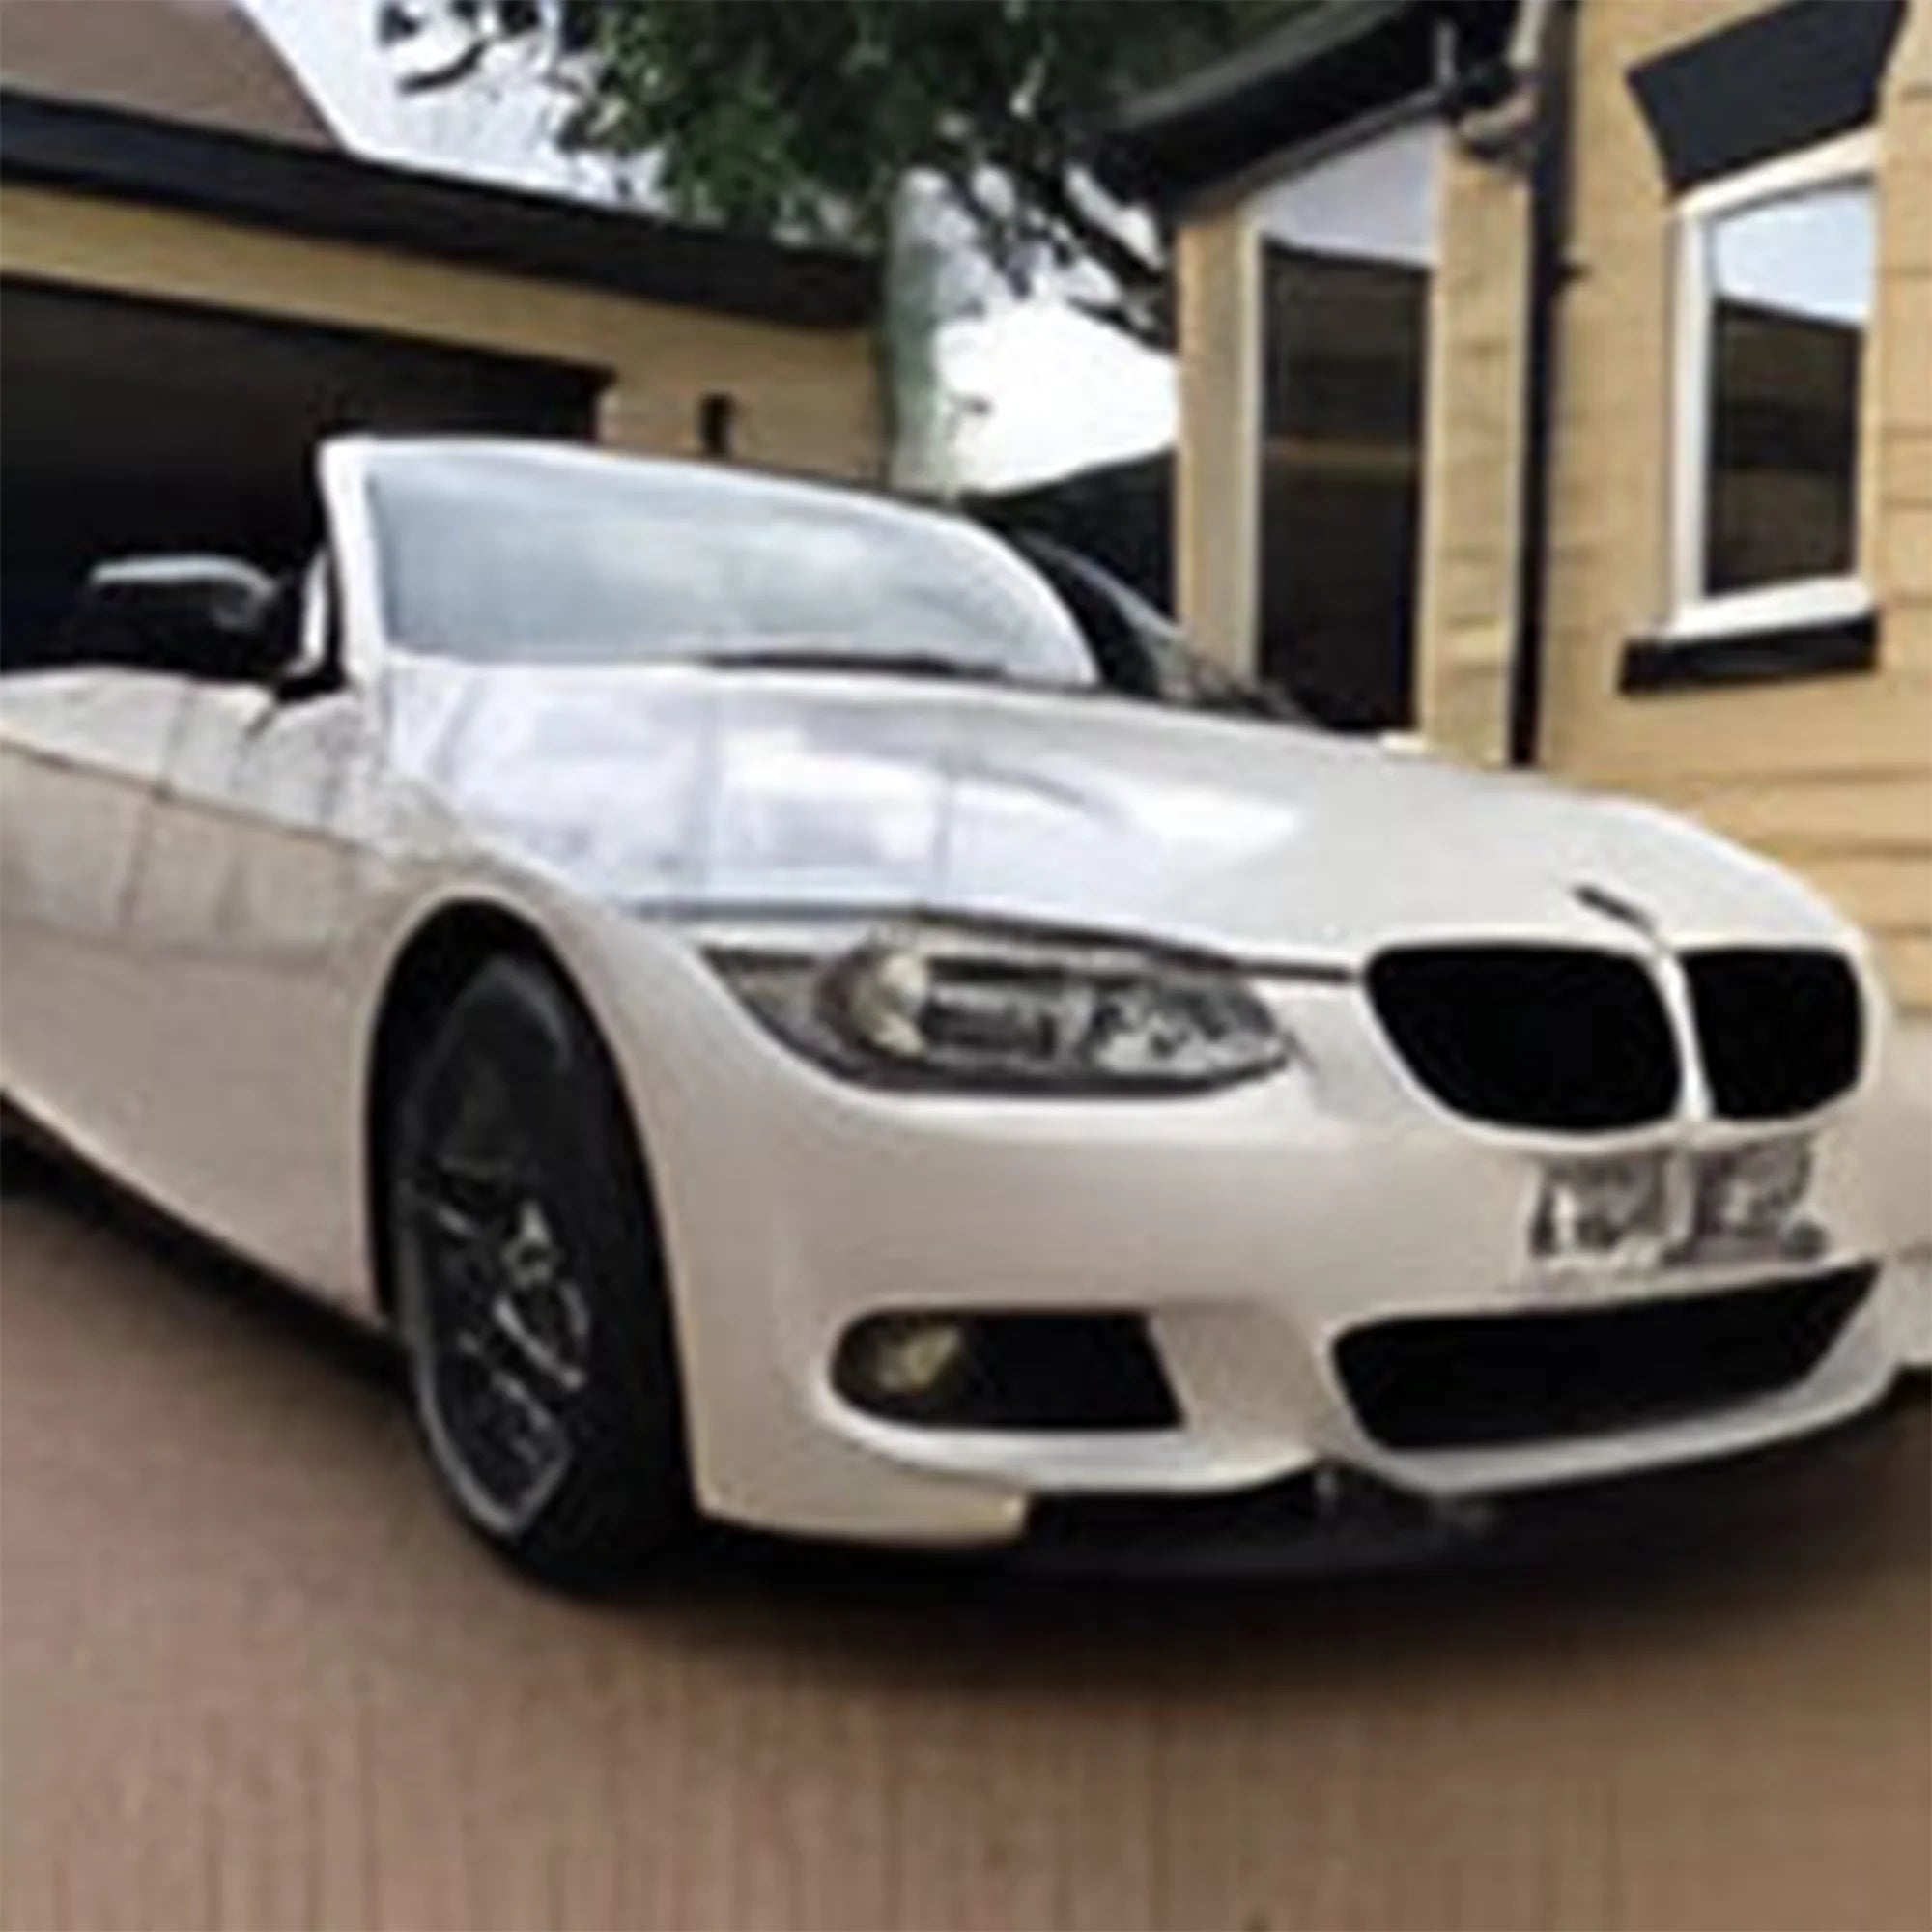
BMW 3 and 4 Series |
Medium |
High |
High |
Medium |
No |
Yes |
|
Audi A3 A4 A5 |
Medium to High |
Very High |
Very High |
High |
No |
Medium |
|
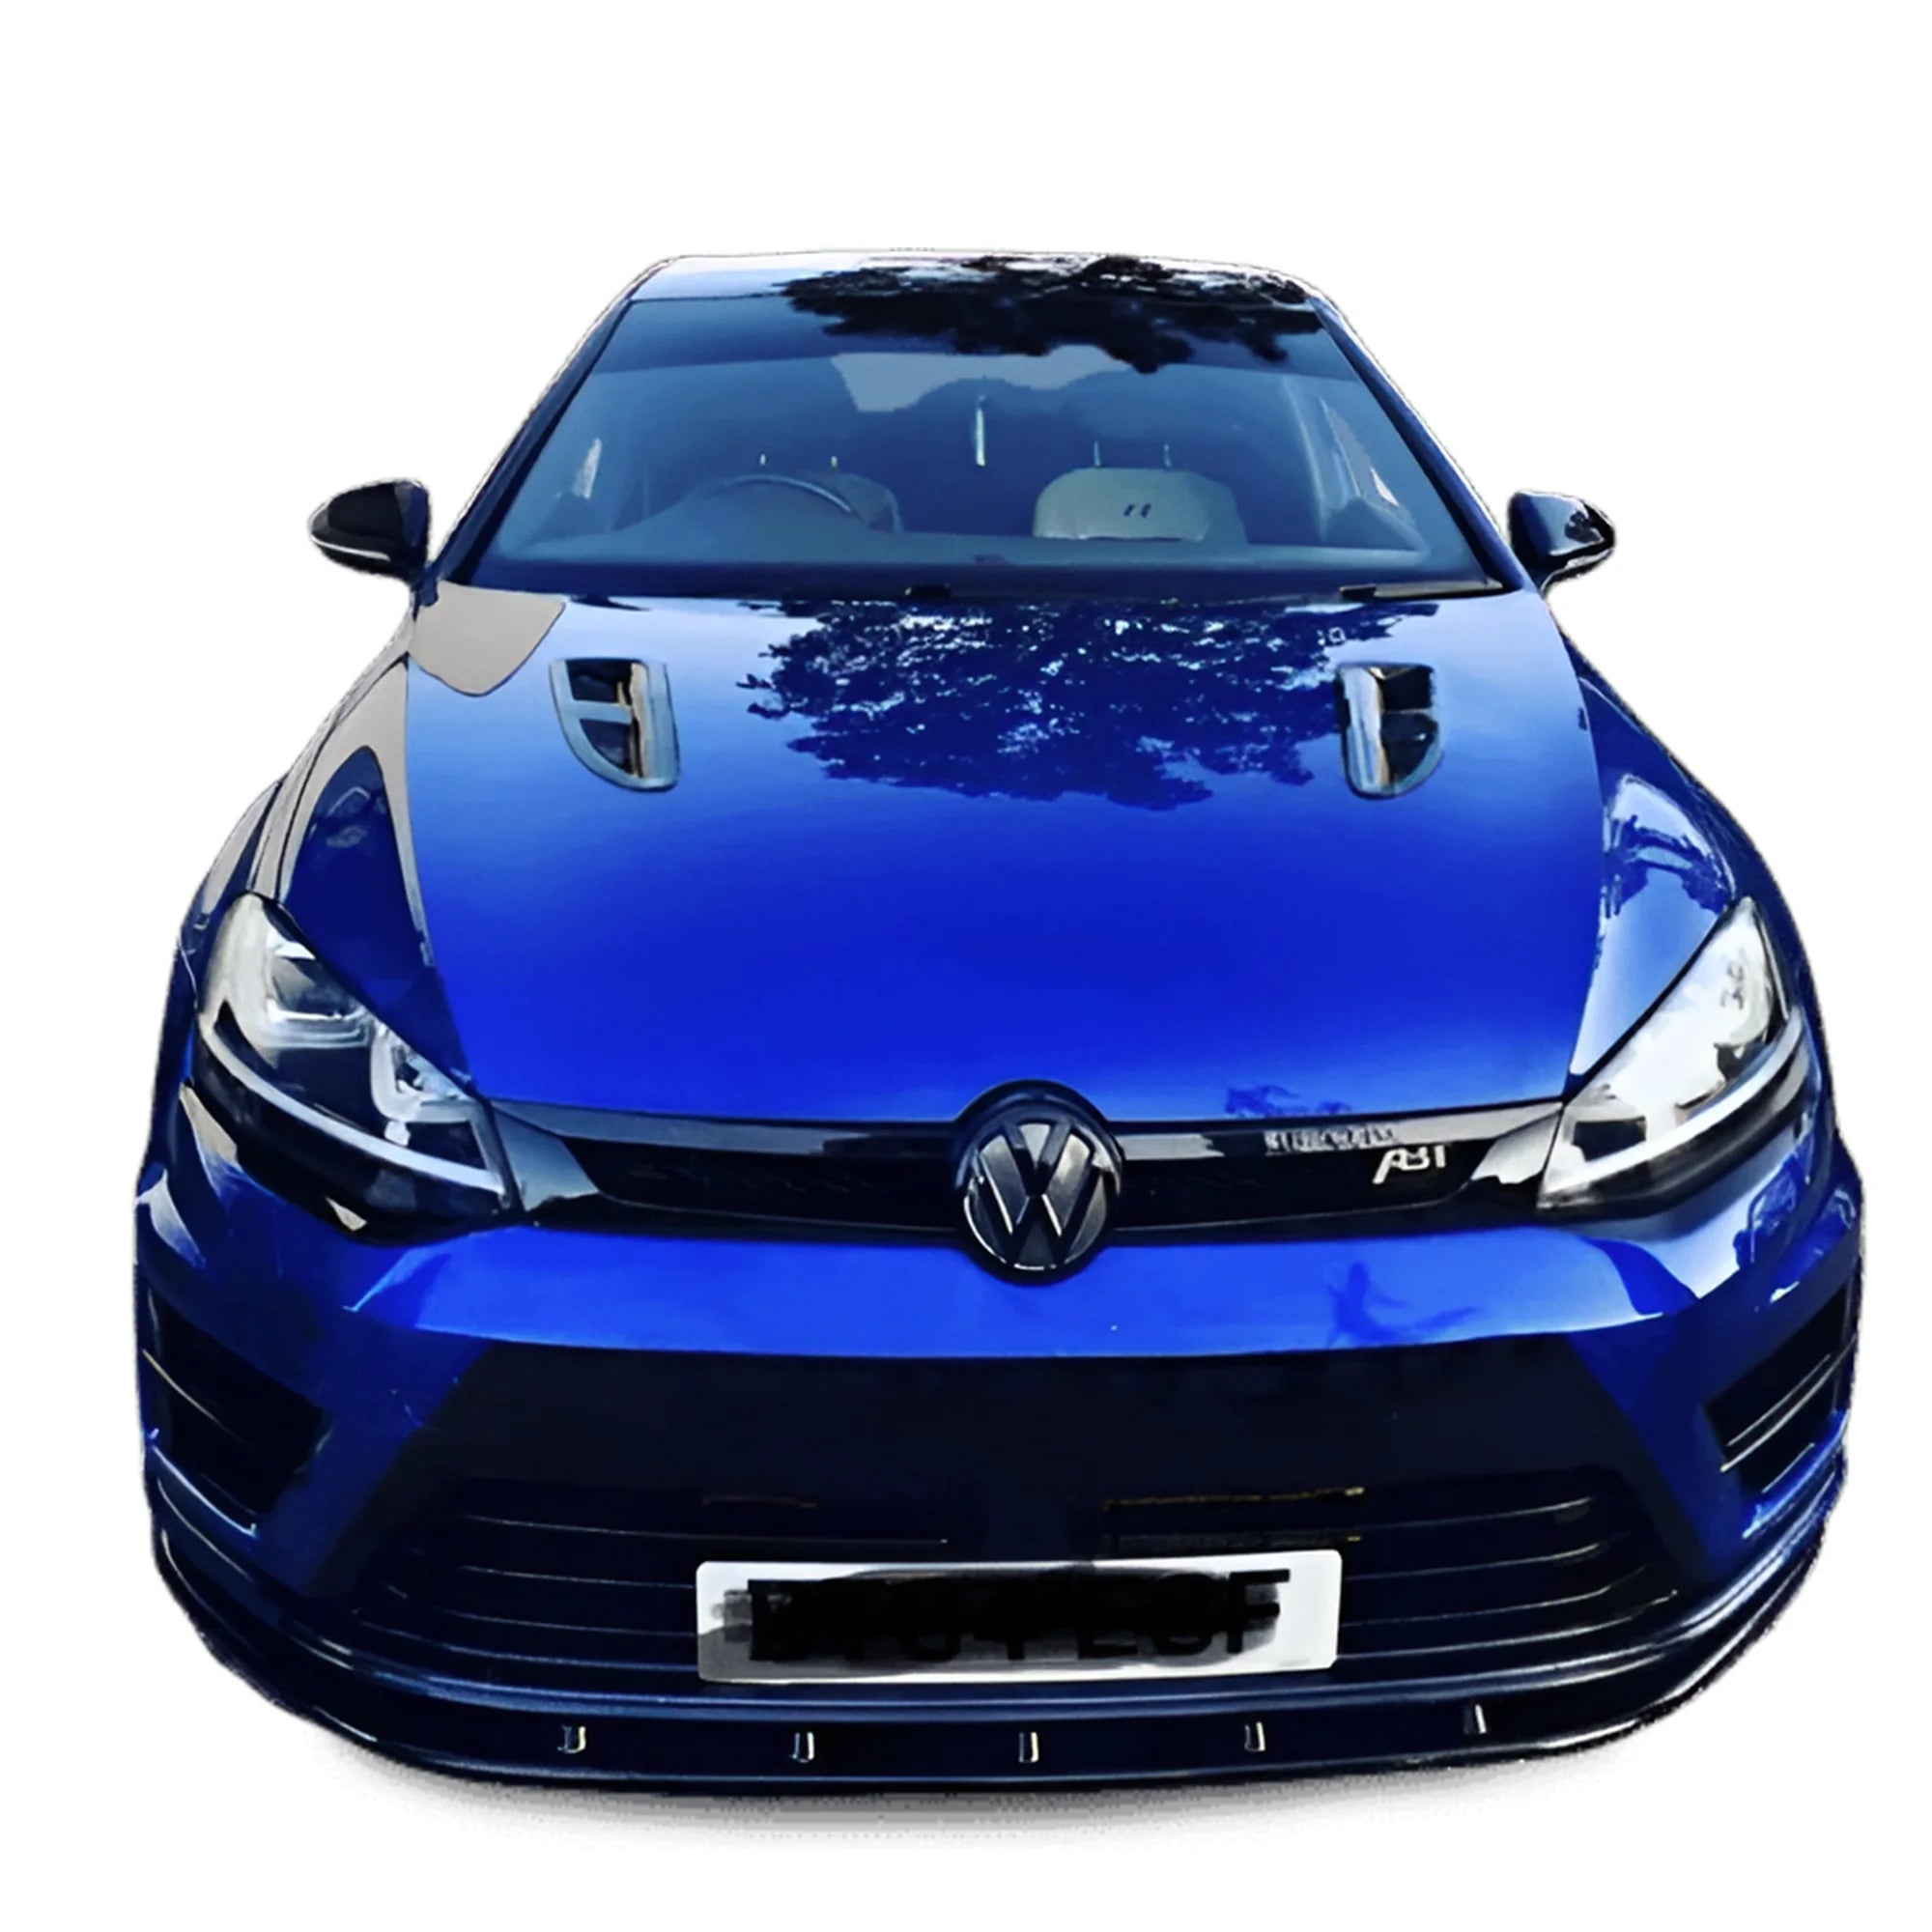
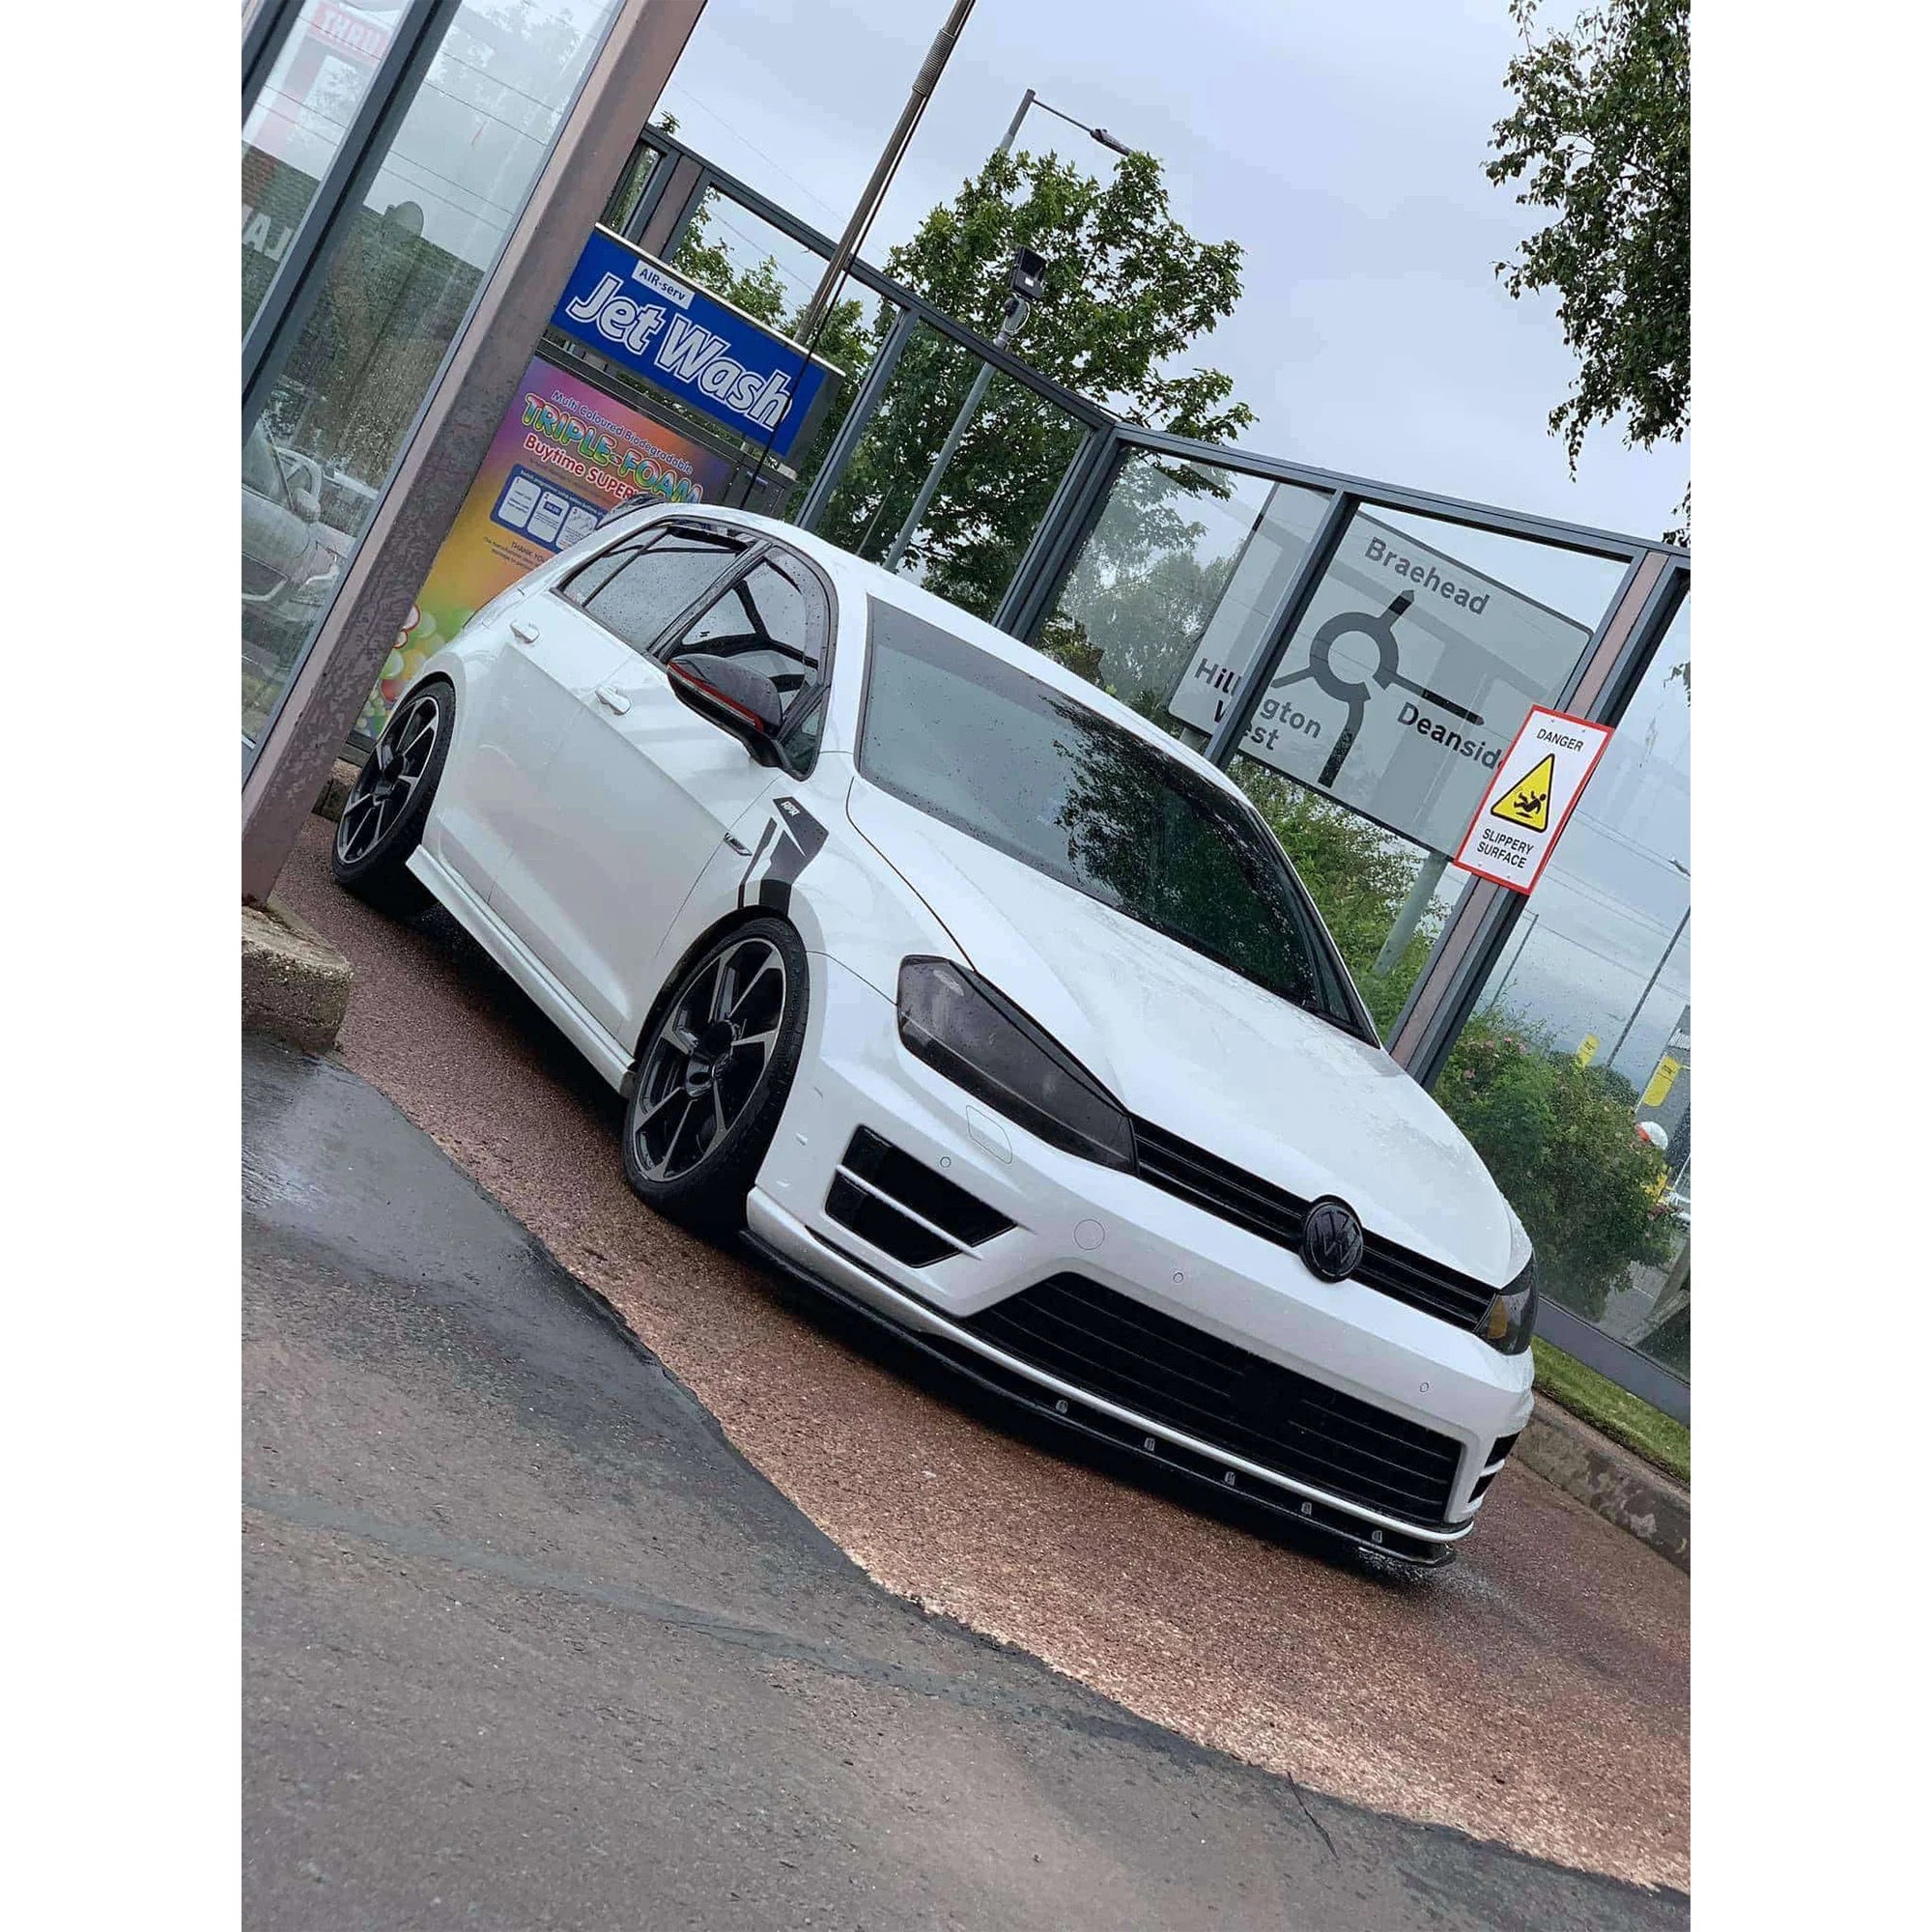
Volkswagen Golf GTI R |
Low to Medium |
Medium |
High |
Low |
No |
Yes |
|
Honda Civic |
Medium |
Low |
Medium |
Medium |
Sometimes |
Medium |
|
Medium |
Medium |
Medium |
Medium |
Sometimes |
Medium |
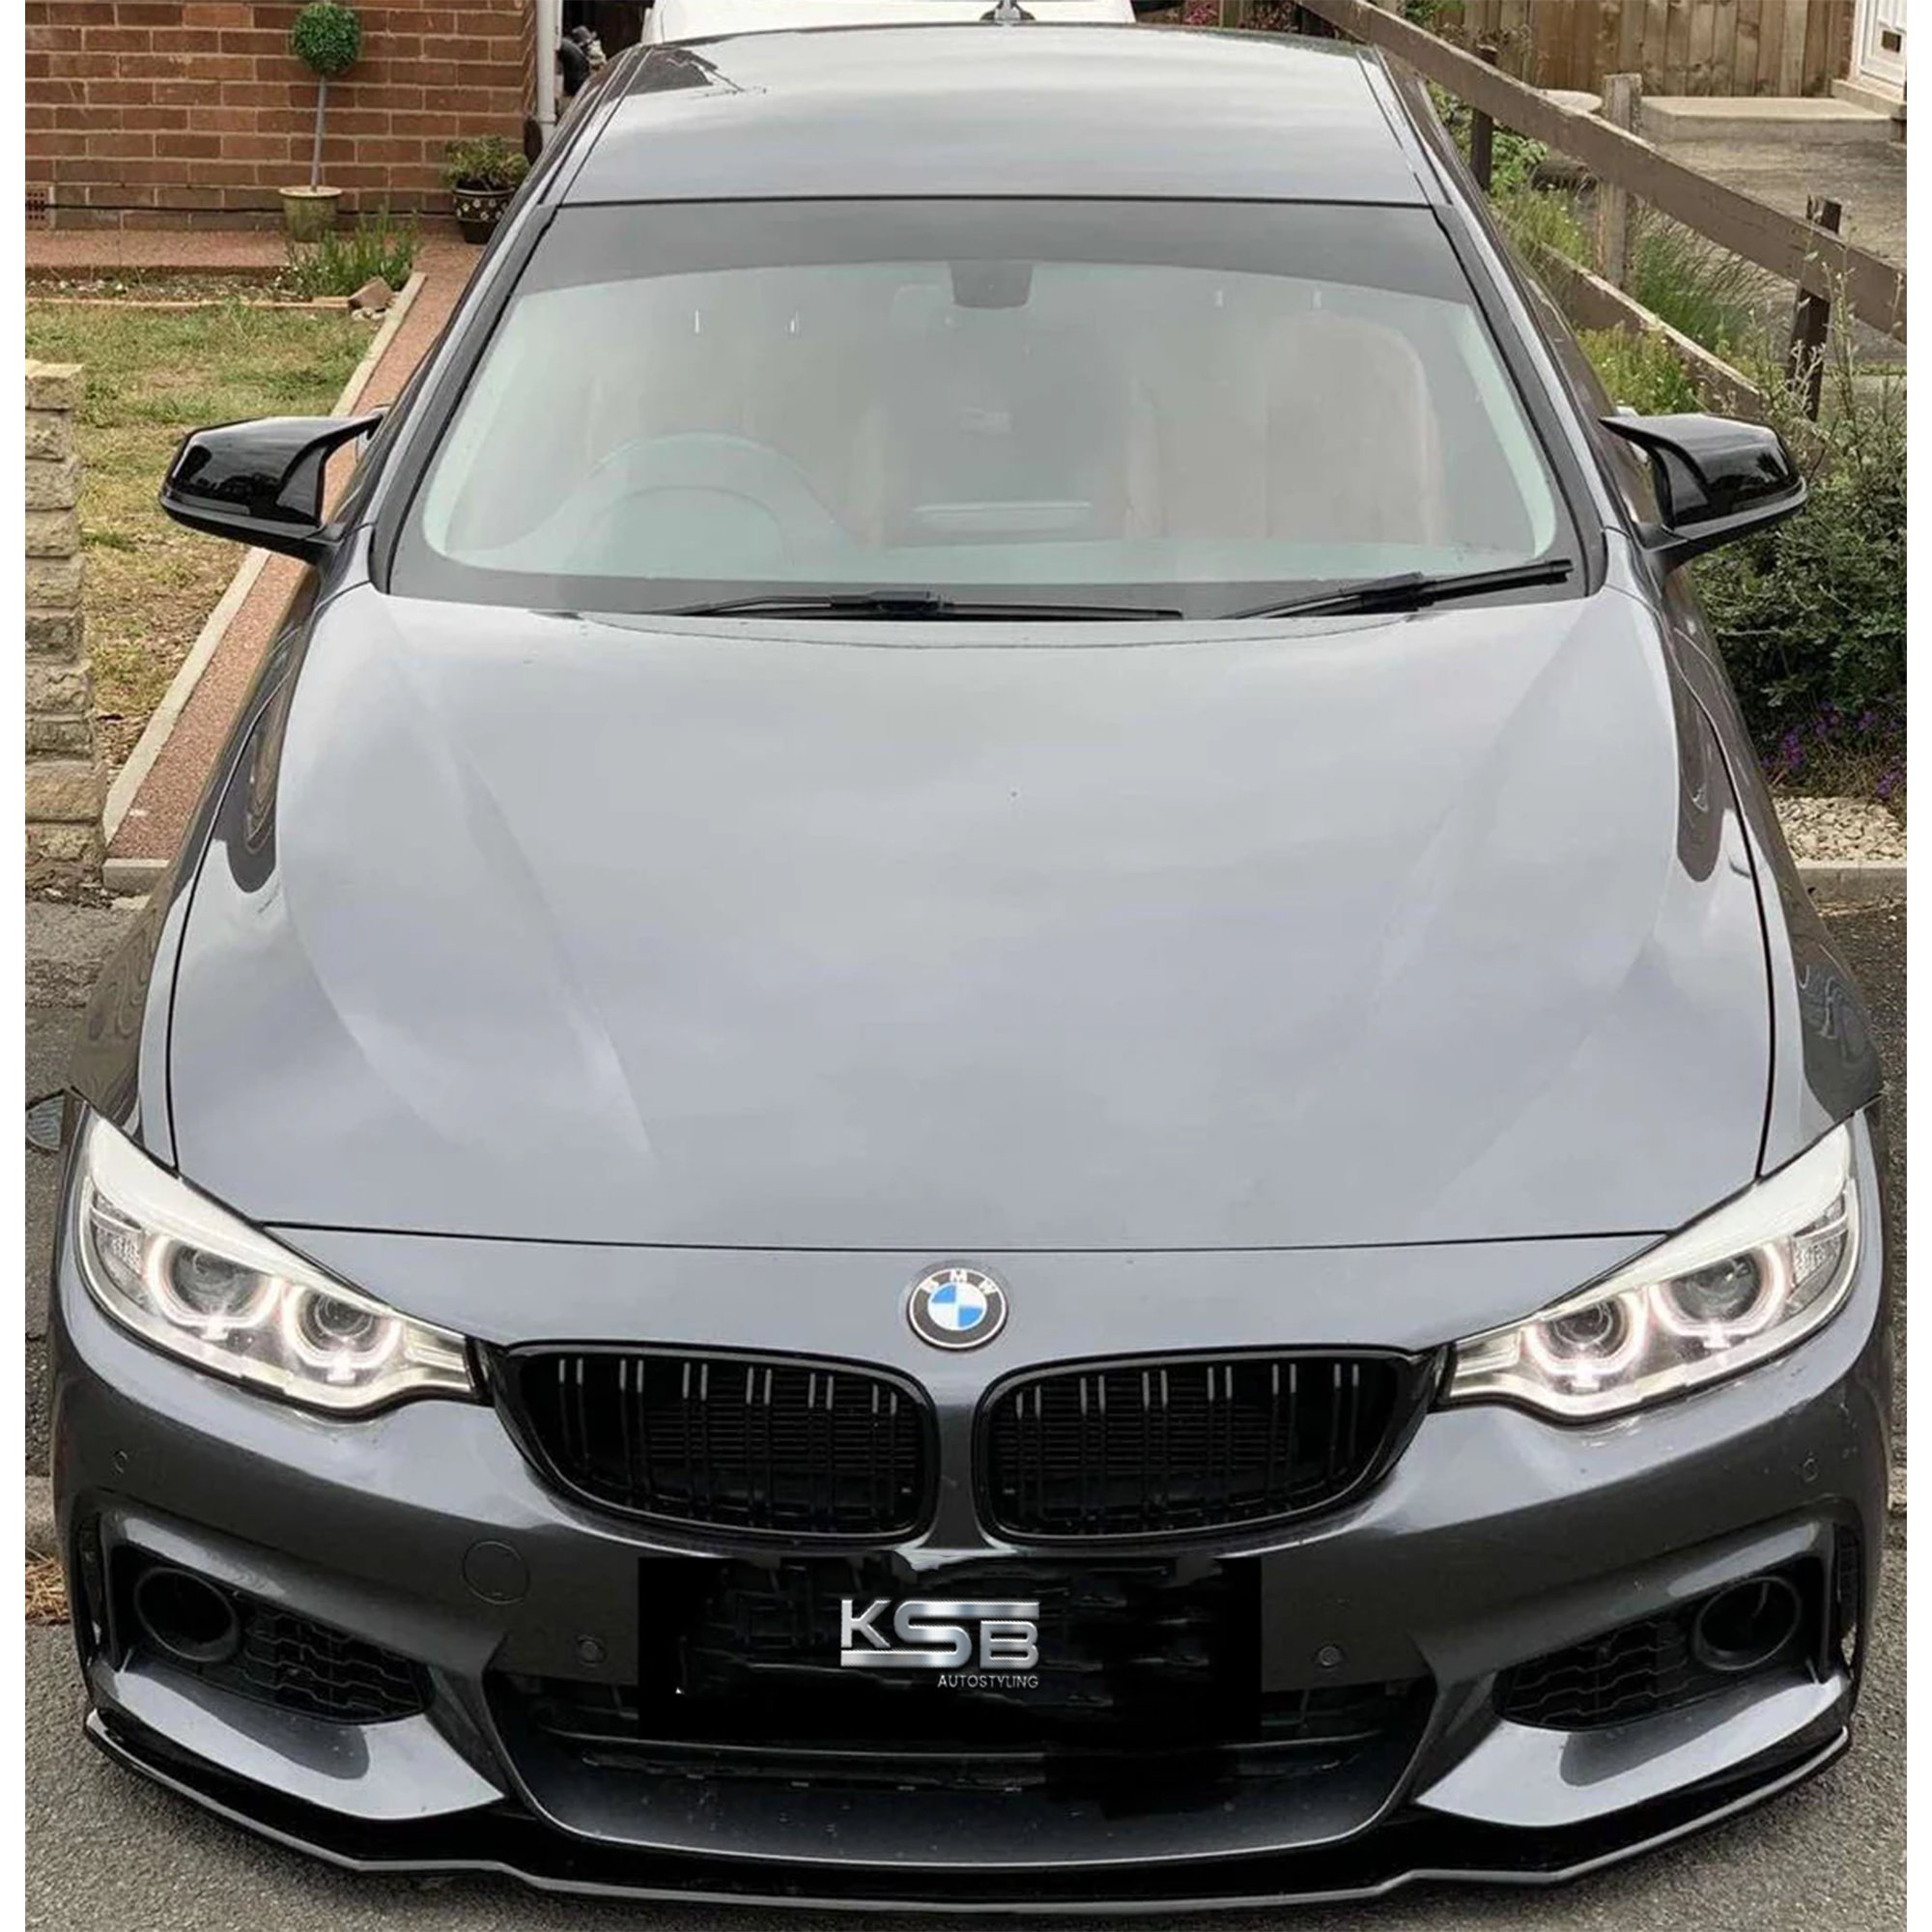
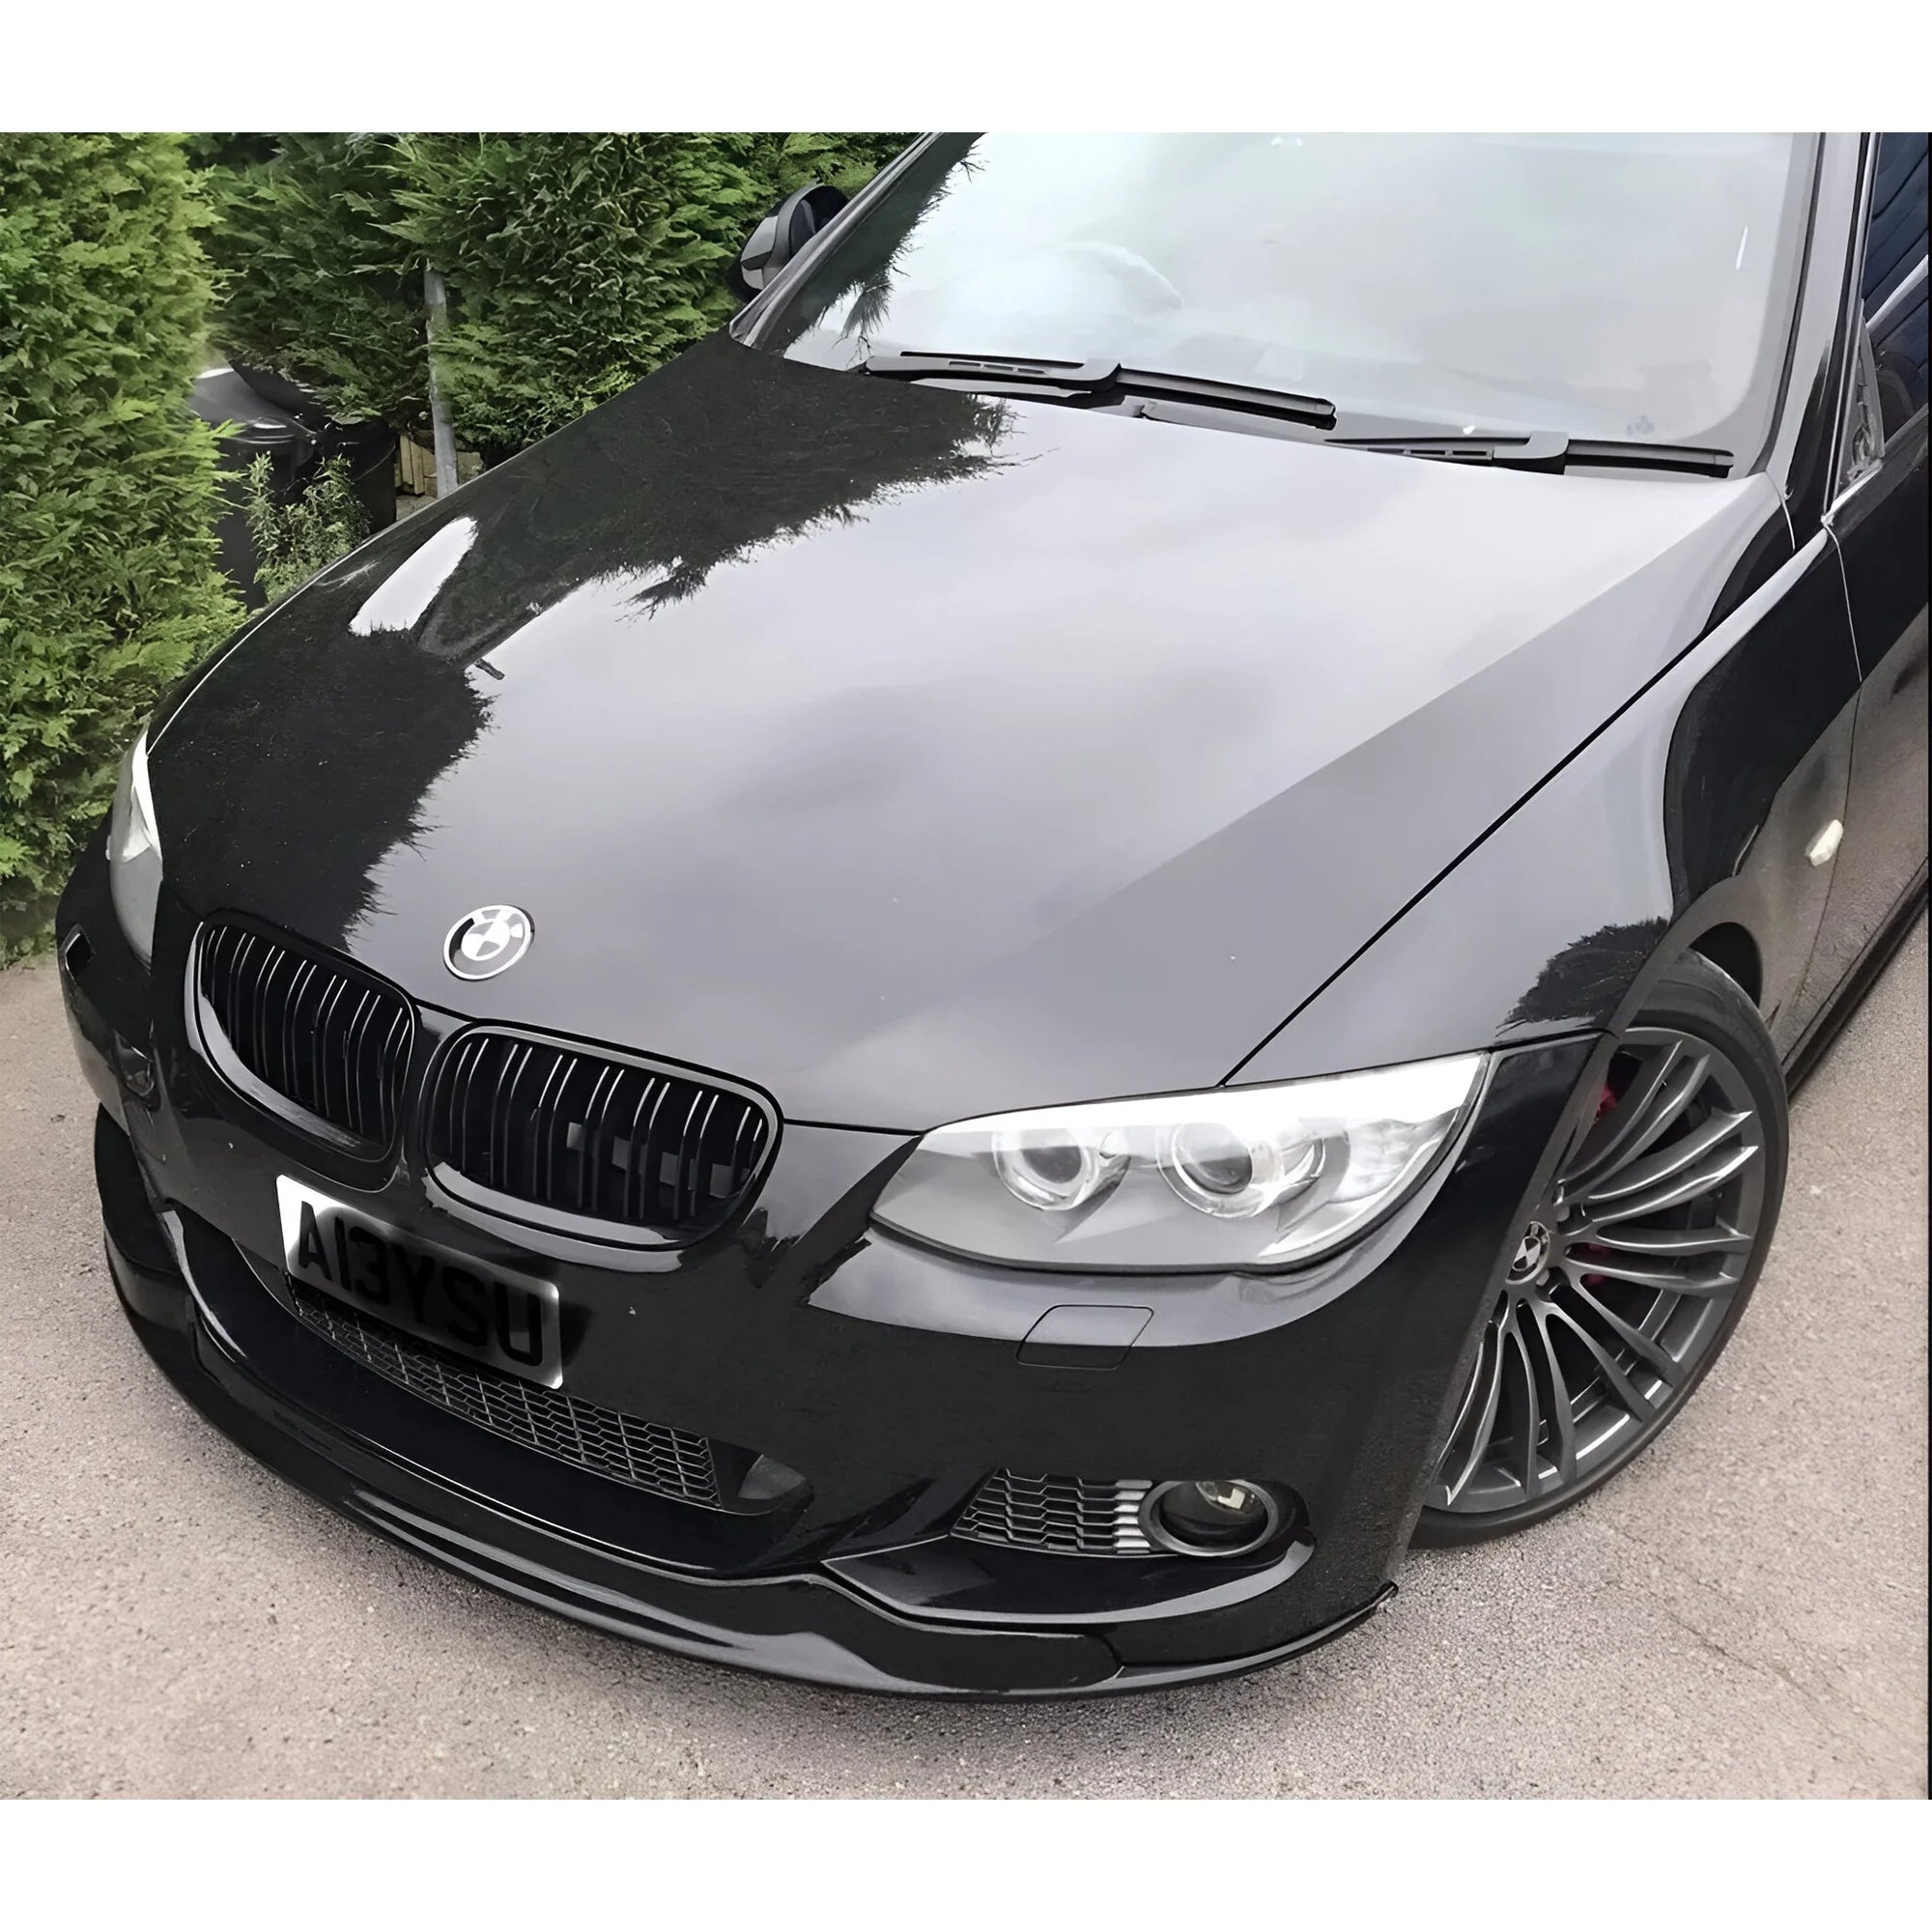
BMW Body Kit Installation by Generation
BMW generations differ in bumper shape and sensor placement. Treating them the same causes problems.
BMW F30 vs G20 Installation Comparison
|
Generation |
Bumper Complexity |
Sensor Sensitivity |
Install Difficulty |
Common Issue |
|
F30 |
Medium |
Medium |
Medium |
Lower bumper sag |
|
G20 |
High |
Very High |
Medium to High |
Sensor misalignment |
Note: The G20 platform demands precise dry fitting before paint.
Honda Civic Body Kit Installation by Generation
Civic generations vary significantly in aftermarket quality.
Civic FK vs FL Installation Comparison
|
Generation |
Aftermarket Support |
Install Difficulty |
Cutting Required |
Fitment Consistency |
|
FK |
Very High |
Medium |
Sometimes |
Medium |
|
FL |
Growing |
Medium to High |
No |
High |
Note: FK kits vary in quality. FL kits demand precision but fit more consistently.
Common Body Kit Problems and Fixes by Model
The table below maps common problems to solutions by platform.
|
Problem |
BMW Fix |
Audi Fix |
Golf Fix |
Civic Fix |
Focus Fix |
|
Headlight gap |
Re-align side mounts |
Sensor bracket check |
Tighten top clips |
Re-drill holes |
Shim mounts |
|
Sensor error |
Adjust depth |
Re seat sensor |
Rare |
Not applicable |
Not applicable |
|
Skirt peeling |
Add under screws |
Improve tape prep |
Add pressure |
Tape plus screws |
Extra fasteners |
|
Tire rubbing |
Offset adjustment |
Rare |
Liner trim |
Liner trim |
Raise height |
|
Paint cracking |
Reduce torque |
Thin paint layers |
Rare |
Reduce stress |
Reduce stress |
Does a Body Kit Improve Aerodynamics or Fuel Economy?
A body kit can enhance aerodynamics, but this depends on parts being properly designed for airflow and correctly installed. Many kits are mainly cosmetic and do not significantly impact drag or downforce. Incorrect alignment, gaps, or loose panels can actually increase drag rather than reduce it. Changes in fuel economy are usually minimal and become more noticeable at higher speeds. In practical driving conditions, the quality of fitment is more important than the kit's design.
Key takeaway: A well-fitted body kit can modestly improve airflow, but a poor fit can hinder performance.
Warranty, Leasing, and Insurance Considerations When Installing a Body Kit
Installing a body kit doesn't automatically void your factory warranty. However, any damage caused directly by the modification might not be covered. Leased vehicles have stricter rules since permanent changes often need to be undone before returning the car. Insurance companies may also require you to declare body kits, especially if they affect the vehicle's value or repair costs. Professional installers usually recommend checking these details before proceeding.
Key takeaway: Body kits are usually allowed, but responsibility for damage and disclosure stays with the owner.
DIY vs Professional Body Kit Installation Cost
Here is a detailed comparison of DIY and Professional Body Kit Installation Cost
|
Installation Type |
DIY Cost Range |
Professional Labour Cost |
Professional Paint Cost |
Total Professional Cost |
Best Suited For |
|
Front Lip or Splitter |
£100 to £400 |
£85 to £130 |
Not usually required |
£85 to £130 |
First-time installers |
|
Side Skirt Extensions |
£150 to £500 |
£85 to £170 |
Not usually required |
£85 to £170 |
Beginner to intermediate |
|
Rear Diffuser or Valance |
£150 to £600 |
£85 to £200 |
Sometimes required |
£150 to £350 |
DIY friendly with care |
|
Full Body Kit (Unpainted) |
£700 to £2,000 |
£500 to £1,500 |
Not included |
£500 to £1,500 |
Experienced DIY or shop |
|
Full Body Kit (Painted) |
Not recommended |
£1,000 to £2,000 |
£800 to £1,200 |
£2,000 to £3,000 |
Professional installation |
|
Widebody Kit |
Not recommended |
£2,000+ |
£1,000+ |
£3,000+ |
Specialist installers |
DIY costs mainly cover the parts and basic consumables, while professional costs can vary depending on current UK labour rates and paint pricing at specialist body shops. Full kits, painted parts, and widebody builds usually justify professional installation to avoid fitment and paint issues.
Key takeaway: DIY saves labour on small upgrades, while professional installation costs more because it delivers cleaner fitment, proper paint, and fewer long-term problems.
Final Verdict
To install a body kit, you need patience, as it is not about rushing and forcing the parts into place. Ultimately, it is about the preparation and your specific car type. When you respect model and generation differences, take time to dry-fit, and follow a proper installation order, the process becomes far more predictable, and the results are noticeably better.
Bad parts do not cause most failed body kit installs, but skipped steps, poor alignment, or rushing through fitment can. This guide is meant to help you avoid those mistakes, choose the right approach for your car, and decide when DIY makes sense versus when professional installation is the smarter option. When done correctly, a body kit should look intentional, sit cleanly, and hold up over time rather than looking added on or rushed.
The best body kit installations are planned carefully, fitted slowly, and finished with attention to detail.
FAQs
Q1: Is it possible for a beginner to install a body kit at home, or is a professional required?
Yes, a body kit can be installed at home, but only with the required tools. Parts like front lips, splitters, diffusers, and side skirt extensions can be installed with basic tools. However, full-body and widebody kits are difficult to install and require professionals because they require drilling accuracy, and paint quality also matters a lot.
Q2: What is the best material for a body kit?
For most daily-driven cars, polyurethane and ABS are the top choices. Polyurethane is flexible, absorbing bumps and minor impacts with ease. ABS is a bit stiffer but remains durable and maintains a good fit. Fibreglass tends to be cheaper and easier to repair, though it cracks more easily and may require extra fitting work. Beginners usually find polyurethane or ABS to be the most straightforward options.
Q3: Why is dry-fitting the kit pieces before painting or drilling required?
Dry-fitting enables you to check for the issues related to the alignment, gaps, and clearance before fitting the kit. At this stage, problems can be caught earlier, positions adjusted, and mounting points confirmed. However, skipping dry fitting often leads to misaligned panels, ruined paint, or holes drilled in the wrong place. Once the painting and drilling are done, the issues are harder to fix and can lead to additional costs.
Q4: How do I restore a warped or folded polyurethane part to its original shape?
Gentle heat can reshape Polyurethane with ease, and to do that, use a heat gun or hair dryer, warm the part slowly until it becomes flexible, then guide it back into shape and wait for it to cool down while holding it. Never force a cold part into position, as this can damage the surface or paint at some point, so always apply the head gradually and evenly.
Q5: What specific tools do I need to have ready before starting a body kit installation?
At a minimum, you should have basic hand tools, a drill with drill bits, measuring tape, masking tape, trim removal tools, cleaning supplies like panel wipe or alcohol, and quality automotive tape. If the car needs lifting, proper jack stands or ramps are essential. Having everything ready before starting prevents rushed mistakes.
Q6: Do I need to paint the body kit pieces before I attach them to the car?
Yes, it is preferred to paint the body kits after the dry-fit. The sequence that must be followed is to dry-fit first, paint second, and install last. If the parts are painted off the car, it allows you to have better edges and clear edges and installing painted parts demands extra care. Additionally,. Painting after installation usually means more masking and a higher risk of uneven finish.
Q7: Will adding a body kit void my vehicle’s factory warranty?
Installing a body kit does not automatically void a factory warranty, but if there is some damage during the modification process, the warranty may become void. It is always a good practice to keep the installation neat and documented in case of any issues that may arise later.
Q8: How do I stop my tyres from rubbing against the kit panels once the car is on the ground?
First, identify where rubbing occurs by turning the steering fully and inspecting contact points. Trimming the inner edges, adjusting the fender liners, or making small ride-height or alignment changes usually solves the issue. Rubbing should always be addressed immediately, as it can damage tyres, paint, and panels over time.