
Best Ford Transit Connect Styling Mods: A UK Owner’s Guide
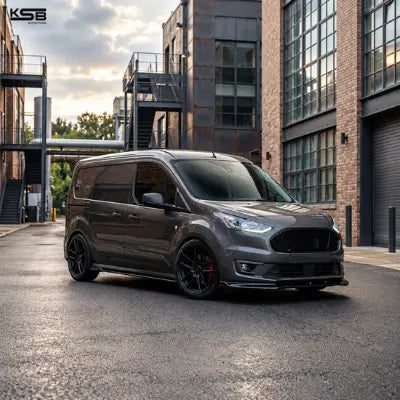
A Ford Transit Connect does not need a huge body kit to look noticeably different. In most cases, the best results come from getting the proportions right: sharpening the front end, carrying that lower line along the sides, balancing the rear and choosing wheels that suit the shape of the van.
For most owners, the strongest styling upgrades are a front splitter, side skirt extensions, rear styling, a spoiler and well-chosen alloy wheels. You do not need to fit everything at once. A simple splitter and spoiler can work well on a daily van, while a more complete build benefits from matching front, side and rear parts.
Before buying anything, though, make sure you know exactly which Transit Connect you own. Fitment can change with the model year, wheelbase, bumper shape and rear-door layout.
Check Your Transit Connect Before Choosing Styling Parts
Ford changed the Transit Connect’s front bumper profile, grille aperture and chassis across three distinct eras in the UK. Before adding anything to your basket, match your van’s registration year and body code against this fitment breakdown:

|
Generation / Era |
Model Years |
Key Bumper & Body Differences |
Critical Fitment Checks |
|
Mk2 Pre-Facelift |
2014–2018 |
Wide trapezoidal lower grille; distinct fog-light surrounds |
Needs pre-facelift specific front splitter; check SWB (L1) vs LWB (L2) sill length |
|
Mk2 Facelift |
2018–2023 (inc. 2019–2021 updates) |
Restyled oval upper grille and flatter lower bumper apron |
Uses facelift-only front splitter; Active trim has factory plastic arch cladding that blocks standard splitters |
|
Mk3 (VW Caddy Mk5 Platform) |
2022 / 2024–Present |
Shares MQB chassis and body pressings with the 5th-gen VW Caddy |
Requires Mk3-specific styling parts; Mk2 splitters, spoilers and wheels will not transfer |
Beyond generation year, check three physical details on your van:
- Wheelbase (L1 SWB vs L2 LWB): L2 models add 400mm to the wheelbase and overall body length, meaning SWB side skirt extensions will fall short along the sill.
- Rear Door Layout (Barn Doors vs Tailgate): Most commercial UK Connects run twin asymmetric or 50/50 barn doors requiring a two-piece split spoiler (or high-mounted single blade that clears the hinge line), whereas Tourneo and glazed tailgate vans use a single one-piece roof spoiler.
- Trim Level (Base/Trend vs Limited/Sport): Factory Sport and Limited models have colour-coded bumpers and fog surrounds, whereas Base and Leader models feature textured grey plastic bumpers that may benefit from gloss black contrast parts.
Which Styling Mods Make the Biggest Difference?
If the aim is to improve the exterior without turning the project into a full mechanical build, these are the modifications that usually make the biggest visual difference:
- Front splitter
- Side skirt extensions
- Rear splitters, spats or bumper extensions
- Rear spoiler
- Alloy wheels
- Carefully chosen supporting details
What matters is how the parts work together, not how many you fit.
1. Start With a Front Splitter
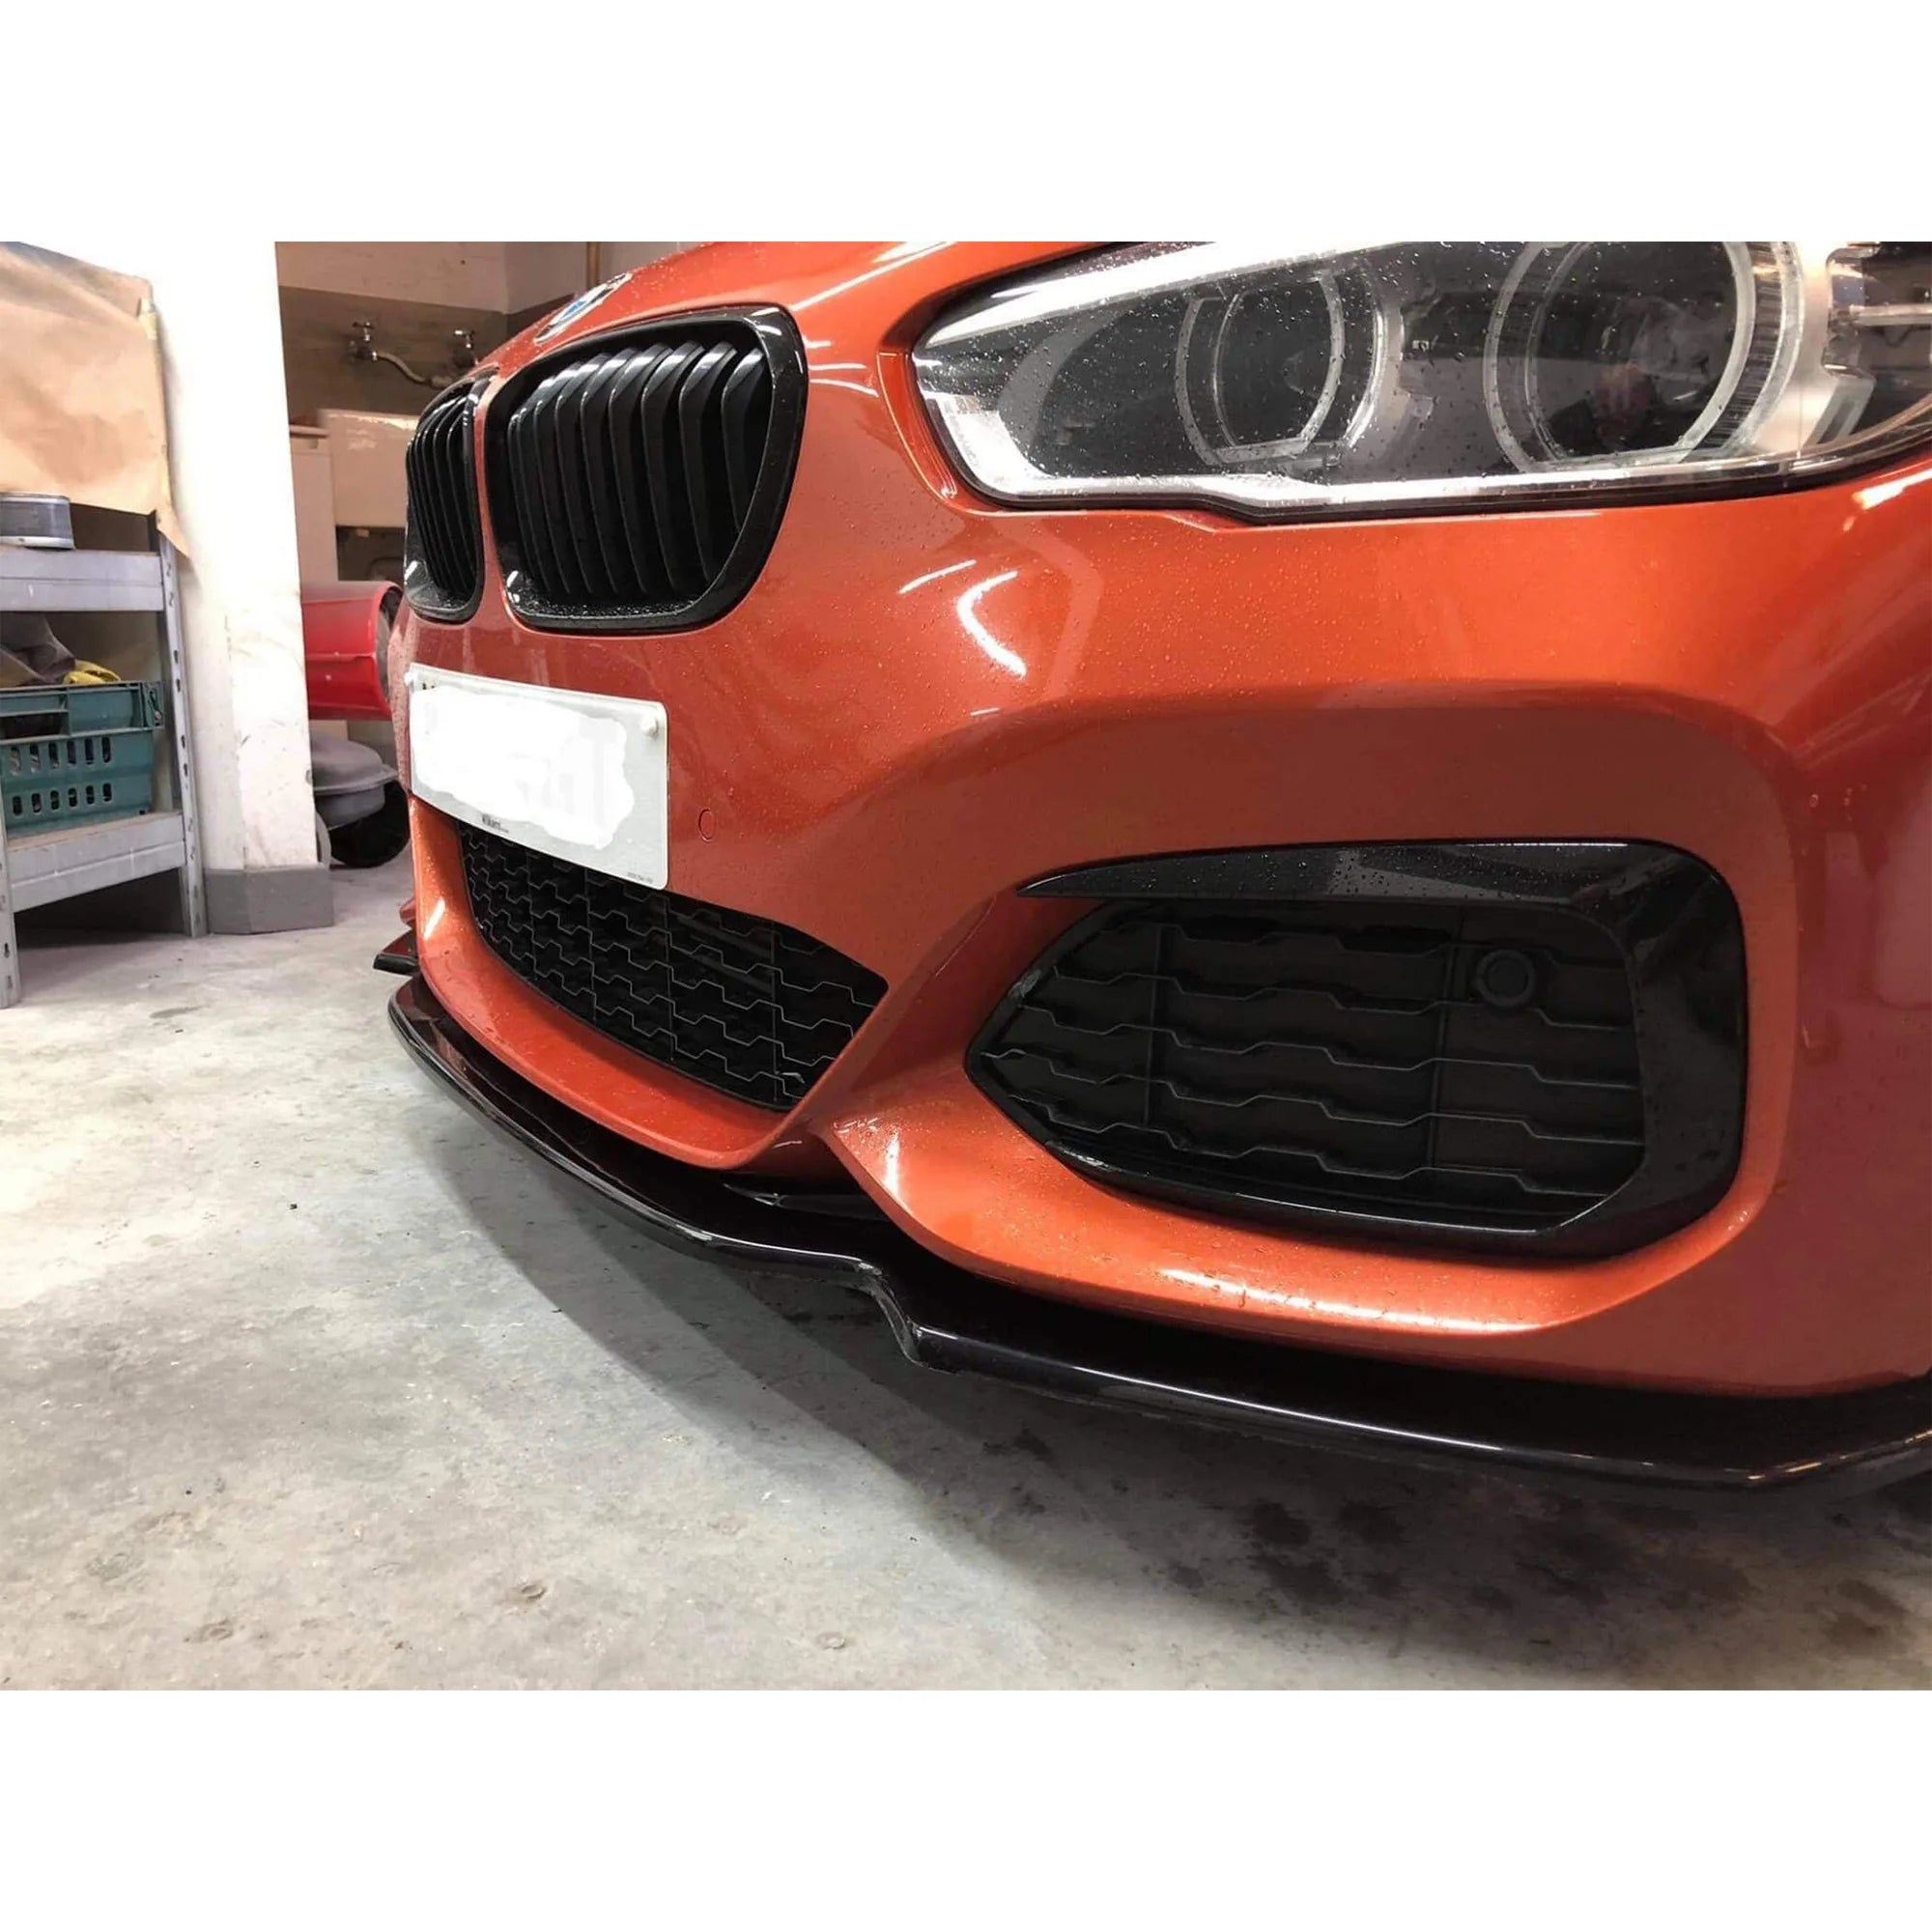
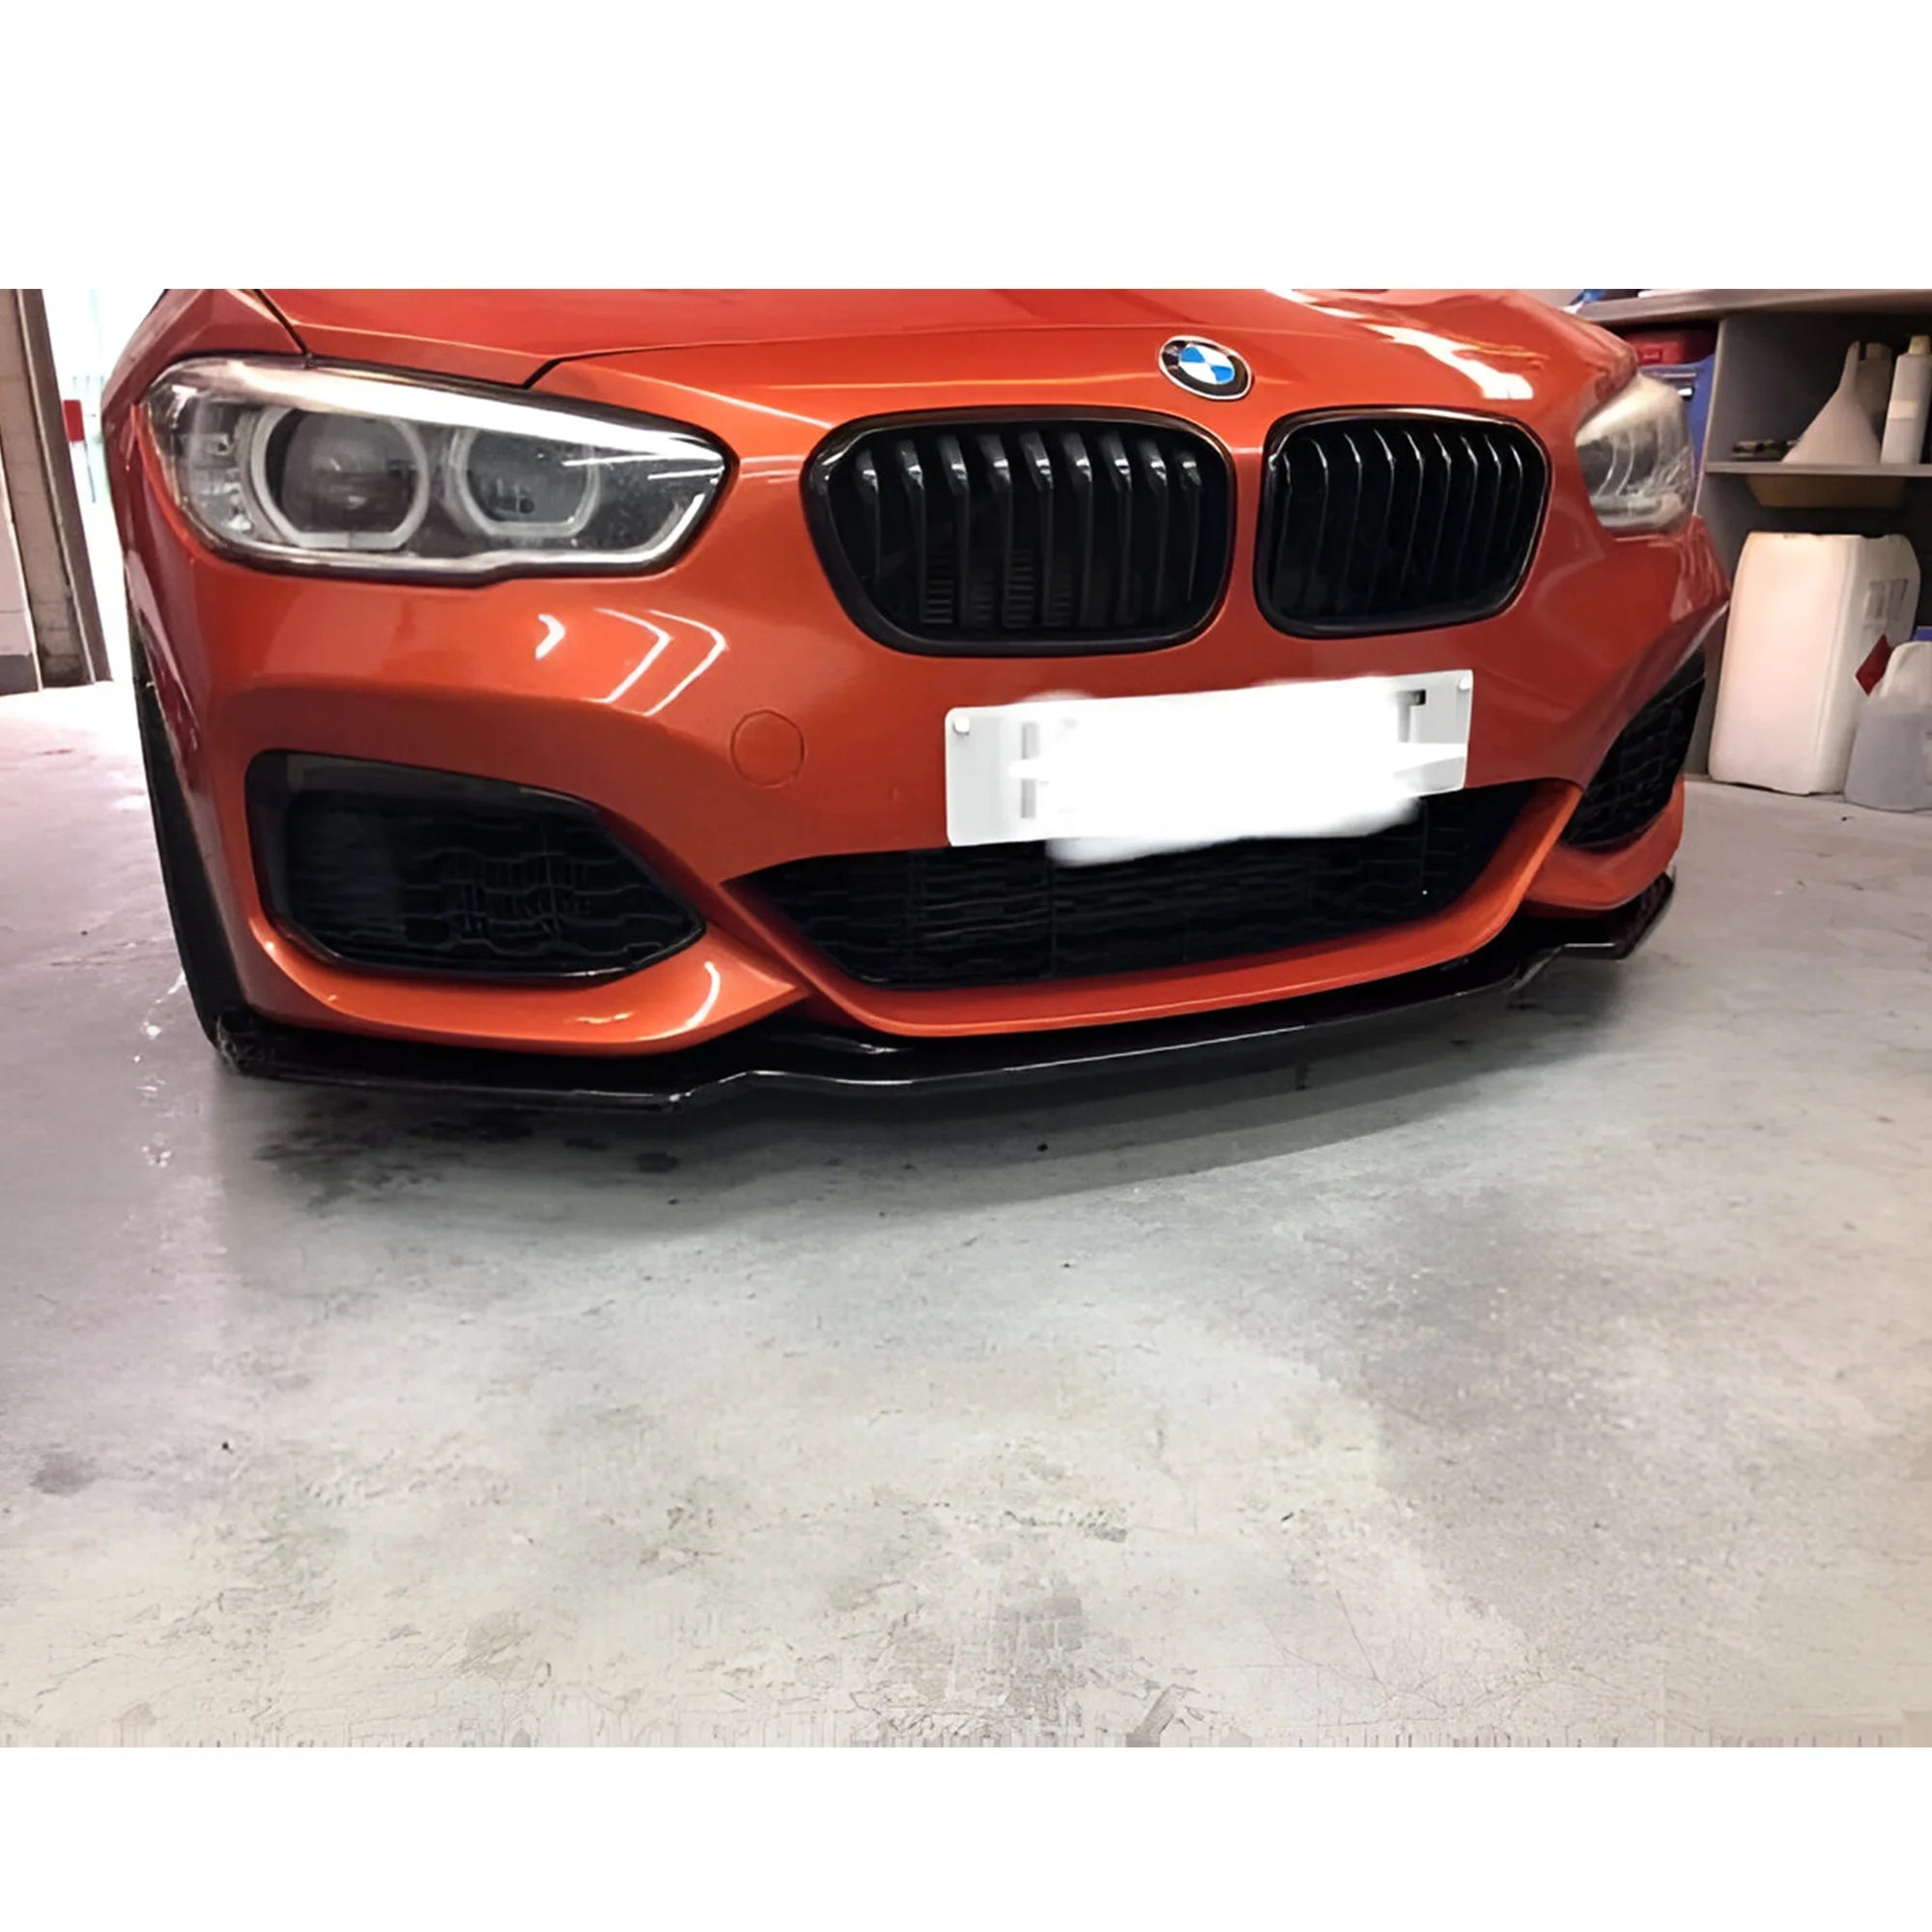
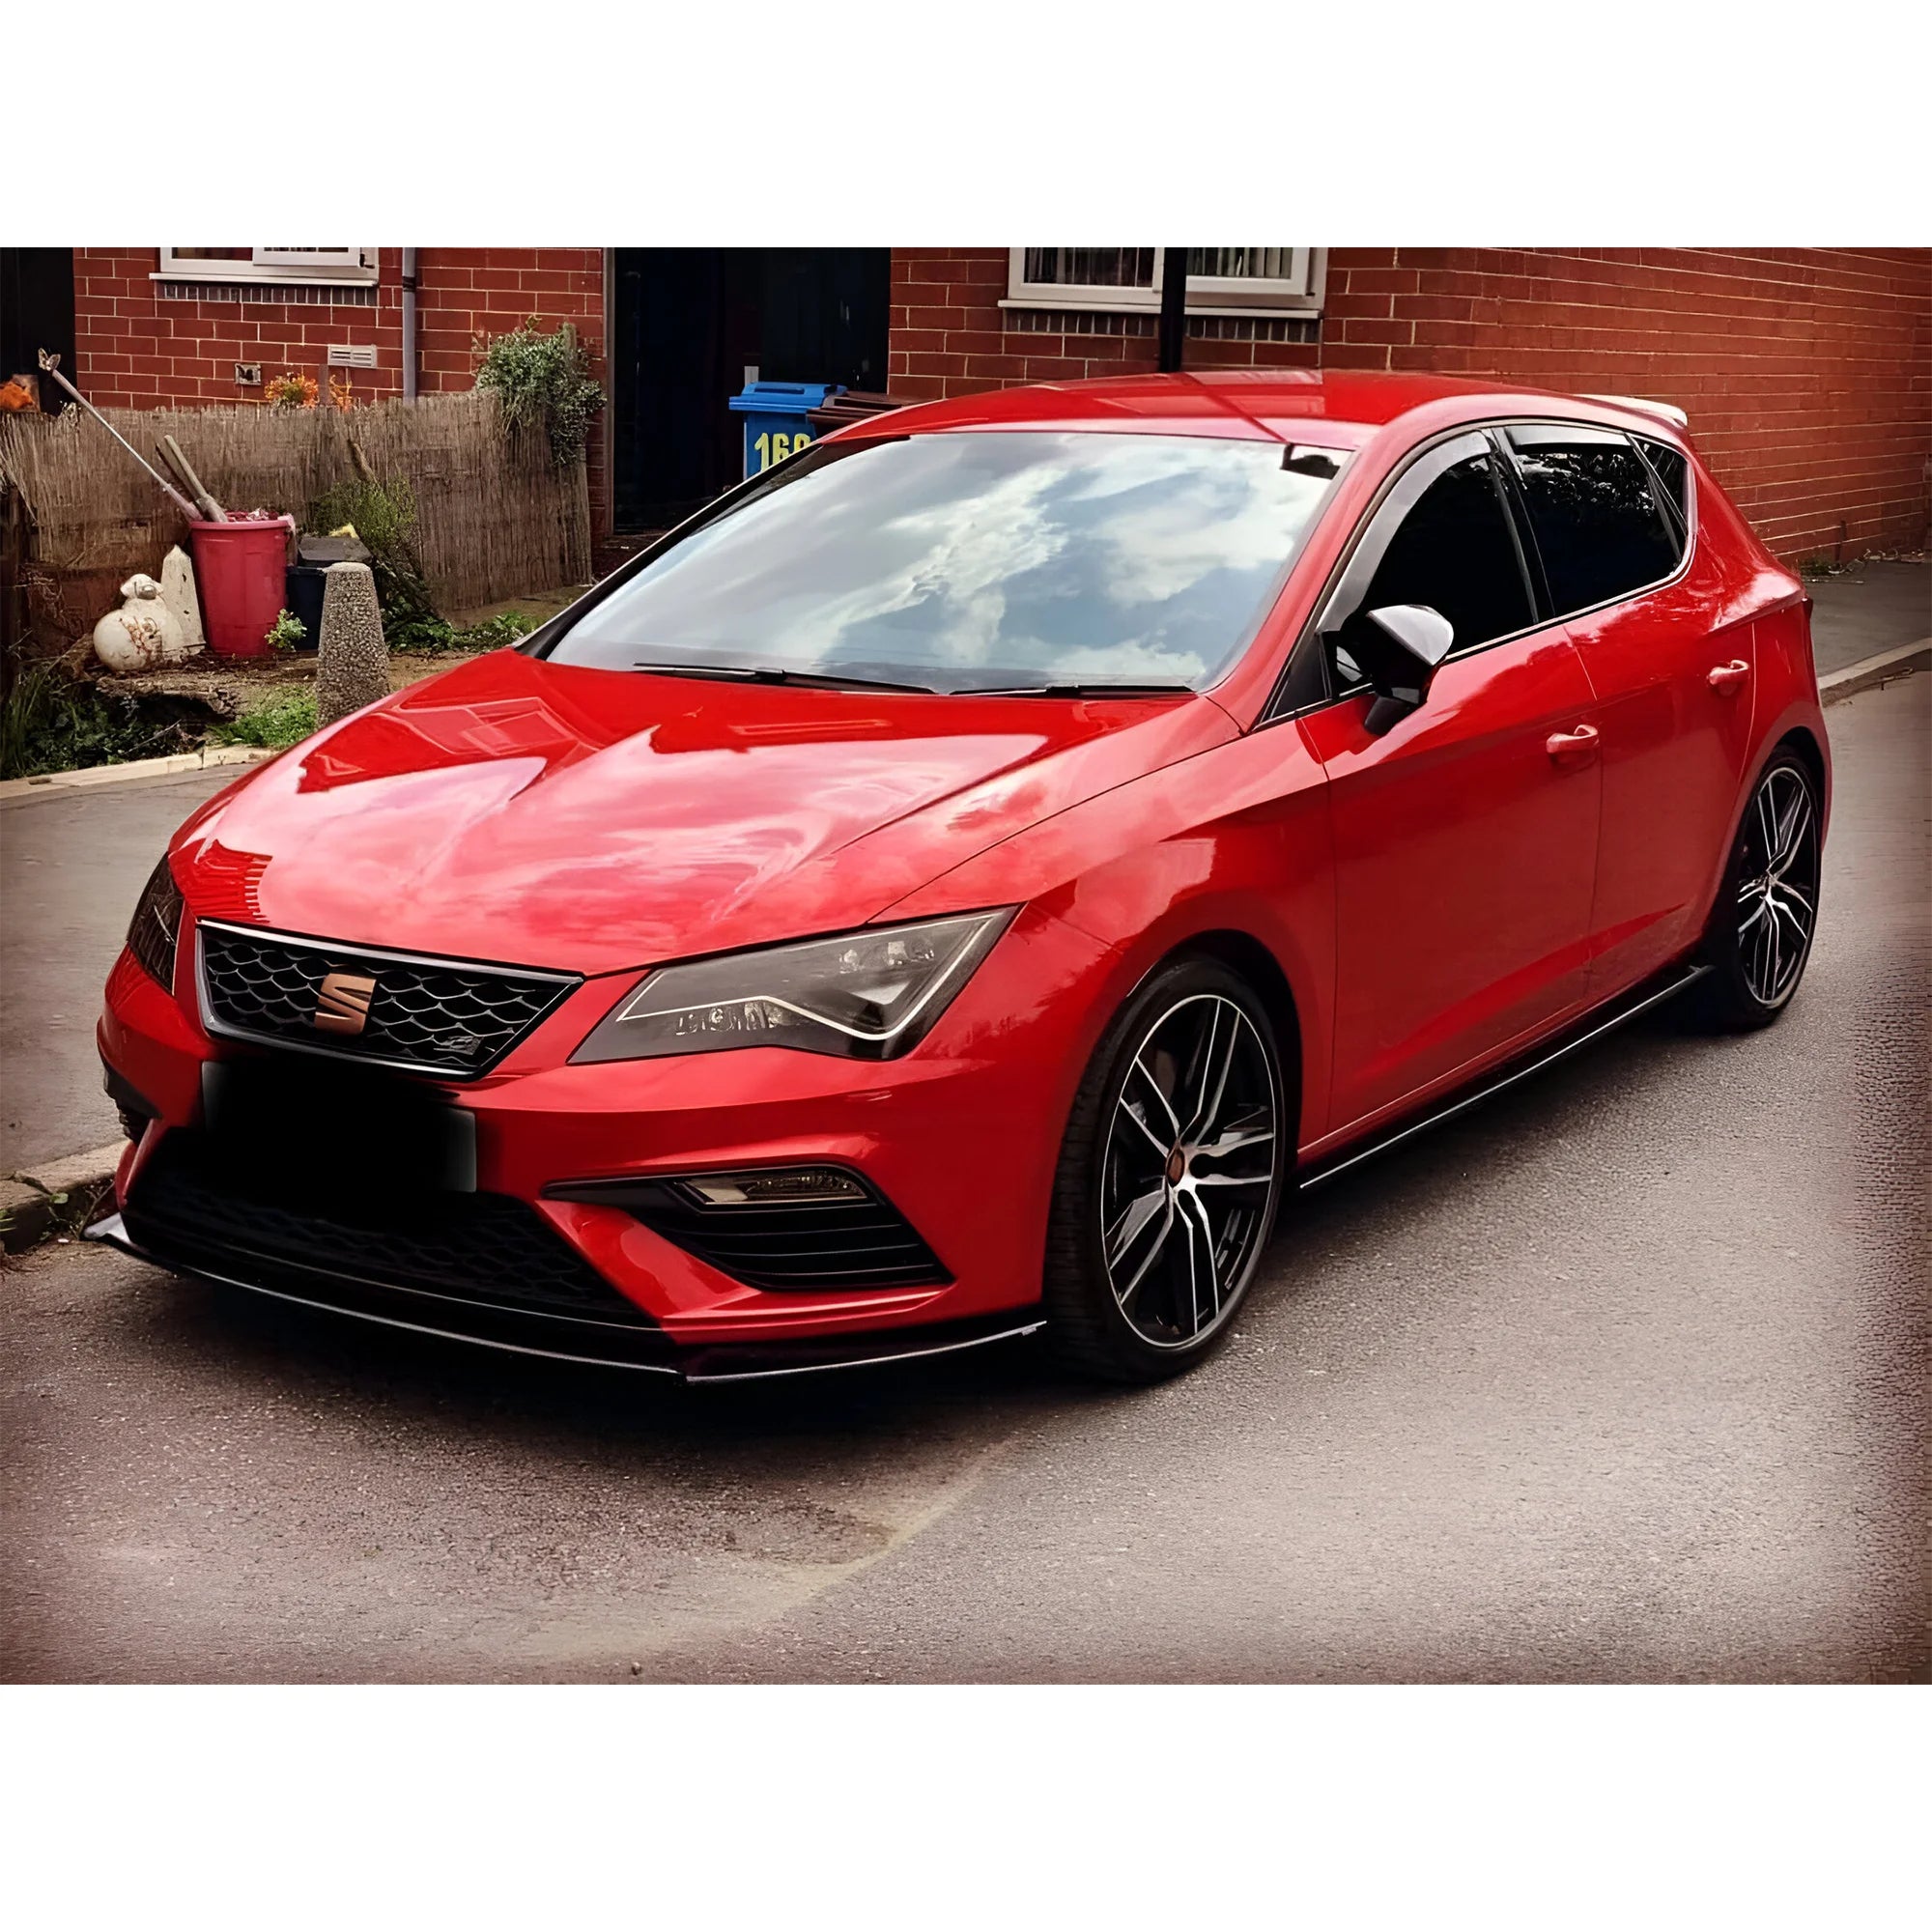
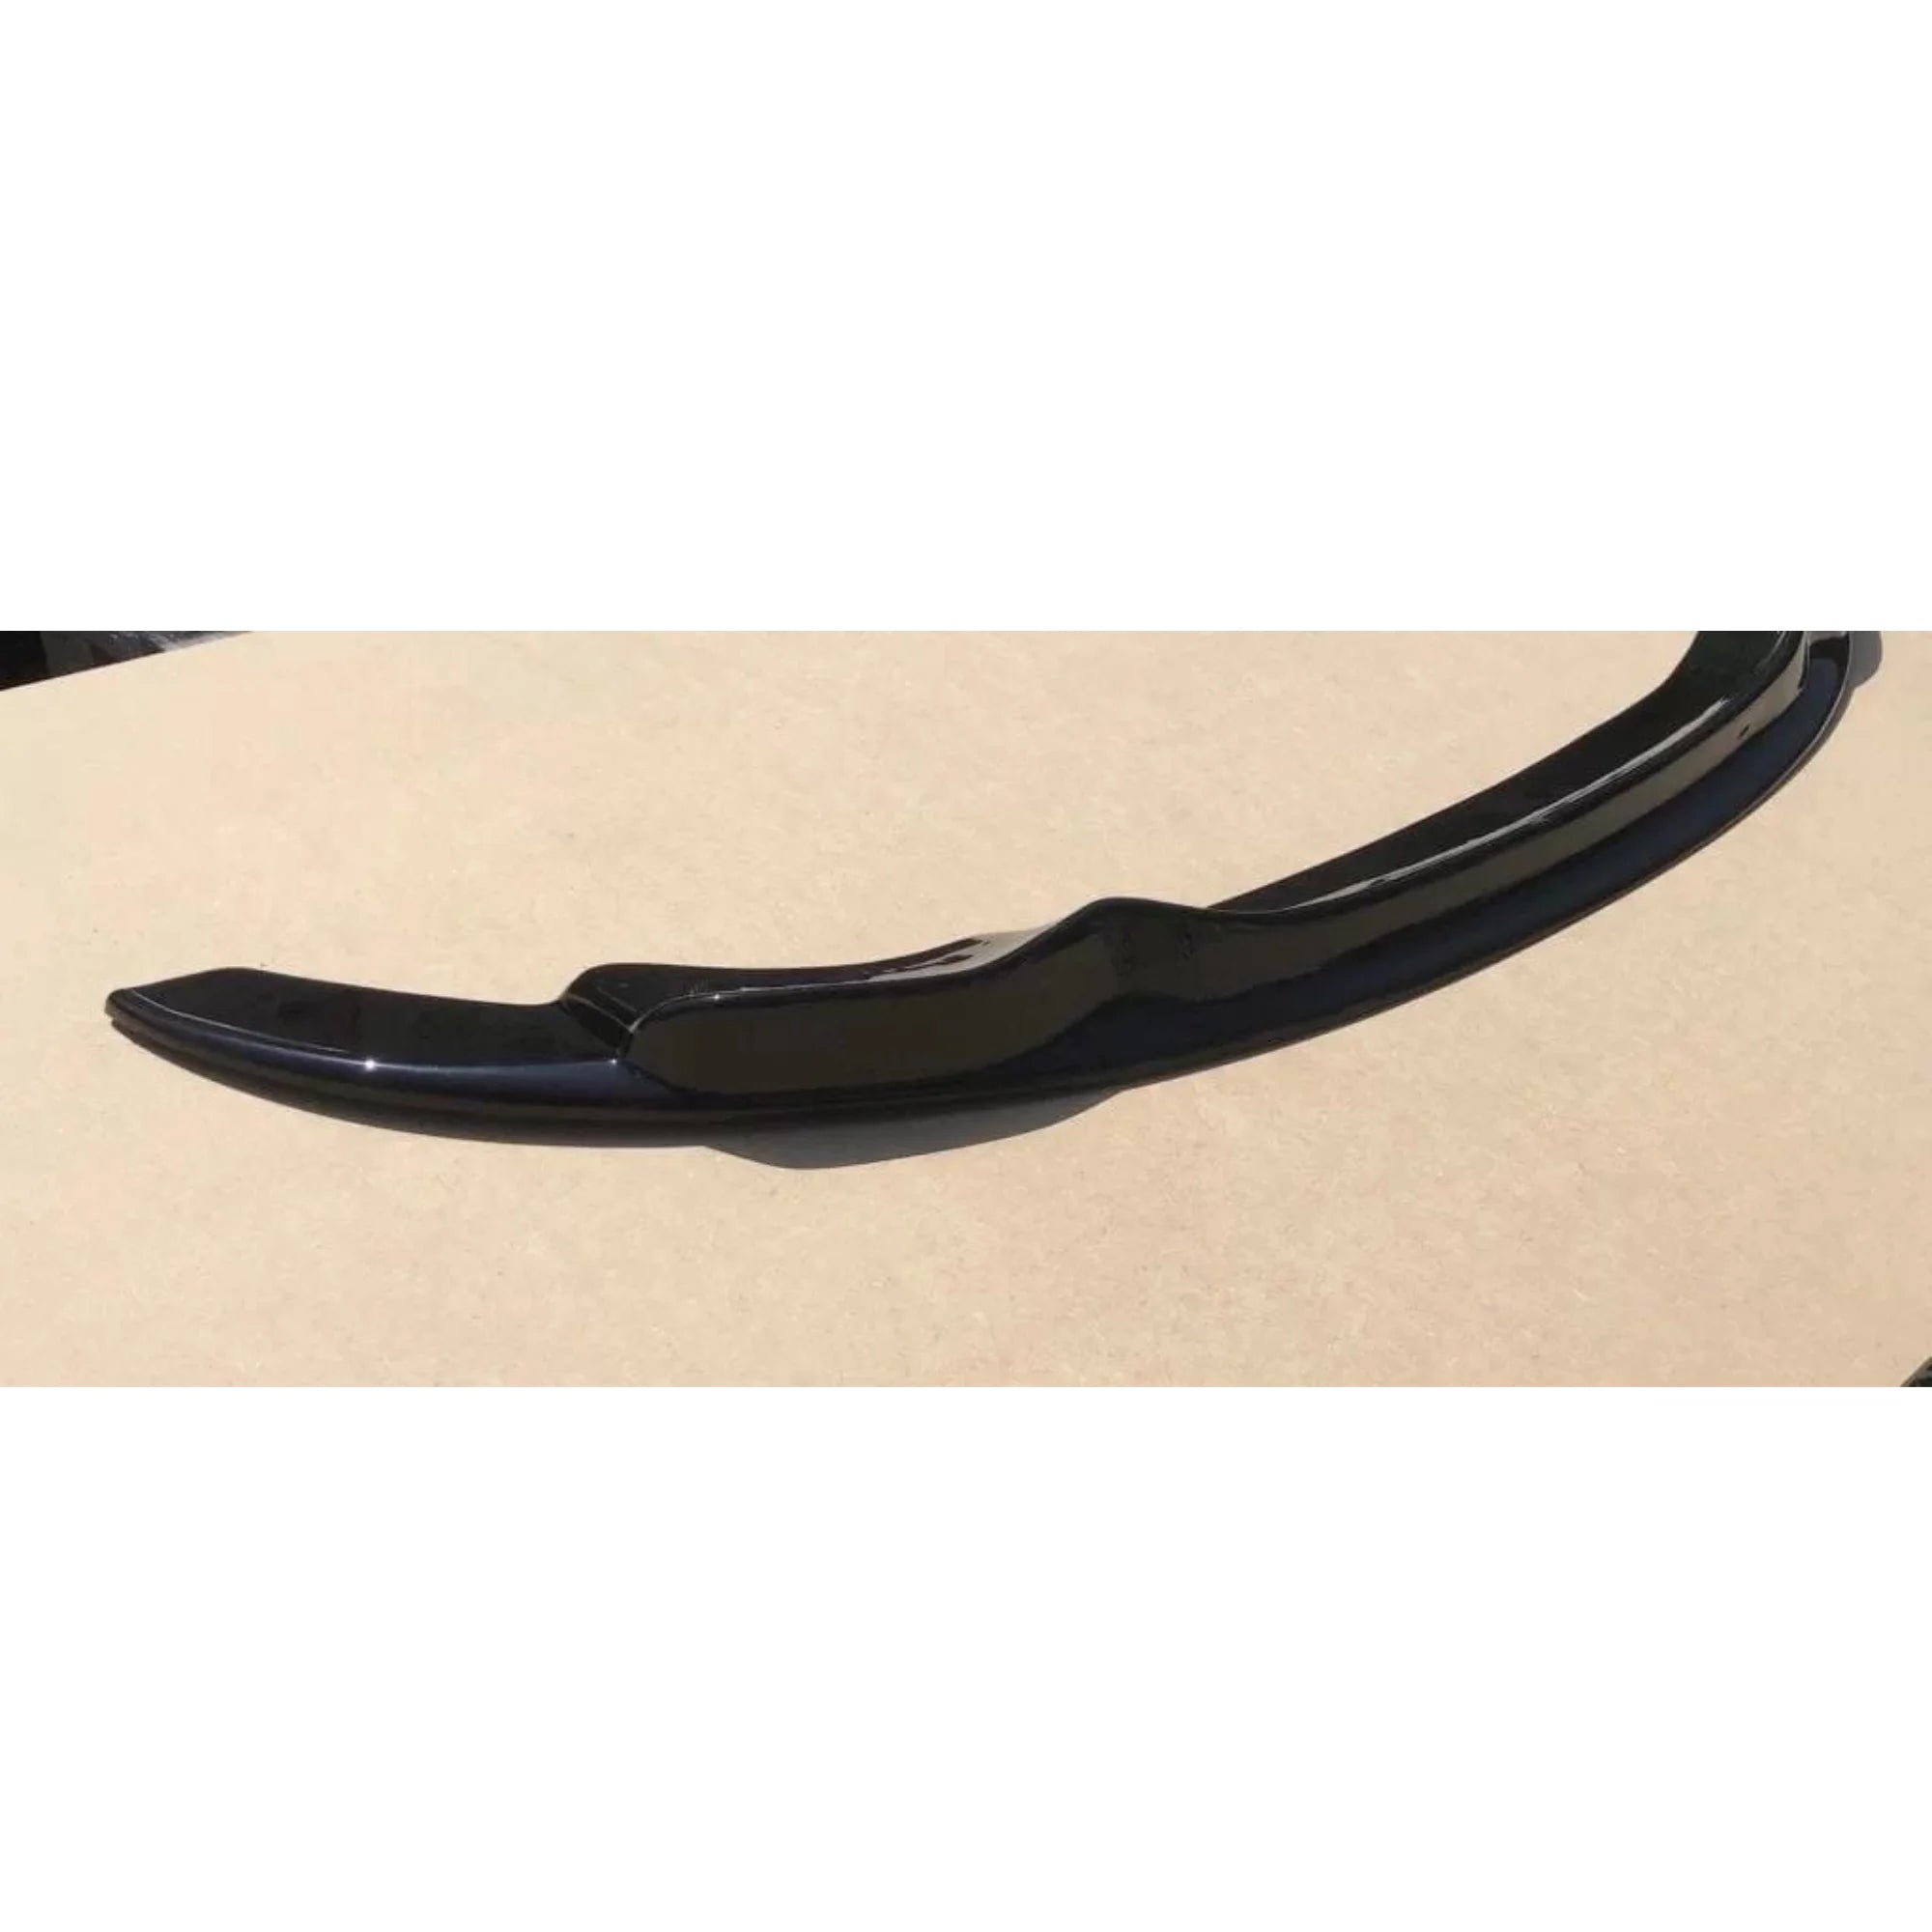
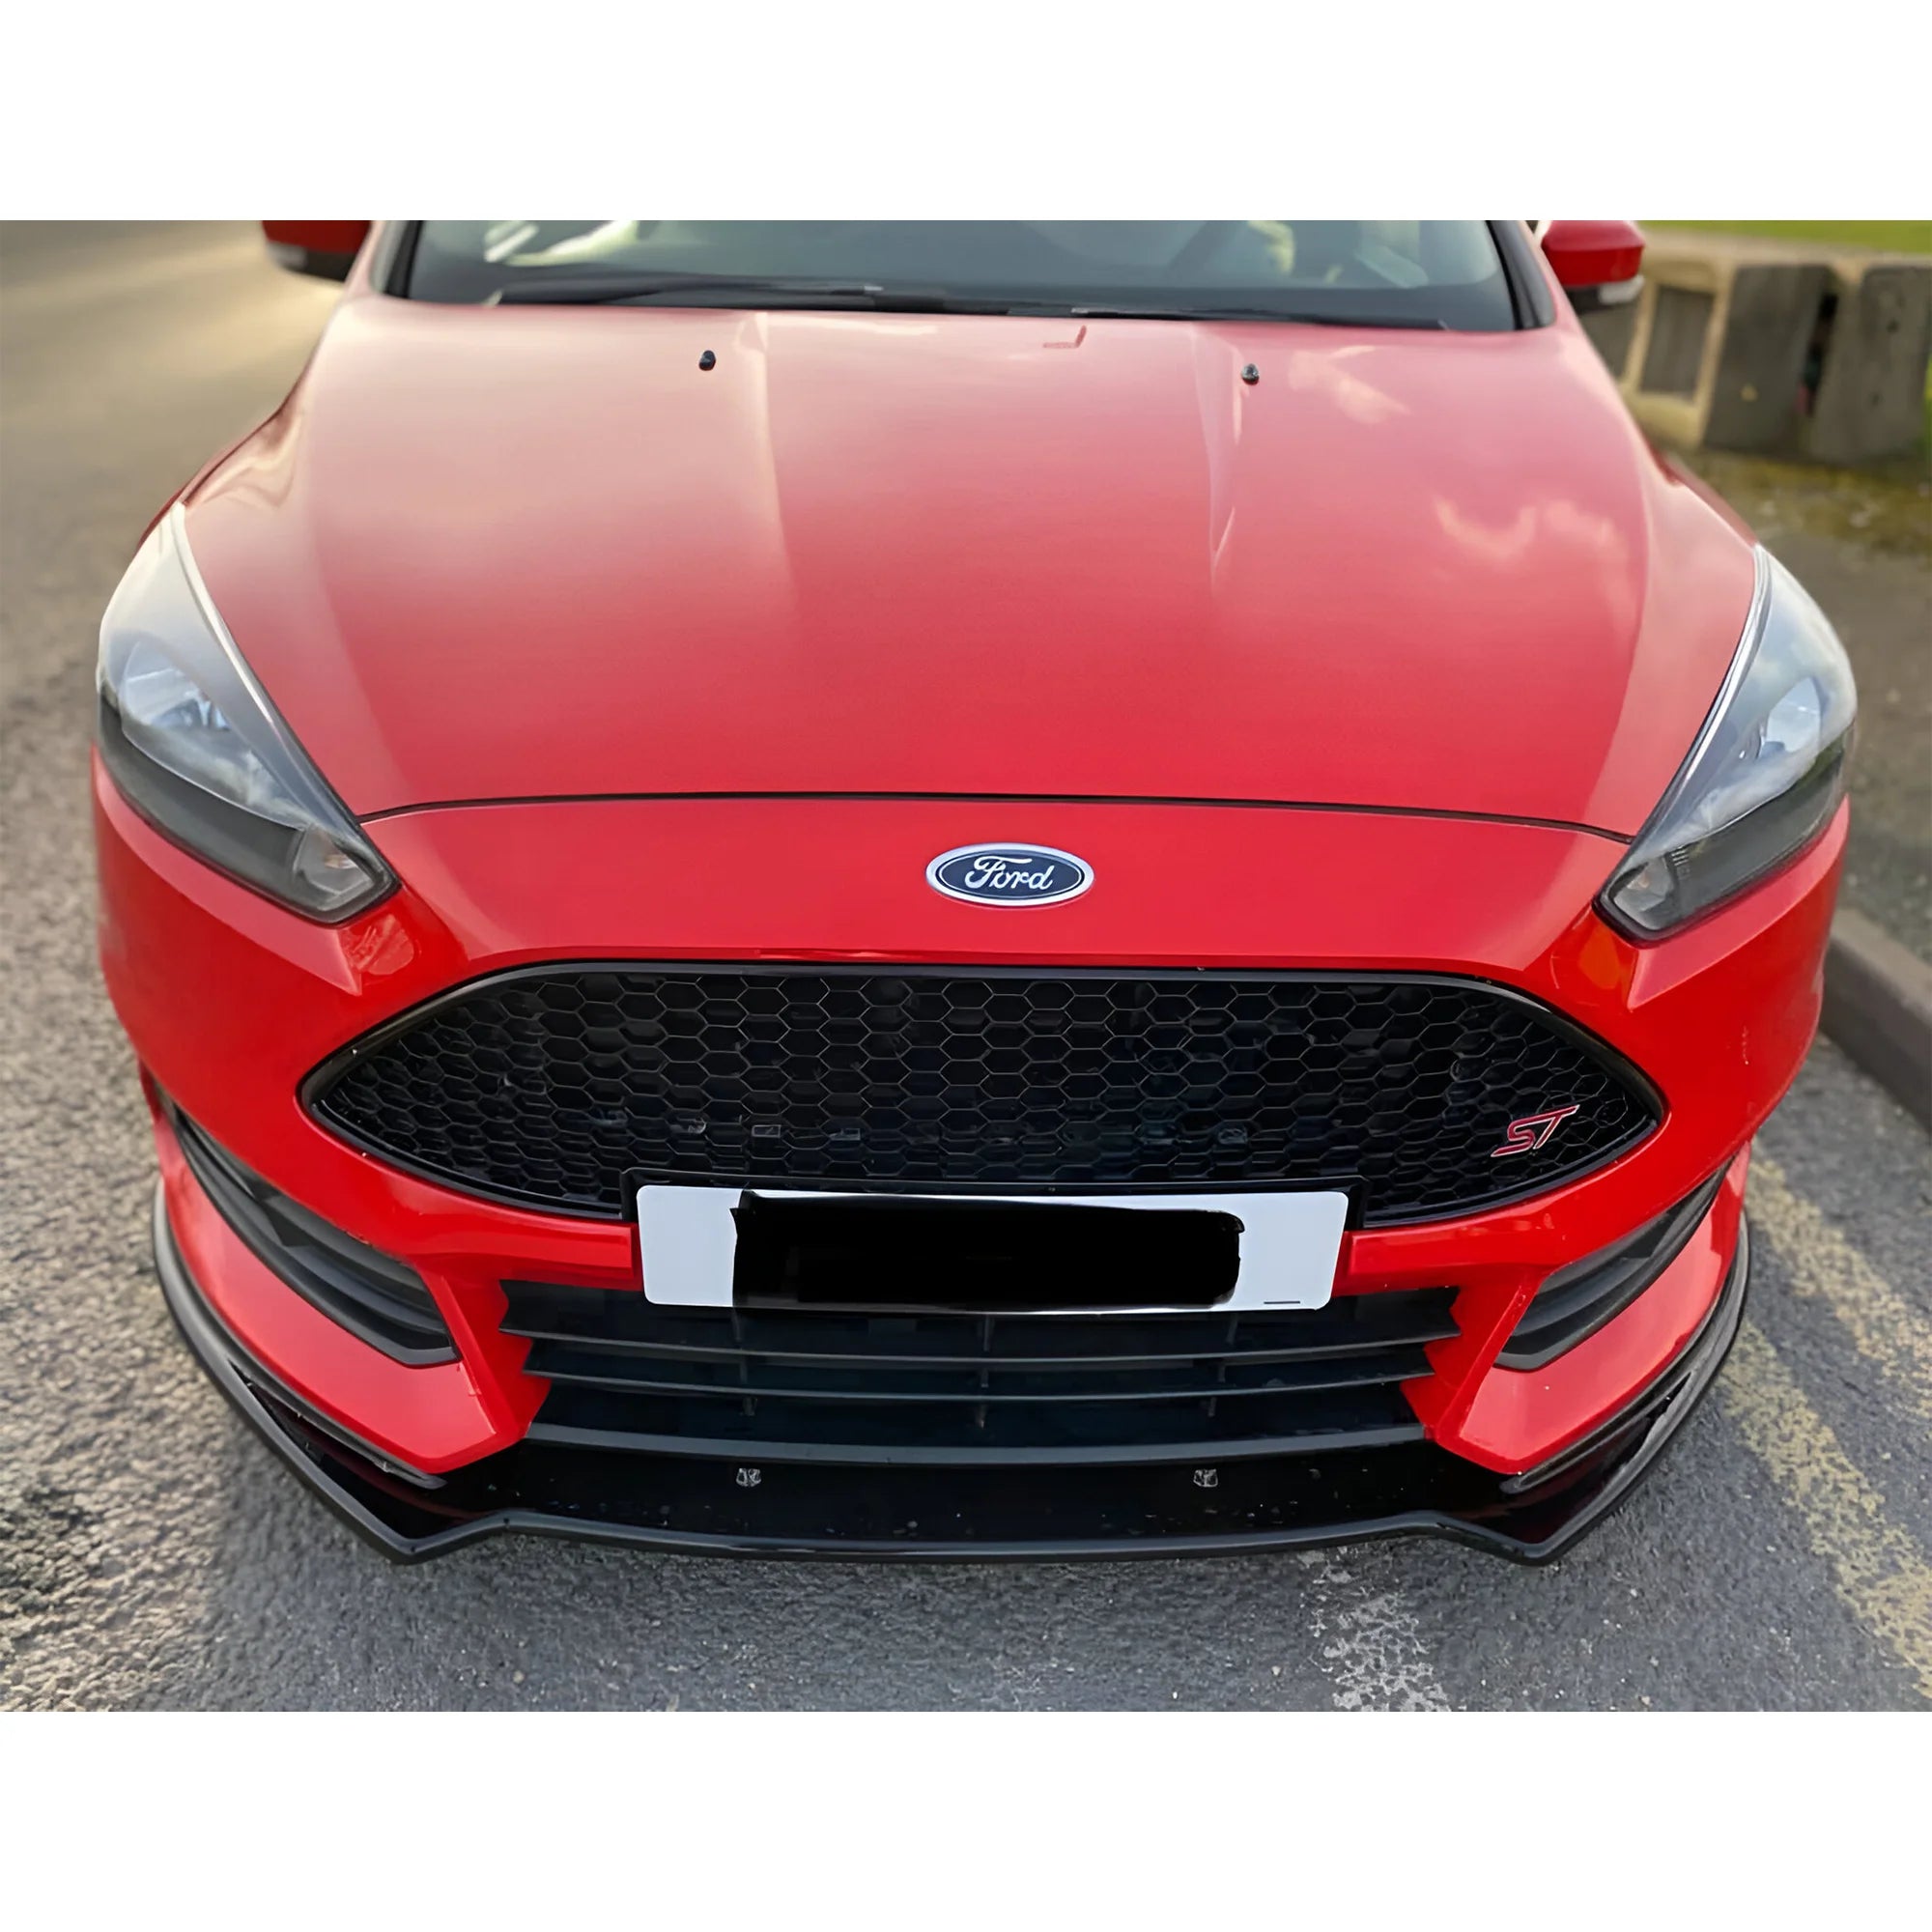
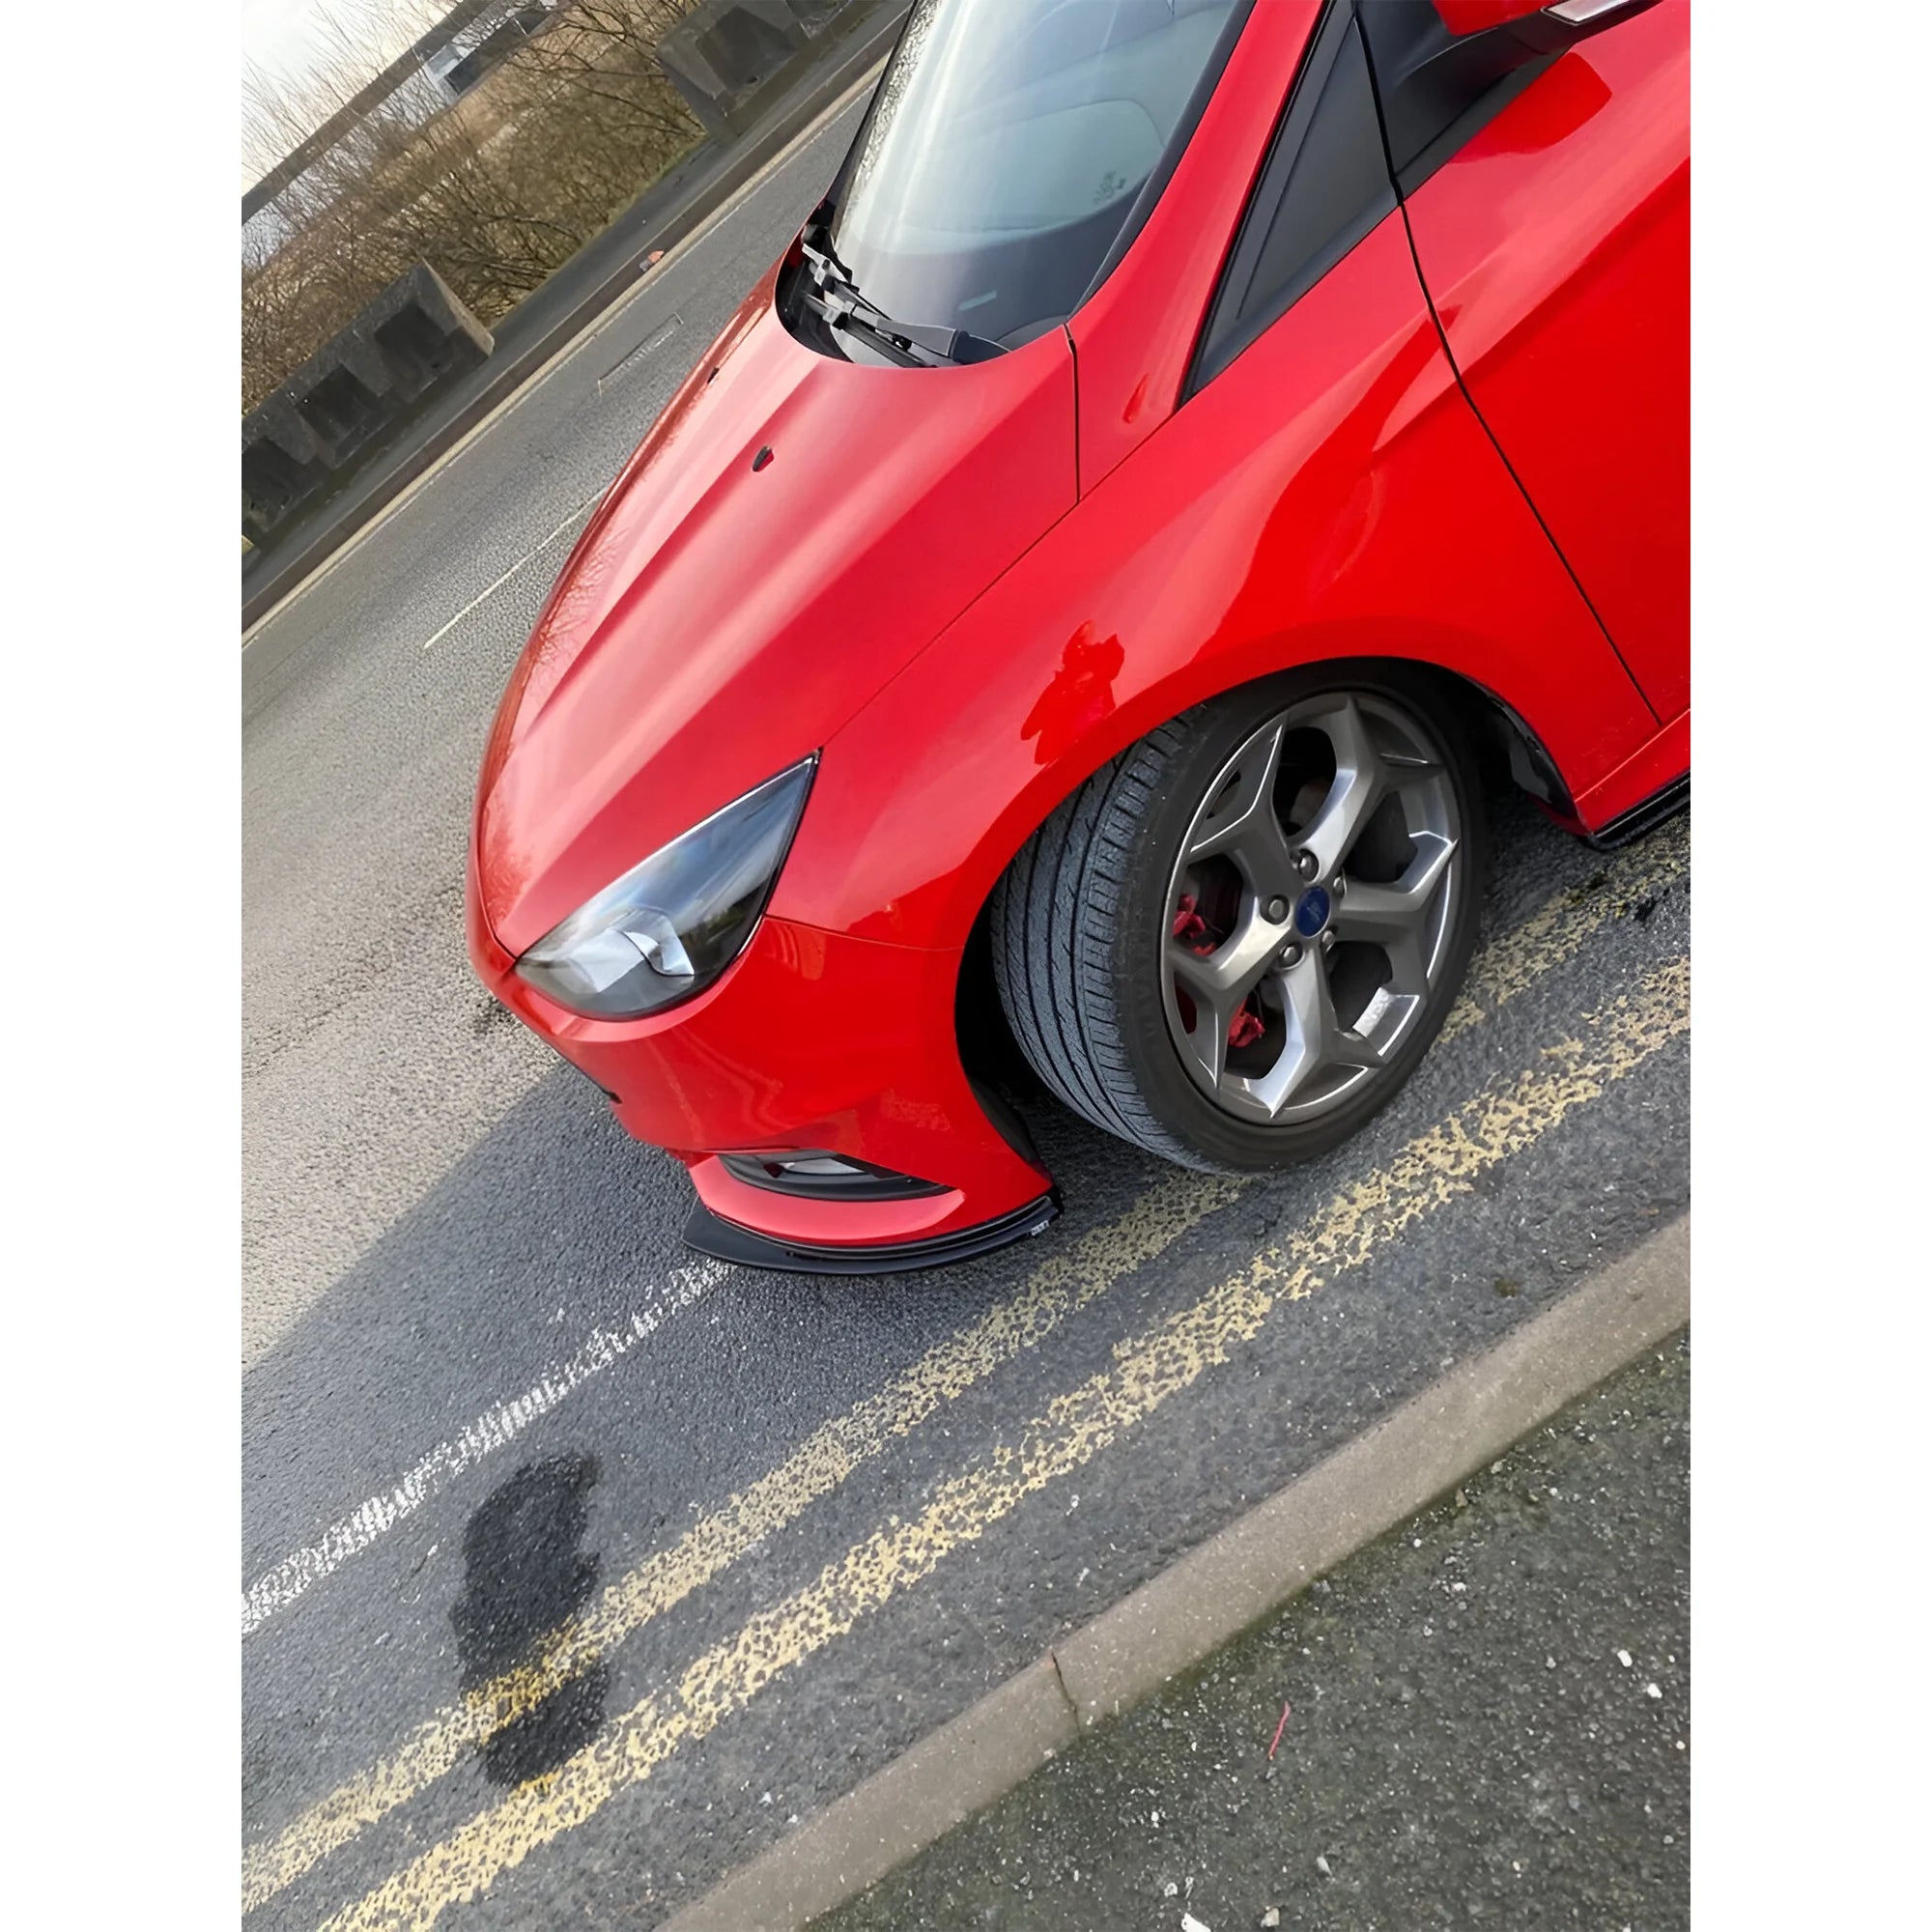
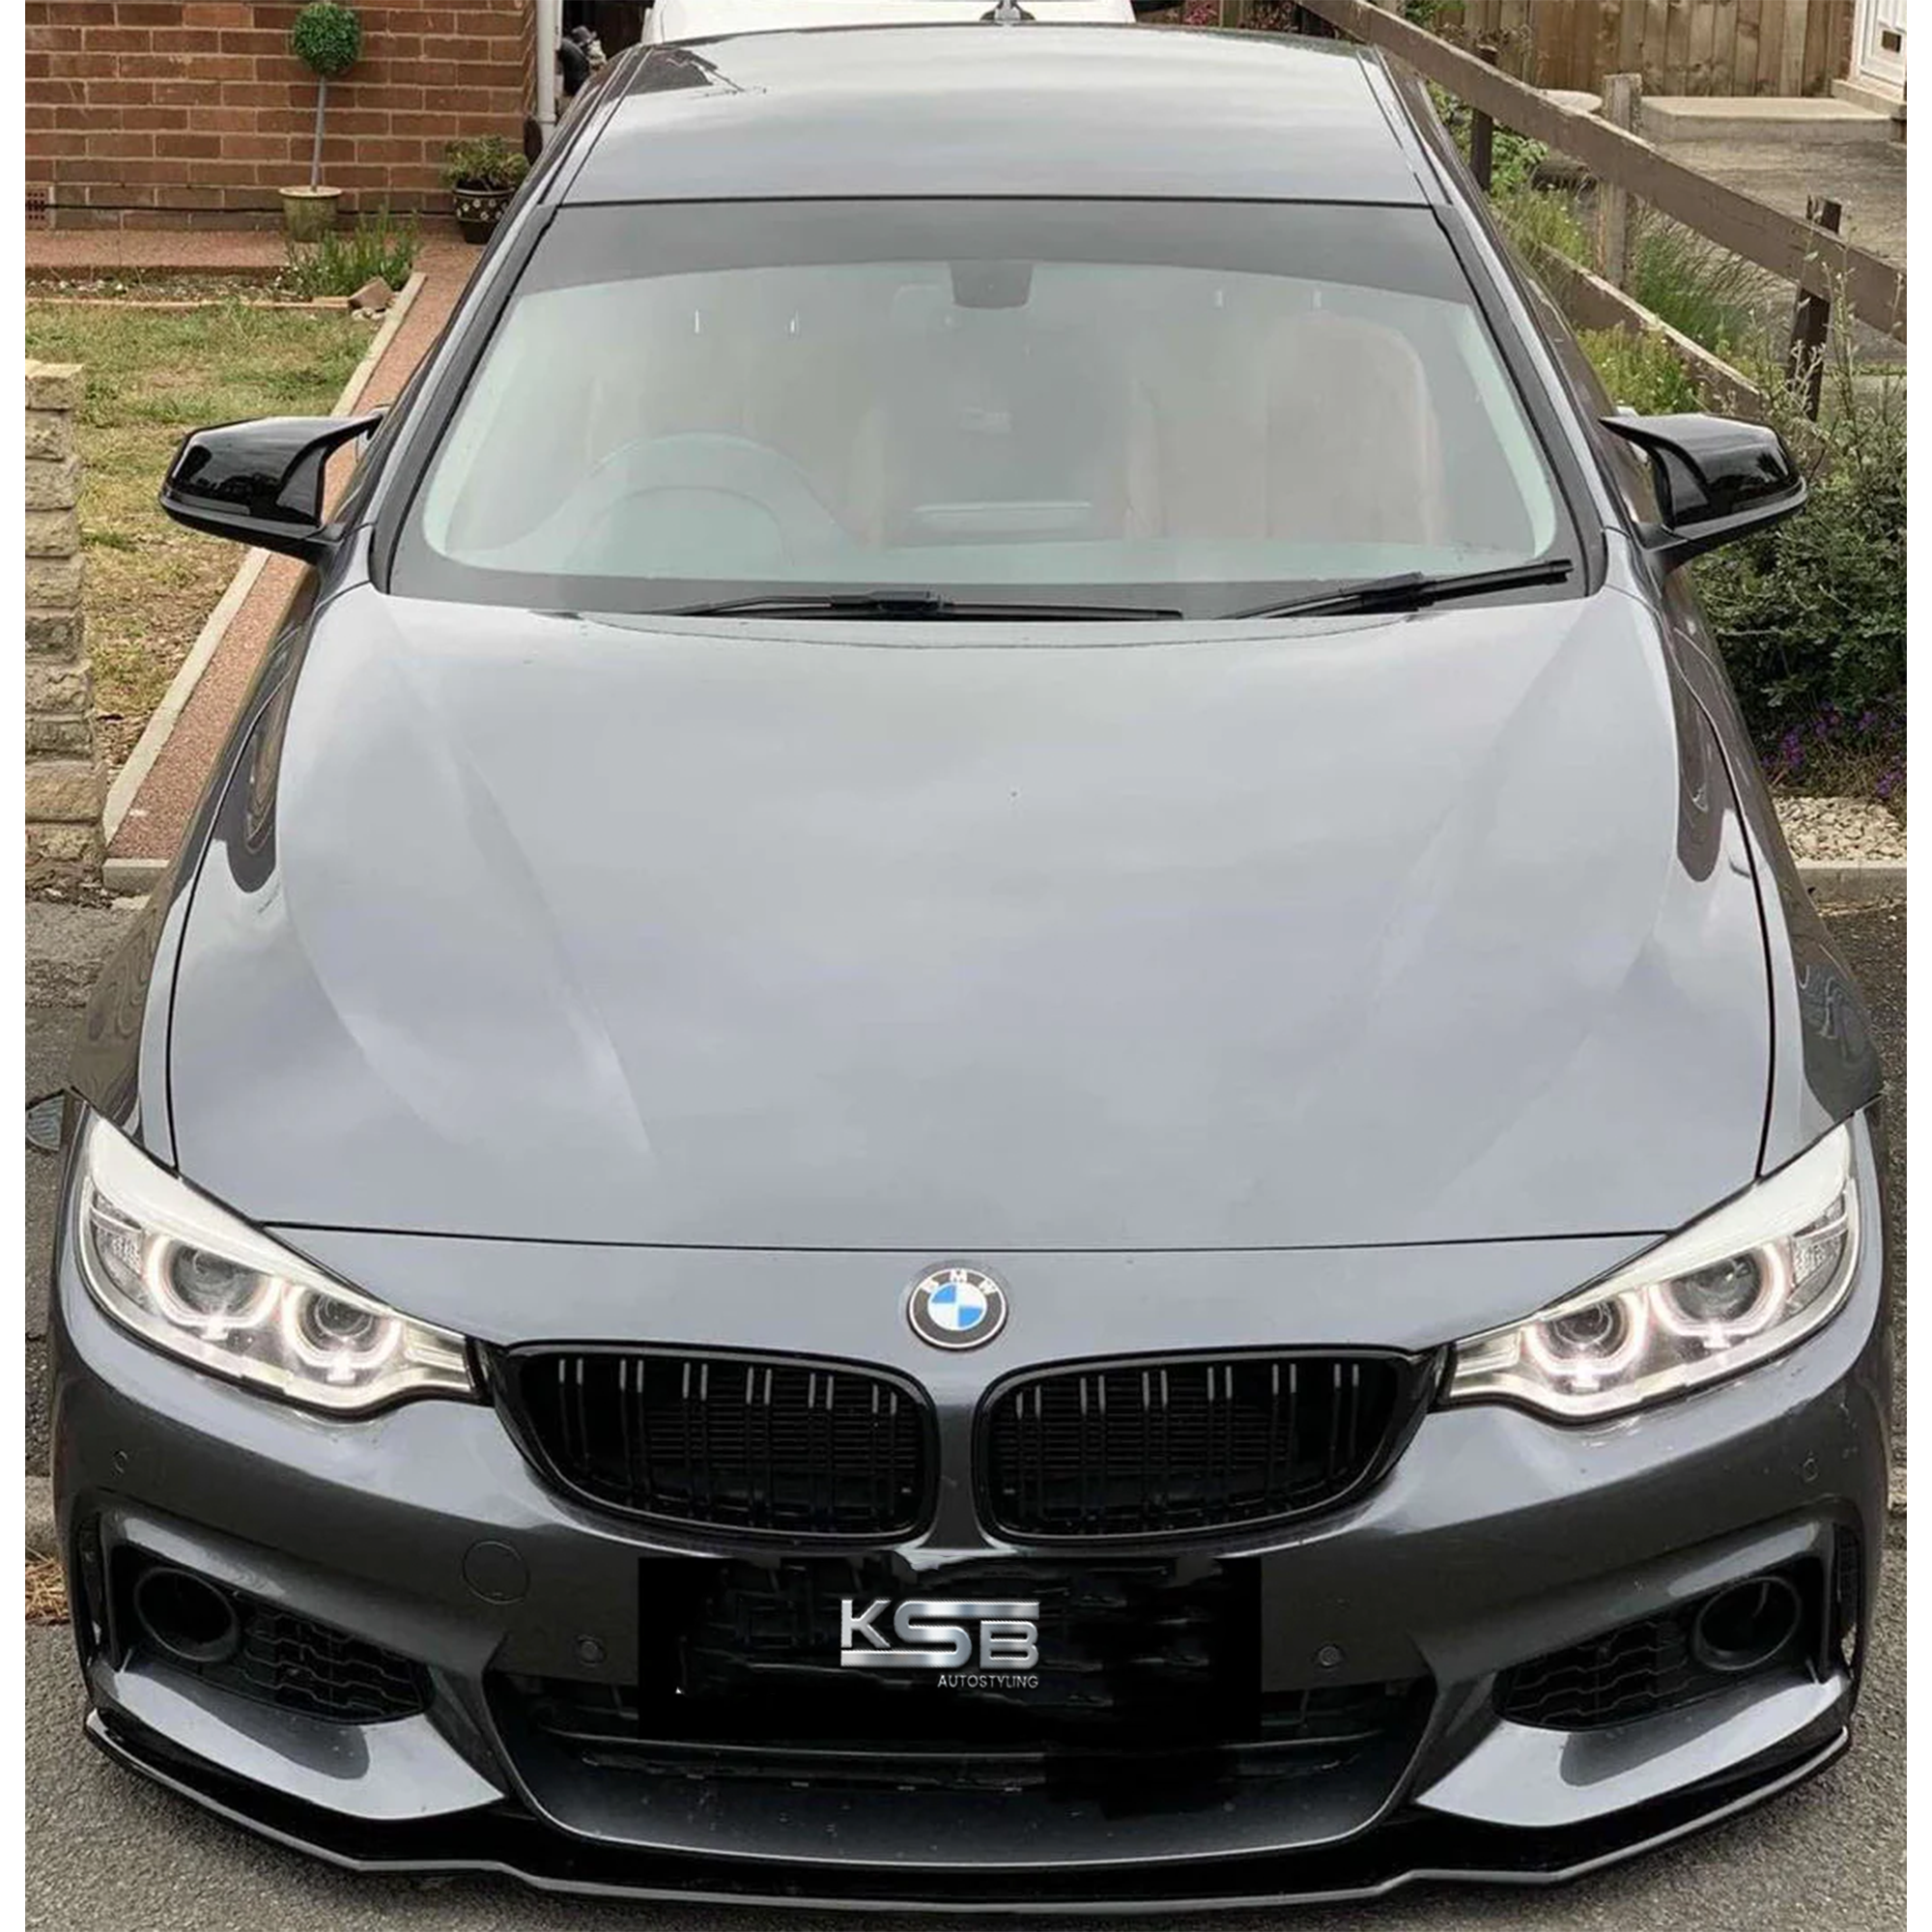
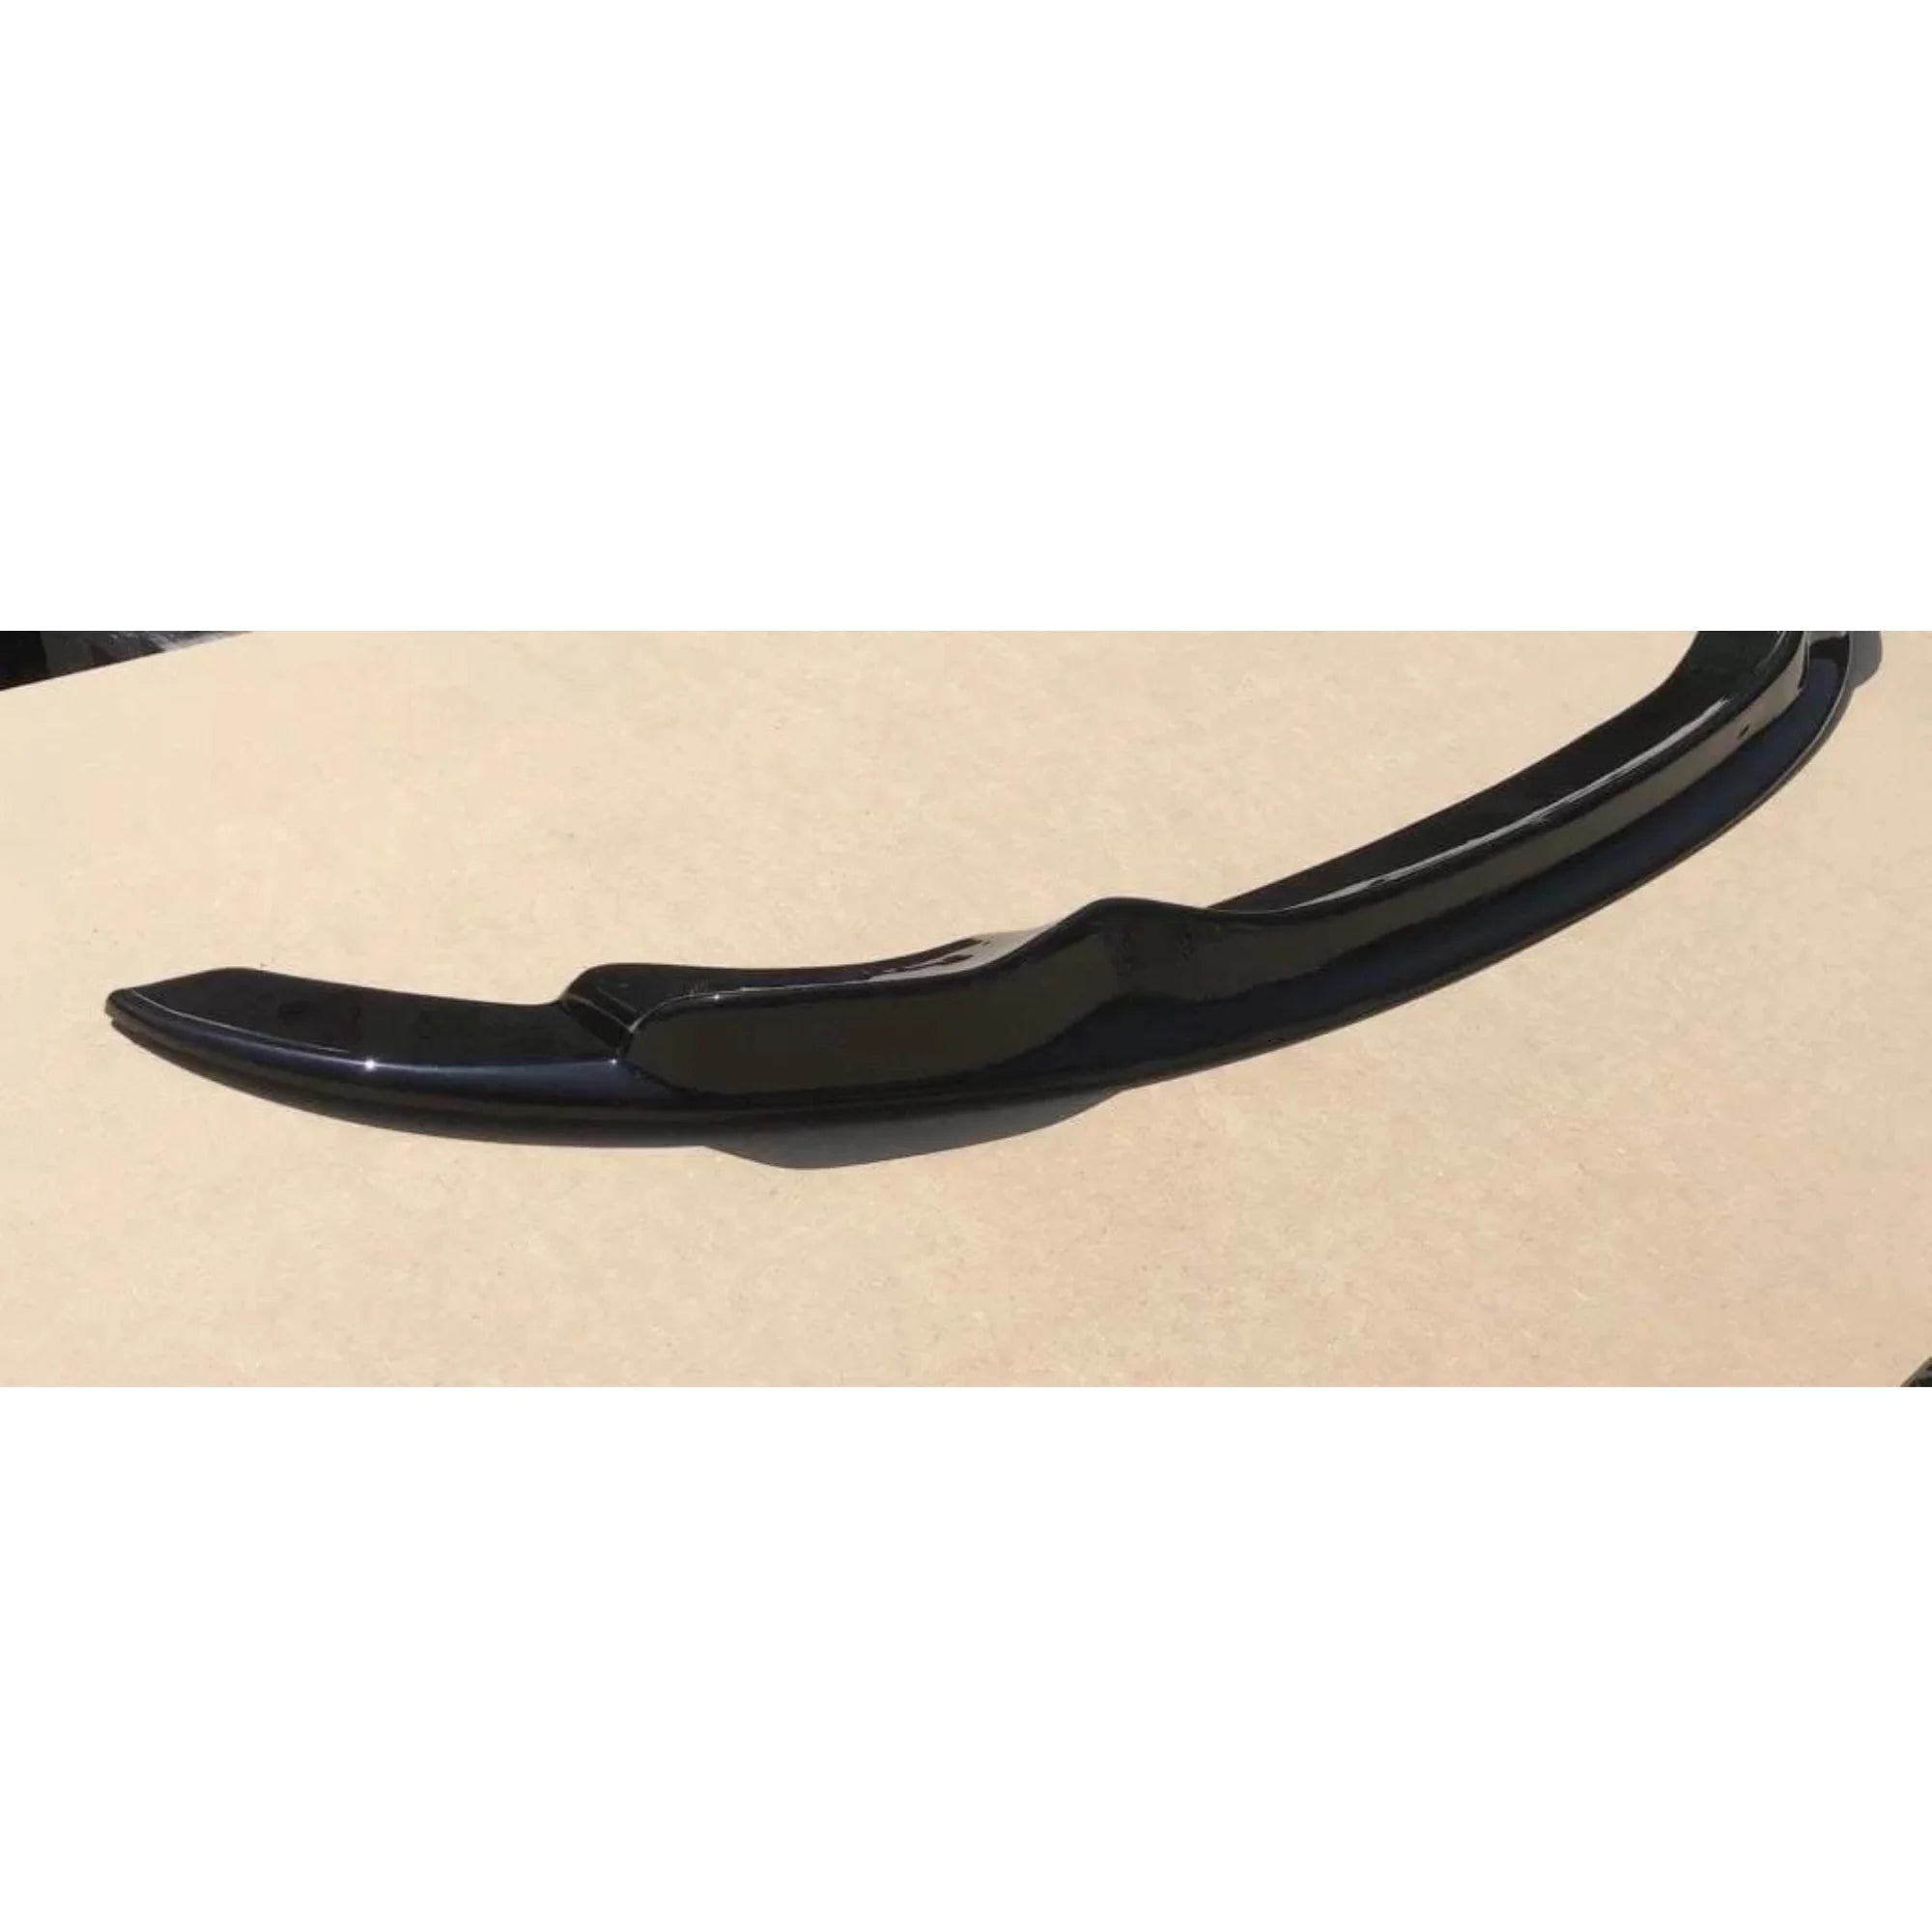
A front splitter is one of the easiest ways to change the appearance of a Transit Connect without replacing the bumper. By extending the lower edge of the front end, it can make the van look wider and visually closer to the road. Even on an otherwise standard vehicle, that change is usually noticeable.
It is also a sensible place to start if you are modifying the van in stages. You can fit the front first, live with it for a while, then decide whether the sides and rear need more work.
There is one practical point that is easy to overlook: clearance.
A deeper splitter sits closer to kerbs, ramps and speed bumps. On a lowered van, that becomes even more noticeable. If your Transit Connect is used for work every day, regularly visits building sites or has to deal with steep drives, an extremely low front lip may look good in photos but become frustrating in use.
2. Add Side Skirts to Carry the Styling Along the Van
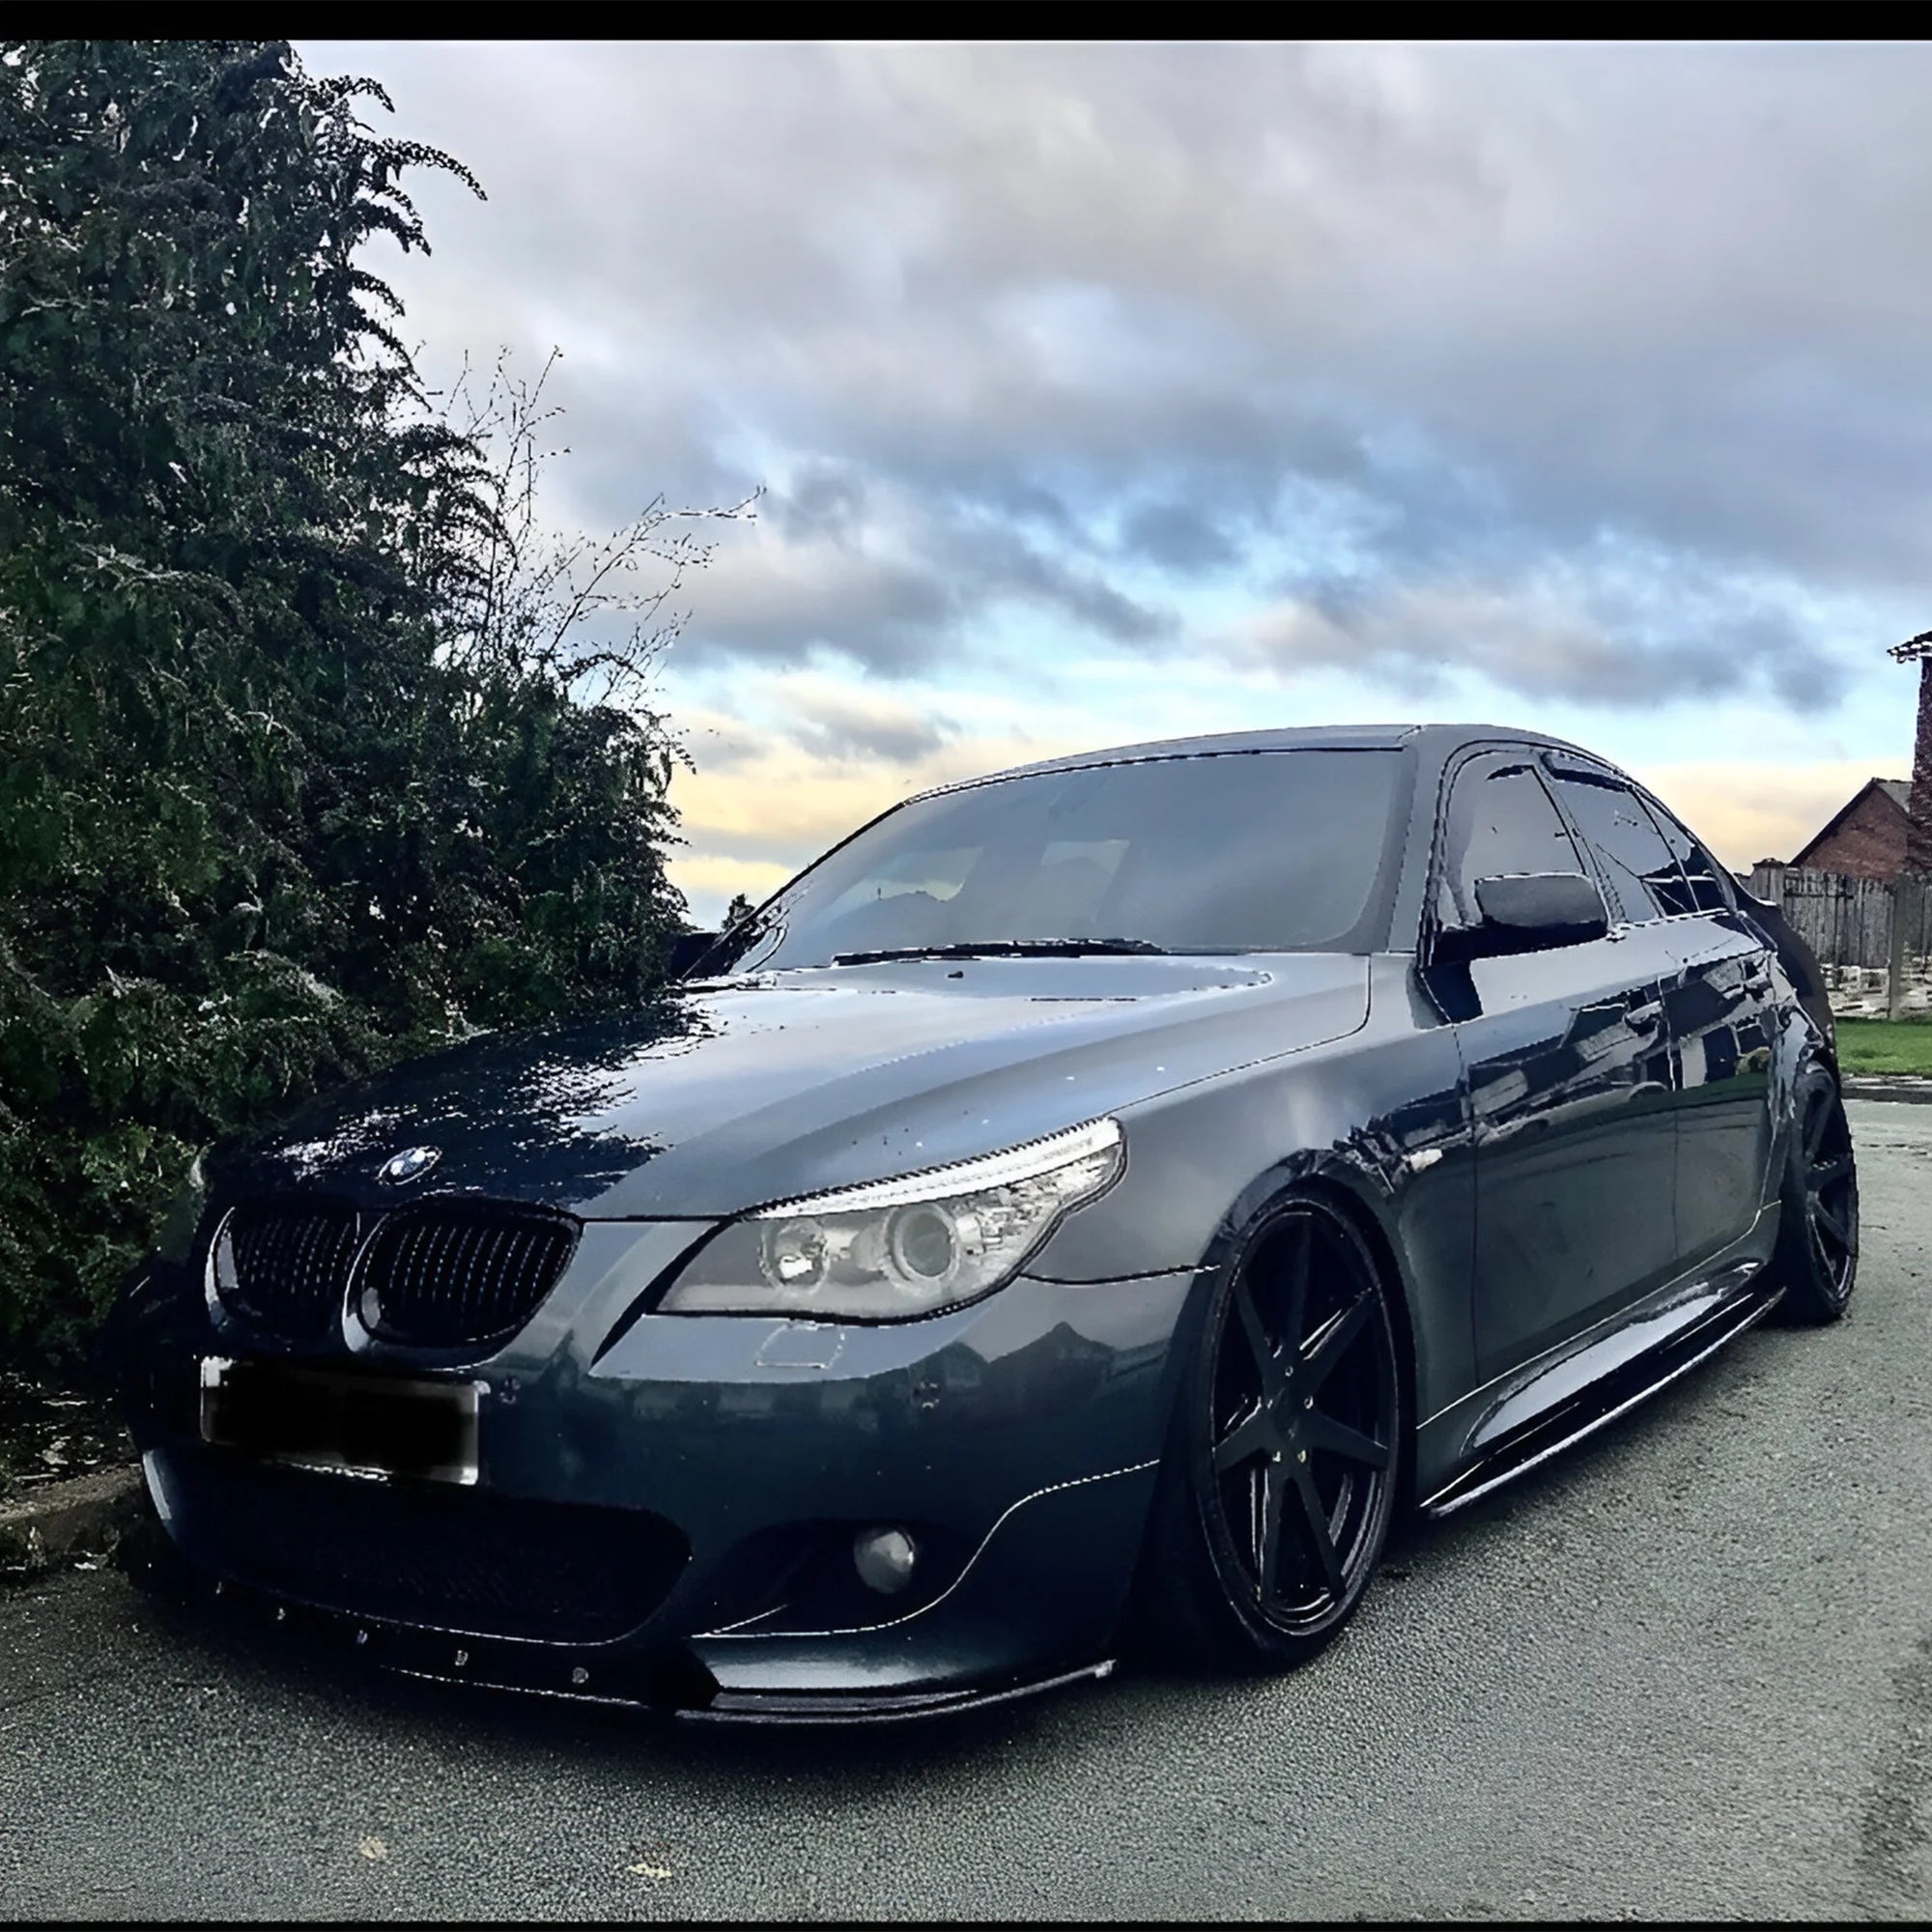
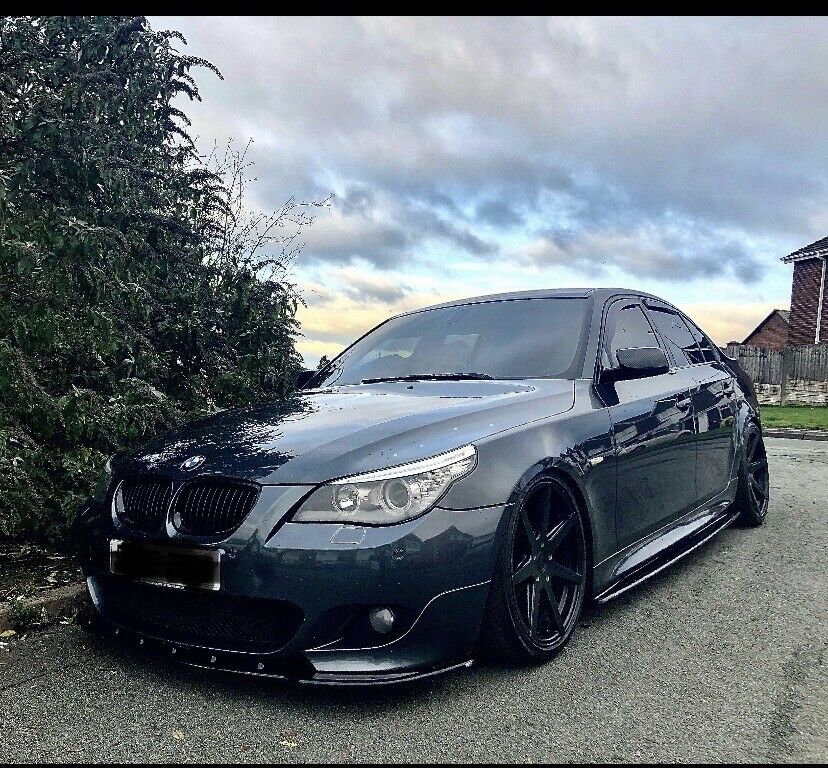
Once the front looks lower, the side of the van can start to look comparatively plain. That is where side skirt extensions earn their place. A Transit Connect has a long, fairly straight side profile, so even a modest extension below the sill can make the body look more planted.
The best result comes when the side extensions follow the same visual depth as the front splitter. If the front lip is deep and aggressive but the side styling is very subtle, the van can feel unbalanced.
Wheelbase matters here as well. SWB and LWB vans have different proportions, so side styling needs to match the correct body length.
Think of the splitter and skirts as one line running through the van rather than two unrelated parts. That single idea often separates a clean build from one that looks pieced together.
For a broader explanation of how these parts work as a package, KSB’s Ford Transit Connect body kit guide is a useful related read.
3. Finish the Lower Styling at the Rear
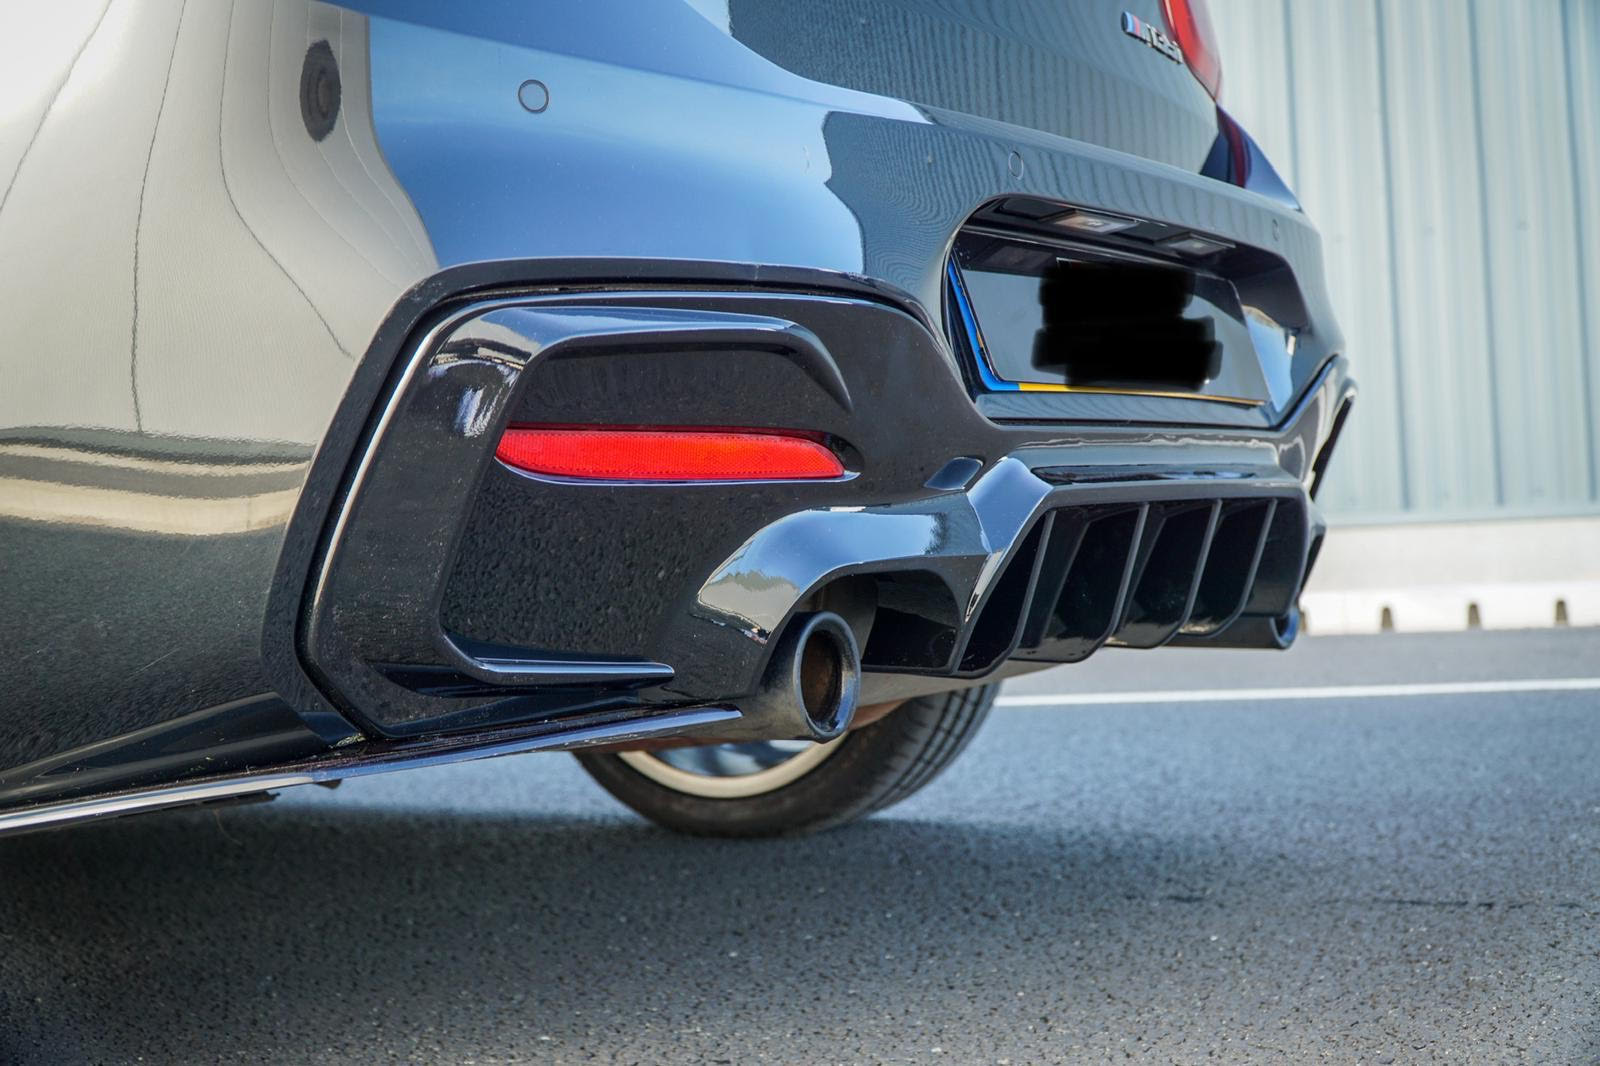
A van with a splitter and side extensions can look unfinished if the rear bumper is left completely standard. Rear spats, bumper extensions and rear splitters are mainly there to bring the lower styling line to a natural finish. They help stop the vehicle looking visually heavy at the front and light at the back.
Terminology can be confusing because manufacturers do not always use “rear splitter”, “rear spat” and “rear extension” in exactly the same way. Look at the shape rather than relying on the name.
A full-width rear treatment usually creates a more continuous lower edge, while spats tend to sit around the outer corners.
Whichever route you take, keep the depth and finish close to the rest of the kit. Matching parts normally look far more convincing than mixing pieces with very different shapes.
4. Use a Rear Spoiler to Change the Upper Profile
Most body styling happens low down, so a spoiler can make a bigger difference than expected. On a Transit Connect, it adds shape to an area that is otherwise quite upright and functional. It works particularly well when the van already has lower-body styling because it gives the rear more visual balance.
Door configuration is critical here. A Transit Connect with twin rear doors requires a barn-door-compatible spoiler. A conventional tailgate uses a different mounting arrangement, so the two should not be treated as interchangeable.

Barn-door spoilers are made specifically for Transit Connects from 2014 onwards, so check the year range on the product page before ordering.
Finish also changes the overall feel. Gloss black works well when the splitter, lower styling and wheels already use darker accents. A body-coloured spoiler looks more integrated and can suit a cleaner, factory-inspired build.
Neither is automatically better. What matters is repeating the same visual language across the van.
5. Do Not Ignore the Wheels
You can fit a complete styling kit and still end up with a van that looks slightly unfinished if the wheels do not suit it. Alloy wheels take up a large part of the side profile, so their design, diameter and fitment have a big effect on stance. They can make a relatively simple splitter-and-skirt setup look much more complete.
Bigger is not always better on a commercial van—and fitting standard passenger-car wheels can invalidate your insurance or cause an MOT failure if the load rating is too low. When choosing alloys for a Mk2 Transit Connect (2014–2023), stick to these UK fitment benchmarks:

- Stud Pattern (PCD) & Centre Bore: Mk2 models use a 5x10⁸ PCD with a 63.4mm centre bore (sharing fitment with Ford Focus ST/RS and Volvo platforms, though always verify wheel load ratings). Mk3 (2024+) models switch to the VW 5x112 PCD pattern.
- Sweet-Spot Diameter & Offset: 18x8J alloys with an ET42 to ET45 offset fill the arches cleanly without poking past the wings or rubbing on full lock.
- Tyre Size & Extra Load (XL) Rating: Pair 18-inch wheels with 225/40/R18 92Y XL (Extra Load) tyres. This keeps enough sidewall to survive UK potholes and site kerbs while supporting payload weight legally.
6. Supporting Details That Tie the Build Together
Once the lower kit, spoiler and wheels are fitted, small OEM+ details make the difference between a van that looks partially modified and one that looks factory-engineered:
- Front Grille Swaps & De-Chroming: Swapping the standard silver-ringed Ford grille for a gloss black honeycomb, Zunsport mesh, or MS-RT-style slatted grille immediately modernises the nose and matches a gloss black KSB front splitter.
- Wind Deflectors & Tinted Side Repeaters: Dark smoked Heko or ClimAir channel wind deflectors and sequential smoked mirror indicators clean up the glasshouse on white, silver and Magnetic Grey vans.
- Rear Bumper Protectors: A gloss black or textured ABS rear bumper sill guard covers paint scuffs from loading toolboxes while tying visually into your rear spats and barn-door spoiler.
Should You Lower a Ford Transit Connect?
Lowering can tighten the gap between the tyres and arches and give the van a noticeably stronger stance. It can also create problems if the rest of the setup is already close to the ground.
A lowered Transit Connect with a deep splitter and low-profile tyres may look excellent on smooth roads, but speed bumps, ramps and uneven entrances quickly become part of the ownership experience.
How you lower the van matters because the Mk2 Transit Connect uses MacPherson struts at the front and a commercial leaf-spring axle at the rear.
- For a working daily van (30mm–40mm drop): Upgrading the front lowering springs (such as Eibach Pro-Kit or H&R) with a mild rear shackle adjustment tightens arch gap while preserving load capacity and splitter clearance over speed bumps.
- For a show or low-line build (50mm–70mm+ drop): Going lower requires a rear axle flip kit (relocating the axle above the leaf spring) or full coilover conversion, plus shortened drop links. If you carry 300kg+ of tools in the back constantly, avoid an aggressive axle flip—the static weight will already compress the rear suspension, and adding a front splitter on top of a 60mm drop will cause scraping on steep driveways.

If you do lower the van, make sure it keeps enough ground clearance and stays road legal. If you are unsure, check the current UK requirements before you start. You can still create a strong-looking Transit Connect without touching the suspension.
Individual Mods or a Full Body Kit?
Buying individual parts gives you more control over the build. You might begin with a splitter, add a spoiler later and stop there. That approach suits owners who want a subtle OEM+ style or prefer to spread the cost.
A full styling package makes more sense if you already know that you want the front, sides and rear to follow the same theme.
The main advantage is consistency. Matching components tend to share similar depths, edge shapes and finishes, so the finished van looks like one design.
If you are buying parts separately, compare:
- finish
- material
- thickness
- projection from the body
- edge shape
- fitting method
Three individually good parts can still look wrong together if their proportions do not match.
KSB also publishes broader advice on how to find body kits for your car, along with guidance on body kit fitment.
ABS or GRP: Which Makes More Sense?
ABS plastic and GRP, often called fibreglass, are both widely used for aftermarket styling parts. ABS is commonly found on splitters, side extensions and similar lower-body components. It has a degree of flexibility and is well suited to parts fitted close to the road.
GRP is also widely used for body kits and can be formed into more complex shapes. Depending on the product, it may need more preparation before painting and installation.
There is no reason to choose solely on the material name. A poorly produced ABS component is not automatically better than a well-made GRP one, and the reverse is also true. Fit, thickness, finish and manufacturing consistency matter just as much.
If you want a closer look at the material, KSB’s guide on why ABS plastic is used for car styling explains it in more detail.
Gloss Black or Body Colour?
Gloss black remains one of the easiest finishes to work with because it creates a clear contrast against most factory paint colours. It also links different areas of the van together. A black splitter, skirts, spoiler details and wheels can create a consistent theme without needing every part to be painted.
Body-coloured styling has a different character. It looks more integrated and can make the modification feel closer to something Ford might have offered from the factory.
The mistake is mixing finishes without a plan.
Gloss black at the front, bare plastic down the side and body colour at the rear rarely looks cohesive. Choose a direction early and repeat it.
Best Transit Connect Styling Combinations (By Budget & Van Use)
If you are modifying in stages or working to a set budget, use this build matrix to choose the right sequence of parts without creating mismatched proportions:
|
Build Style |
Best For |
Recommended Parts Order |
Suspension & Wheel Setup |
|
Stage 1: Subtle OEM+ |
Daily trade vans & rough building sites |
1. Gloss black ABS front splitter 2. Barn-door or tailgate roof spoiler 3. Rear bumper protector |
Standard ride height; 16" or 17" load-rated alloys with tall tyres |
|
Stage 2: Sporty Daily-Driver |
Courier/smart trade vans & dual-purpose family vans |
1. Front splitter + SWB/LWB side skirt extensions 2. Rear bumper spats/splitter 3. Roof spoiler + black grille |
Standard height or mild 30mm spring drop; 18" alloys with 225/40 XL tyres |
|
Stage 3: Full Low-Line Show Build |
Enthusiast, promotional & weekend vans |
1. Full matching KSB low-line kit (splitter, skirts, rear extensions, spoiler) 2. Colour-coded mouldings & de-chrome |
Fit bodywork first, then dial in a 45mm–60mm coilover/axle-flip drop around splitter clearance |
Pro Tip: Always fit your front splitter and side skirts before setting your final suspension height. Lowering a Transit Connect by 50mm first often leaves too little ground clearance once a deep lower lip is bolted to the bumper.
Common Transit Connect Styling Mistakes
Most expensive mistakes are not caused by choosing the wrong style. They come from buying the wrong part.
Watch out for:
- ordering by vehicle name without checking model year
- ignoring facelift bumper differences
- confusing SWB and LWB parts
- buying a tailgate spoiler for barn doors
- mixing styling pieces with very different depths
- lowering a working van too far
- permanently fitting parts before checking alignment
Trial fitting is worth the extra time. It allows you to see how the part sits, check the gaps and make corrections before drilling, bonding or painting.
DIY or Professional Fitting?
Some styling parts are perfectly manageable for an experienced home installer. Others are less forgiving.
The issue is rarely just attaching the part. Positioning is what makes the difference.
A splitter that sits slightly off-centre or a spoiler mounted unevenly will be obvious every time you look at the van. If drilling, body preparation, paintwork or difficult alignment is involved, professional fitting is usually money well spent.
If you are fitting the part yourself, read the supplied instructions and trial fit everything before making permanent changes.
For additional fitting information, KSB has guides covering body kit installation and how to install car splitters.
Are Transit Connect Styling Mods Worth Doing?
If the standard van feels too plain, a few carefully chosen exterior parts can make a real difference without changing what makes the Transit Connect useful in the first place.
You do not need to fit every available accessory.
For a working van, a splitter, spoiler and good wheels may be enough. For a more enthusiast-led build, matching front, side and rear styling gives the strongest overall result.
The best builds tend to follow the same principle: check fitment first, decide how the van is actually used, then choose parts that work together rather than buying each one in isolation.
For examples of completed UK builds, browse the KSB Autostyling customer gallery. If you are unsure whether your van is a pre-facelift or facelift model or need to confirm SWB vs LWB side skirt fitment send the KSB Autostyling team your registration year and a quick photo of your front bumper, and we will confirm the exact parts before you order.
FAQs
Do Mk2 Ford Transit Connect splitters fit every model year?
No. The Mk2 Transit Connect split into two bumper shapes: Pre-Facelift (2014–2018) and Facelift (2018–2023). Because Ford reshaped the lower grille and outer fog-light aprons in 2018, a 2019–2021 facelift splitter will not line up with the mounting contour of a 2015 bumper.
Can you fit a rear spoiler to a Transit Connect with twin barn doors?
Yes, provided you order a dedicated barn-door spoiler rather than a one-piece tailgate spoiler. KSB’s Transit Connect barn-door spoiler (for 2014+ models) is engineered so the doors can open fully to 90 or 180 degrees without the spoiler blades fouling on each other or the rear roof hinges.
How are front splitters and side skirts attached to a Transit Connect?
Most ABS front splitters and side skirt extensions mount to the flat underside of the factory bumper and sills using supplied self-tapping screws, stainless nuts and bolts, or heavy-duty automotive polyurethane (PU) adhesive such as Tiger Seal or Sikaflex. We always recommend trial-fitting with masking tape or clamps first to verify central alignment before drilling pilot holes.
Do I need to paint KSB gloss black ABS styling parts before fitting?
No—gloss black ABS splitters, side extensions and spoilers come pre-finished with a UV-stable high-gloss surface that can be bolted or bonded straight onto the van out of the box. You only need to sand, prime and paint them if you want them colour-matched to your van's factory Ford paint code.
Will fitting a front splitter, spoiler and alloys affect my van insurance in the UK?
Yes, exterior styling parts (splitters, side skirts, spoilers and non-factory alloy wheels) count as cosmetic modifications and should be declared to your UK van insurer. Most commercial and modified-van insurers add little to no premium increase for bolt-on ABS body styling, provided the parts are securely fitted and your alloy wheels and tyres meet the legal payload rating for the van.
Can you fit Ford Focus ST or RS alloy wheels to a Transit Connect?
Physically, Mk3 Focus ST and RS alloys share the Mk2 Transit Connect’s 5x10⁸ stud pattern and 63.4mm centre bore, so they bolt straight onto the hubs. However, on a commercial van that carries heavy cargo or faces an MOT test, you should check the cast weight load rating stamped on the back of the wheel spokes and always fit Extra Load (XL) tyres rated for your Connect’s gross axle weight.