How to Install Car Splitters: A Step-by-Step Guide

If you're looking to enhance both the aesthetic appeal and performance of your vehicle, installing a car splitter can be an excellent upgrade. Car splitters not only give your car a sporty, aggressive look but also improve aerodynamics by reducing lift at high speeds, increasing stability. In this detailed guide, KSB AutoStyling will walk you through everything you need to know about how to install car splitters, ensuring a smooth and successful installation process.
Whether you're a car enthusiast looking to add personal style or someone aiming to boost your car’s downforce and handling, this step-by-step guide will help you achieve your goals. Let's dive in!
What is a Car Splitter?
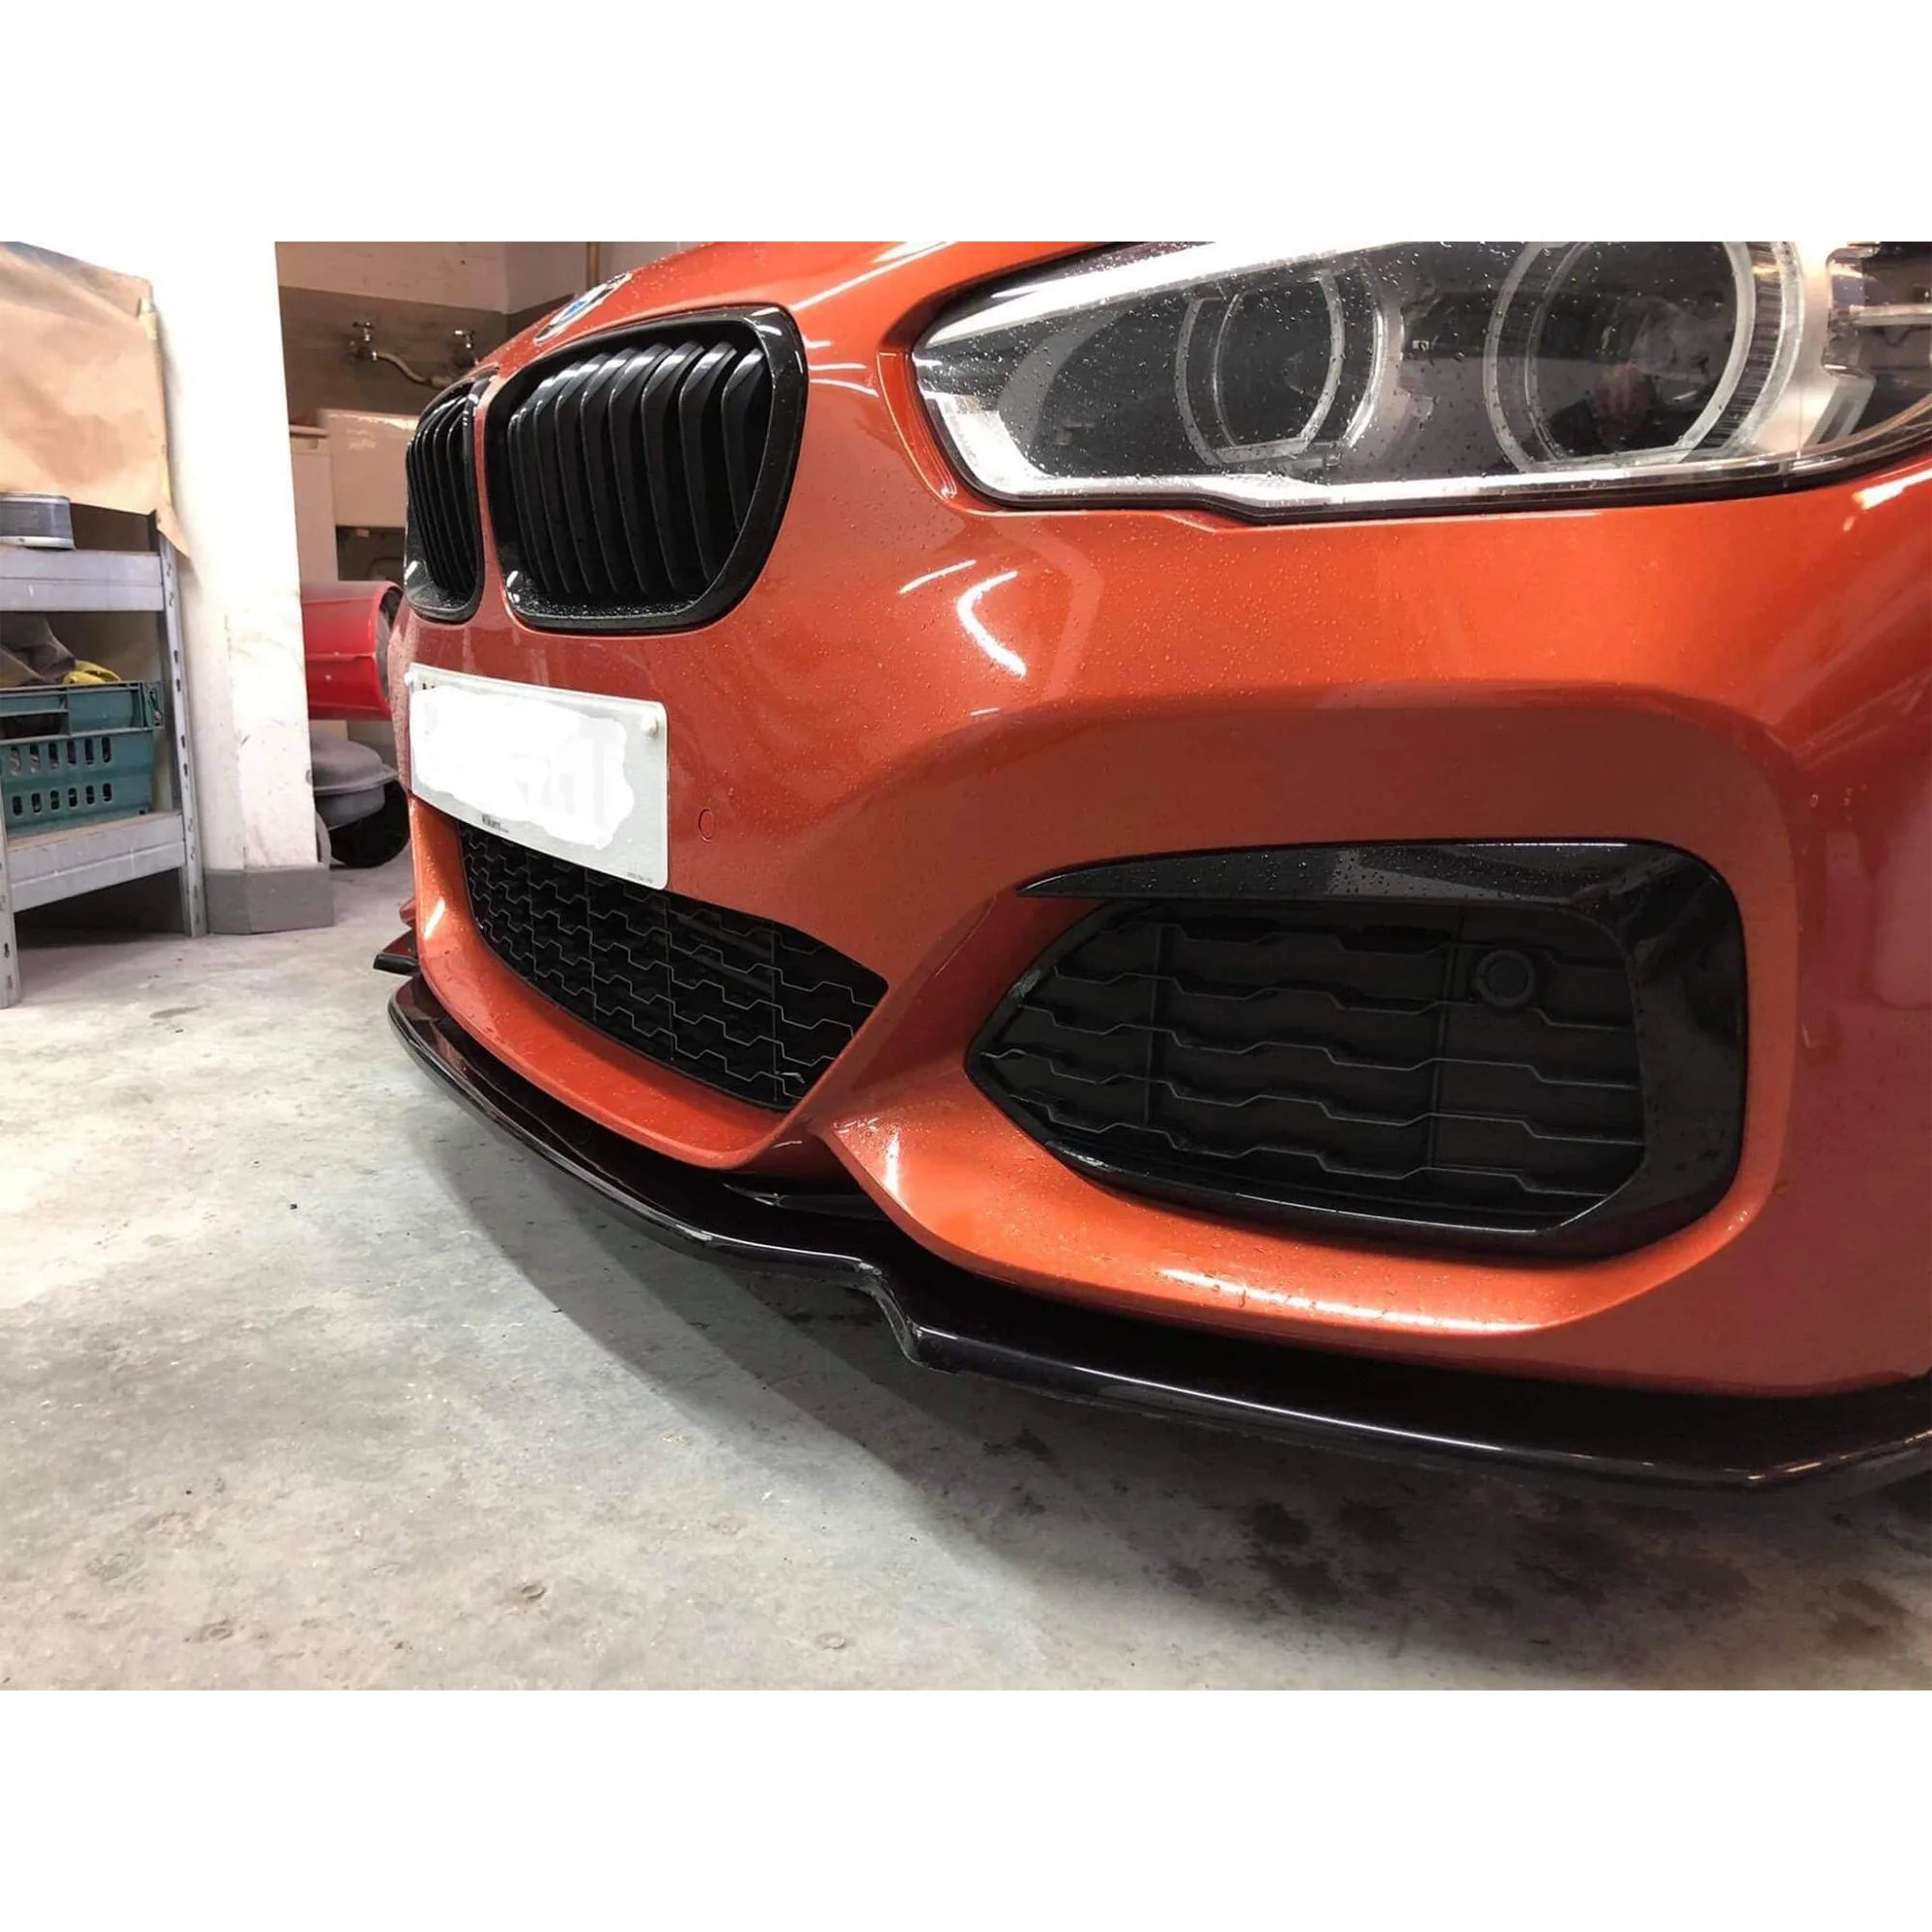
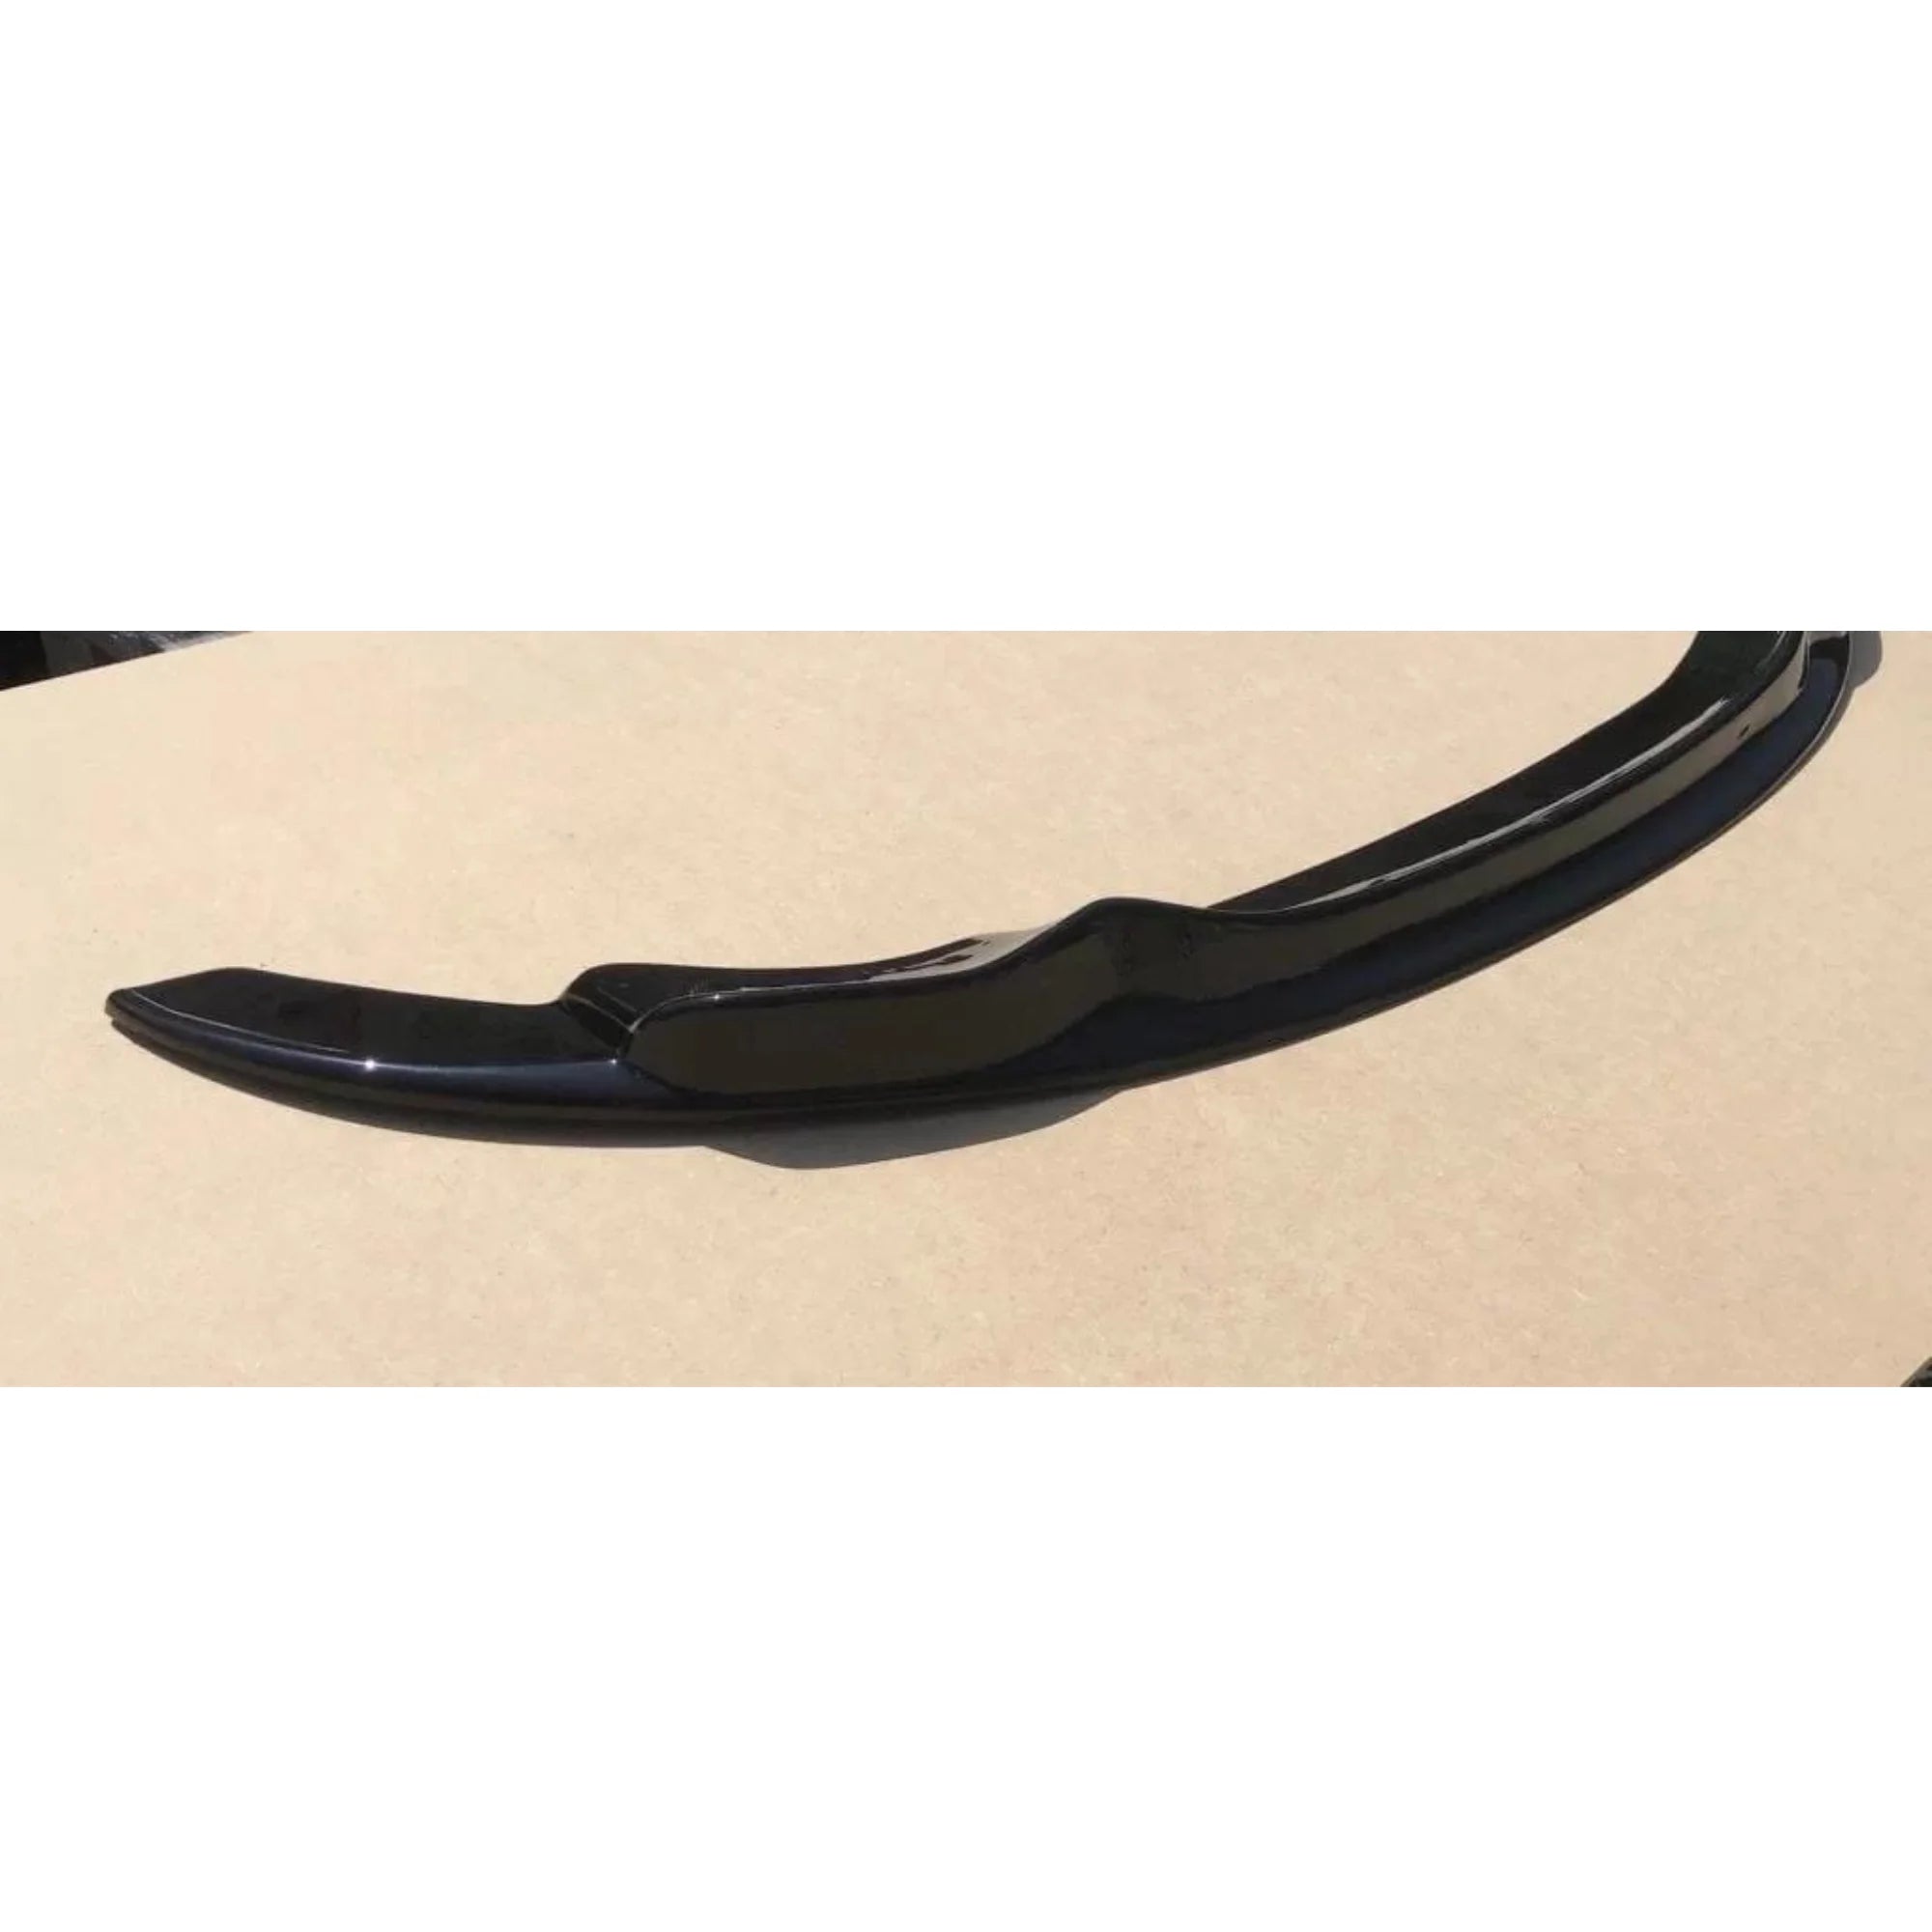
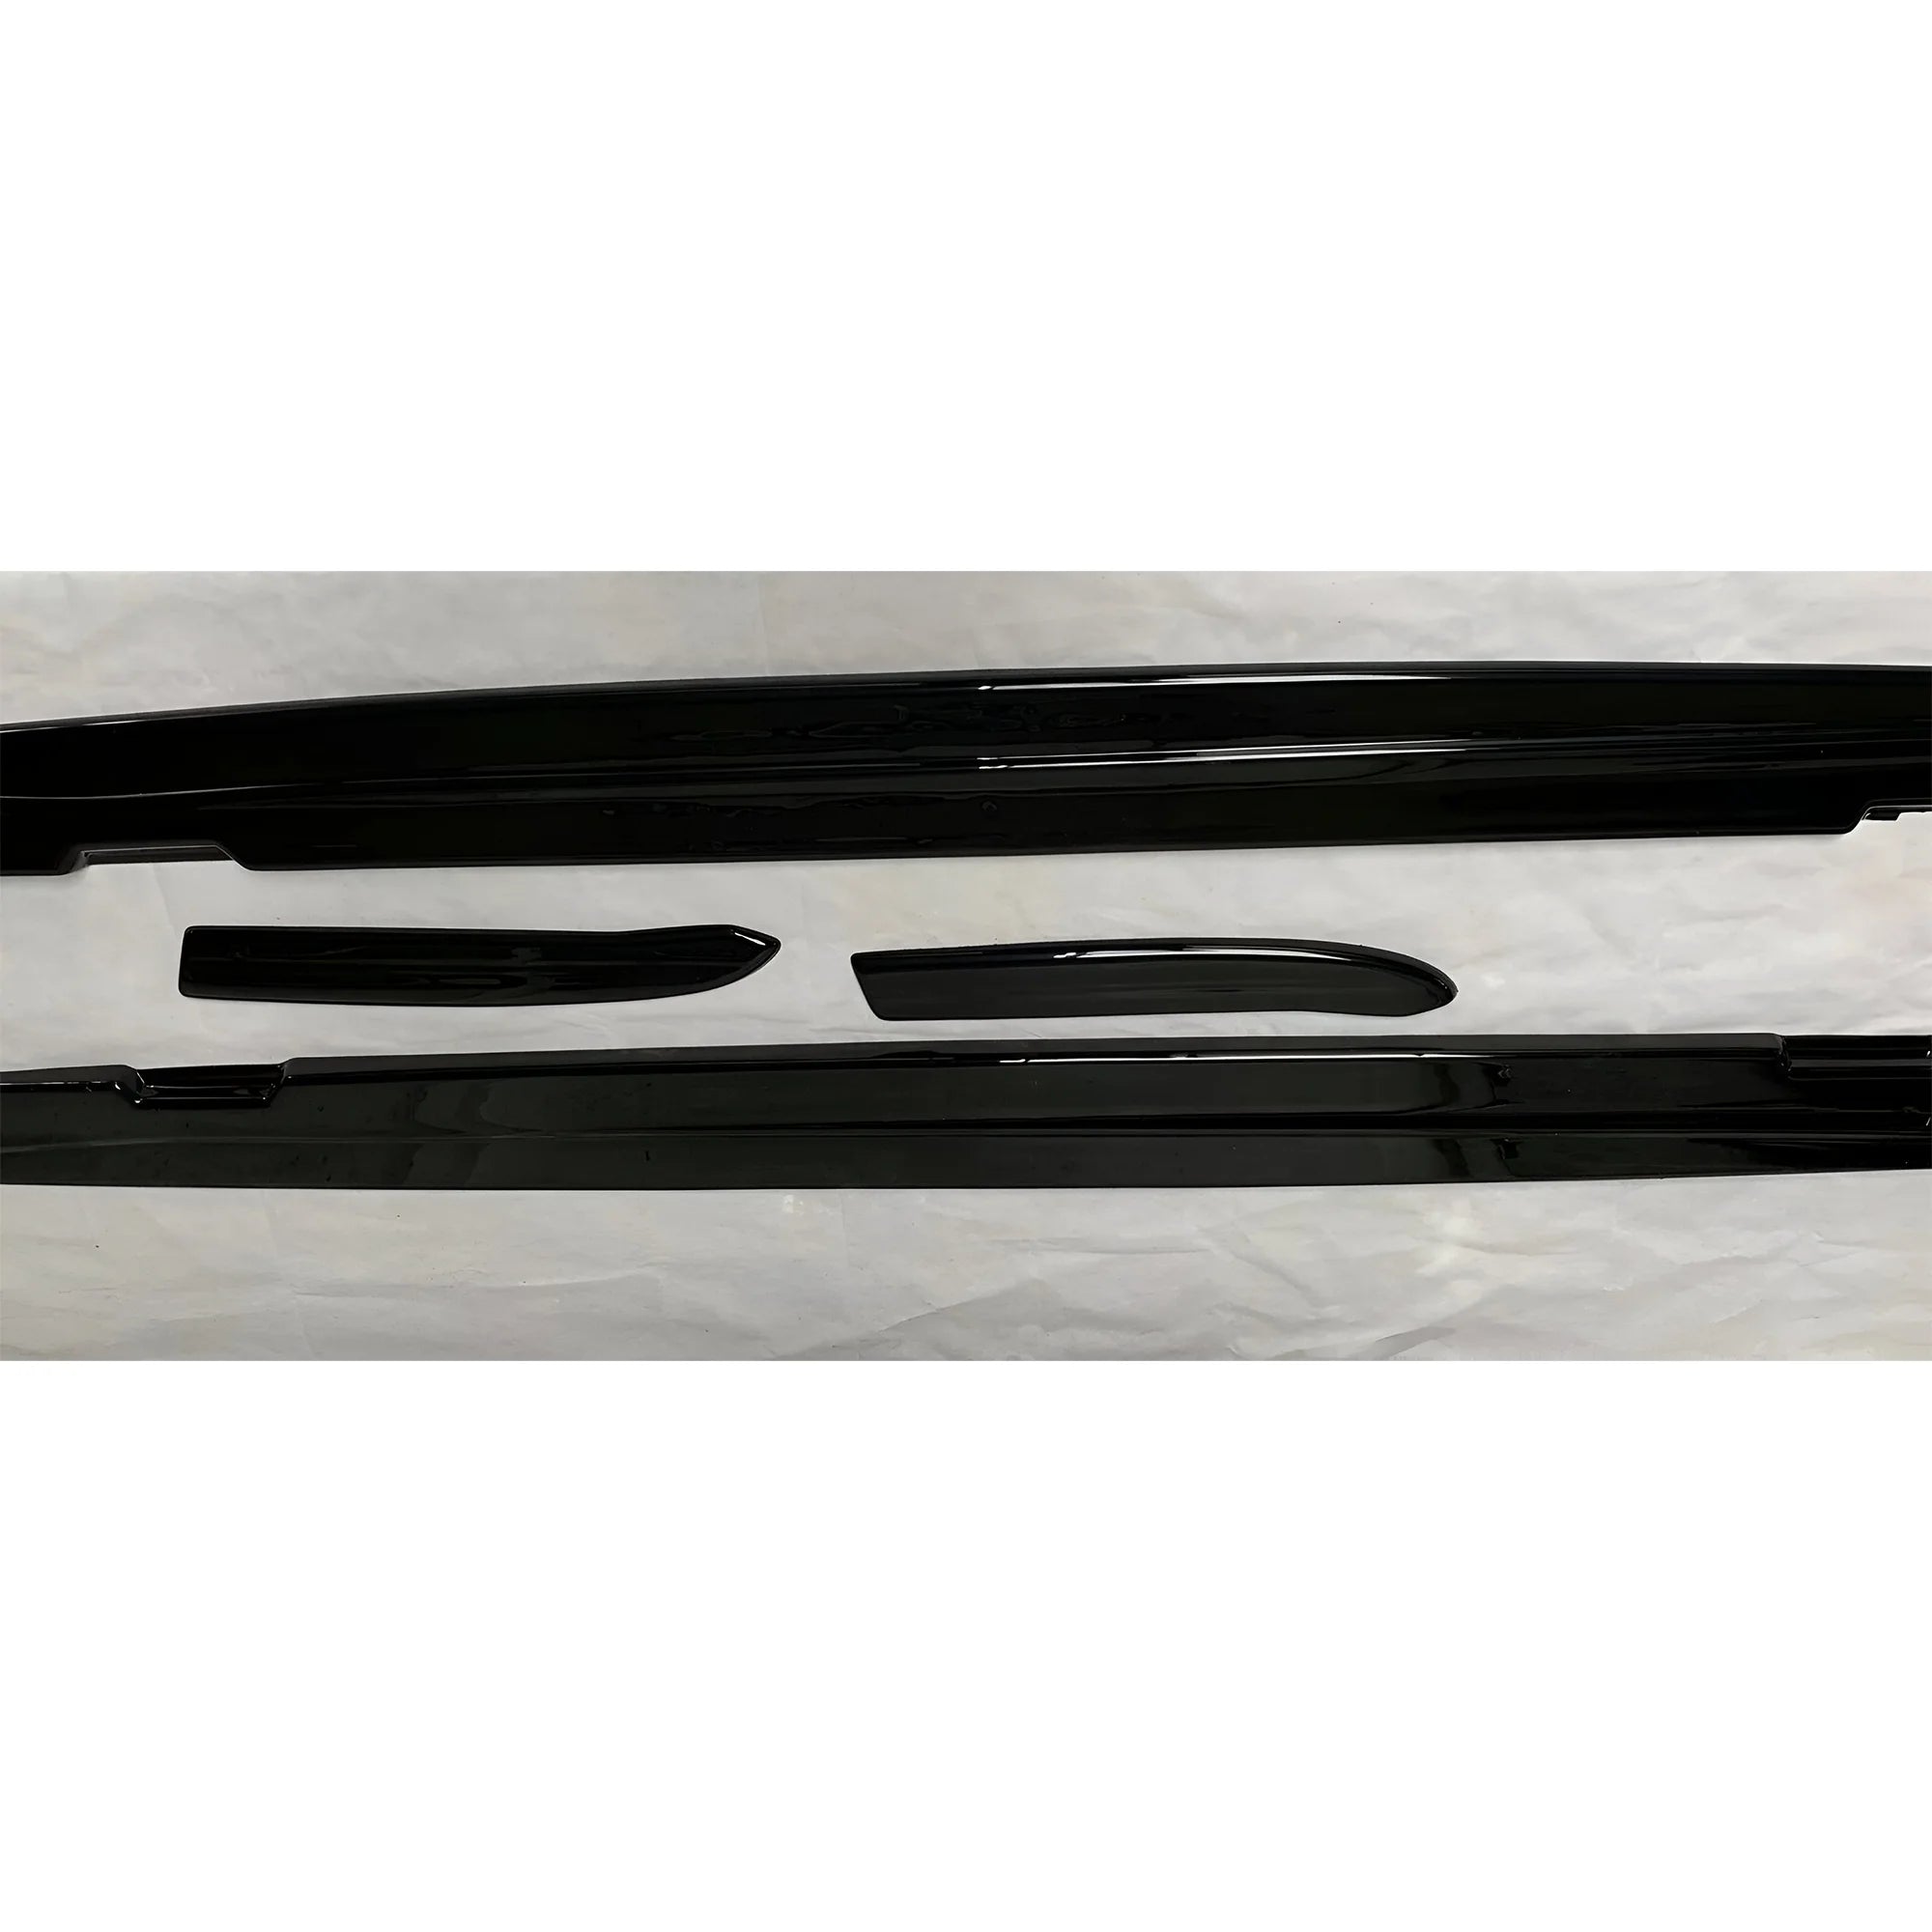
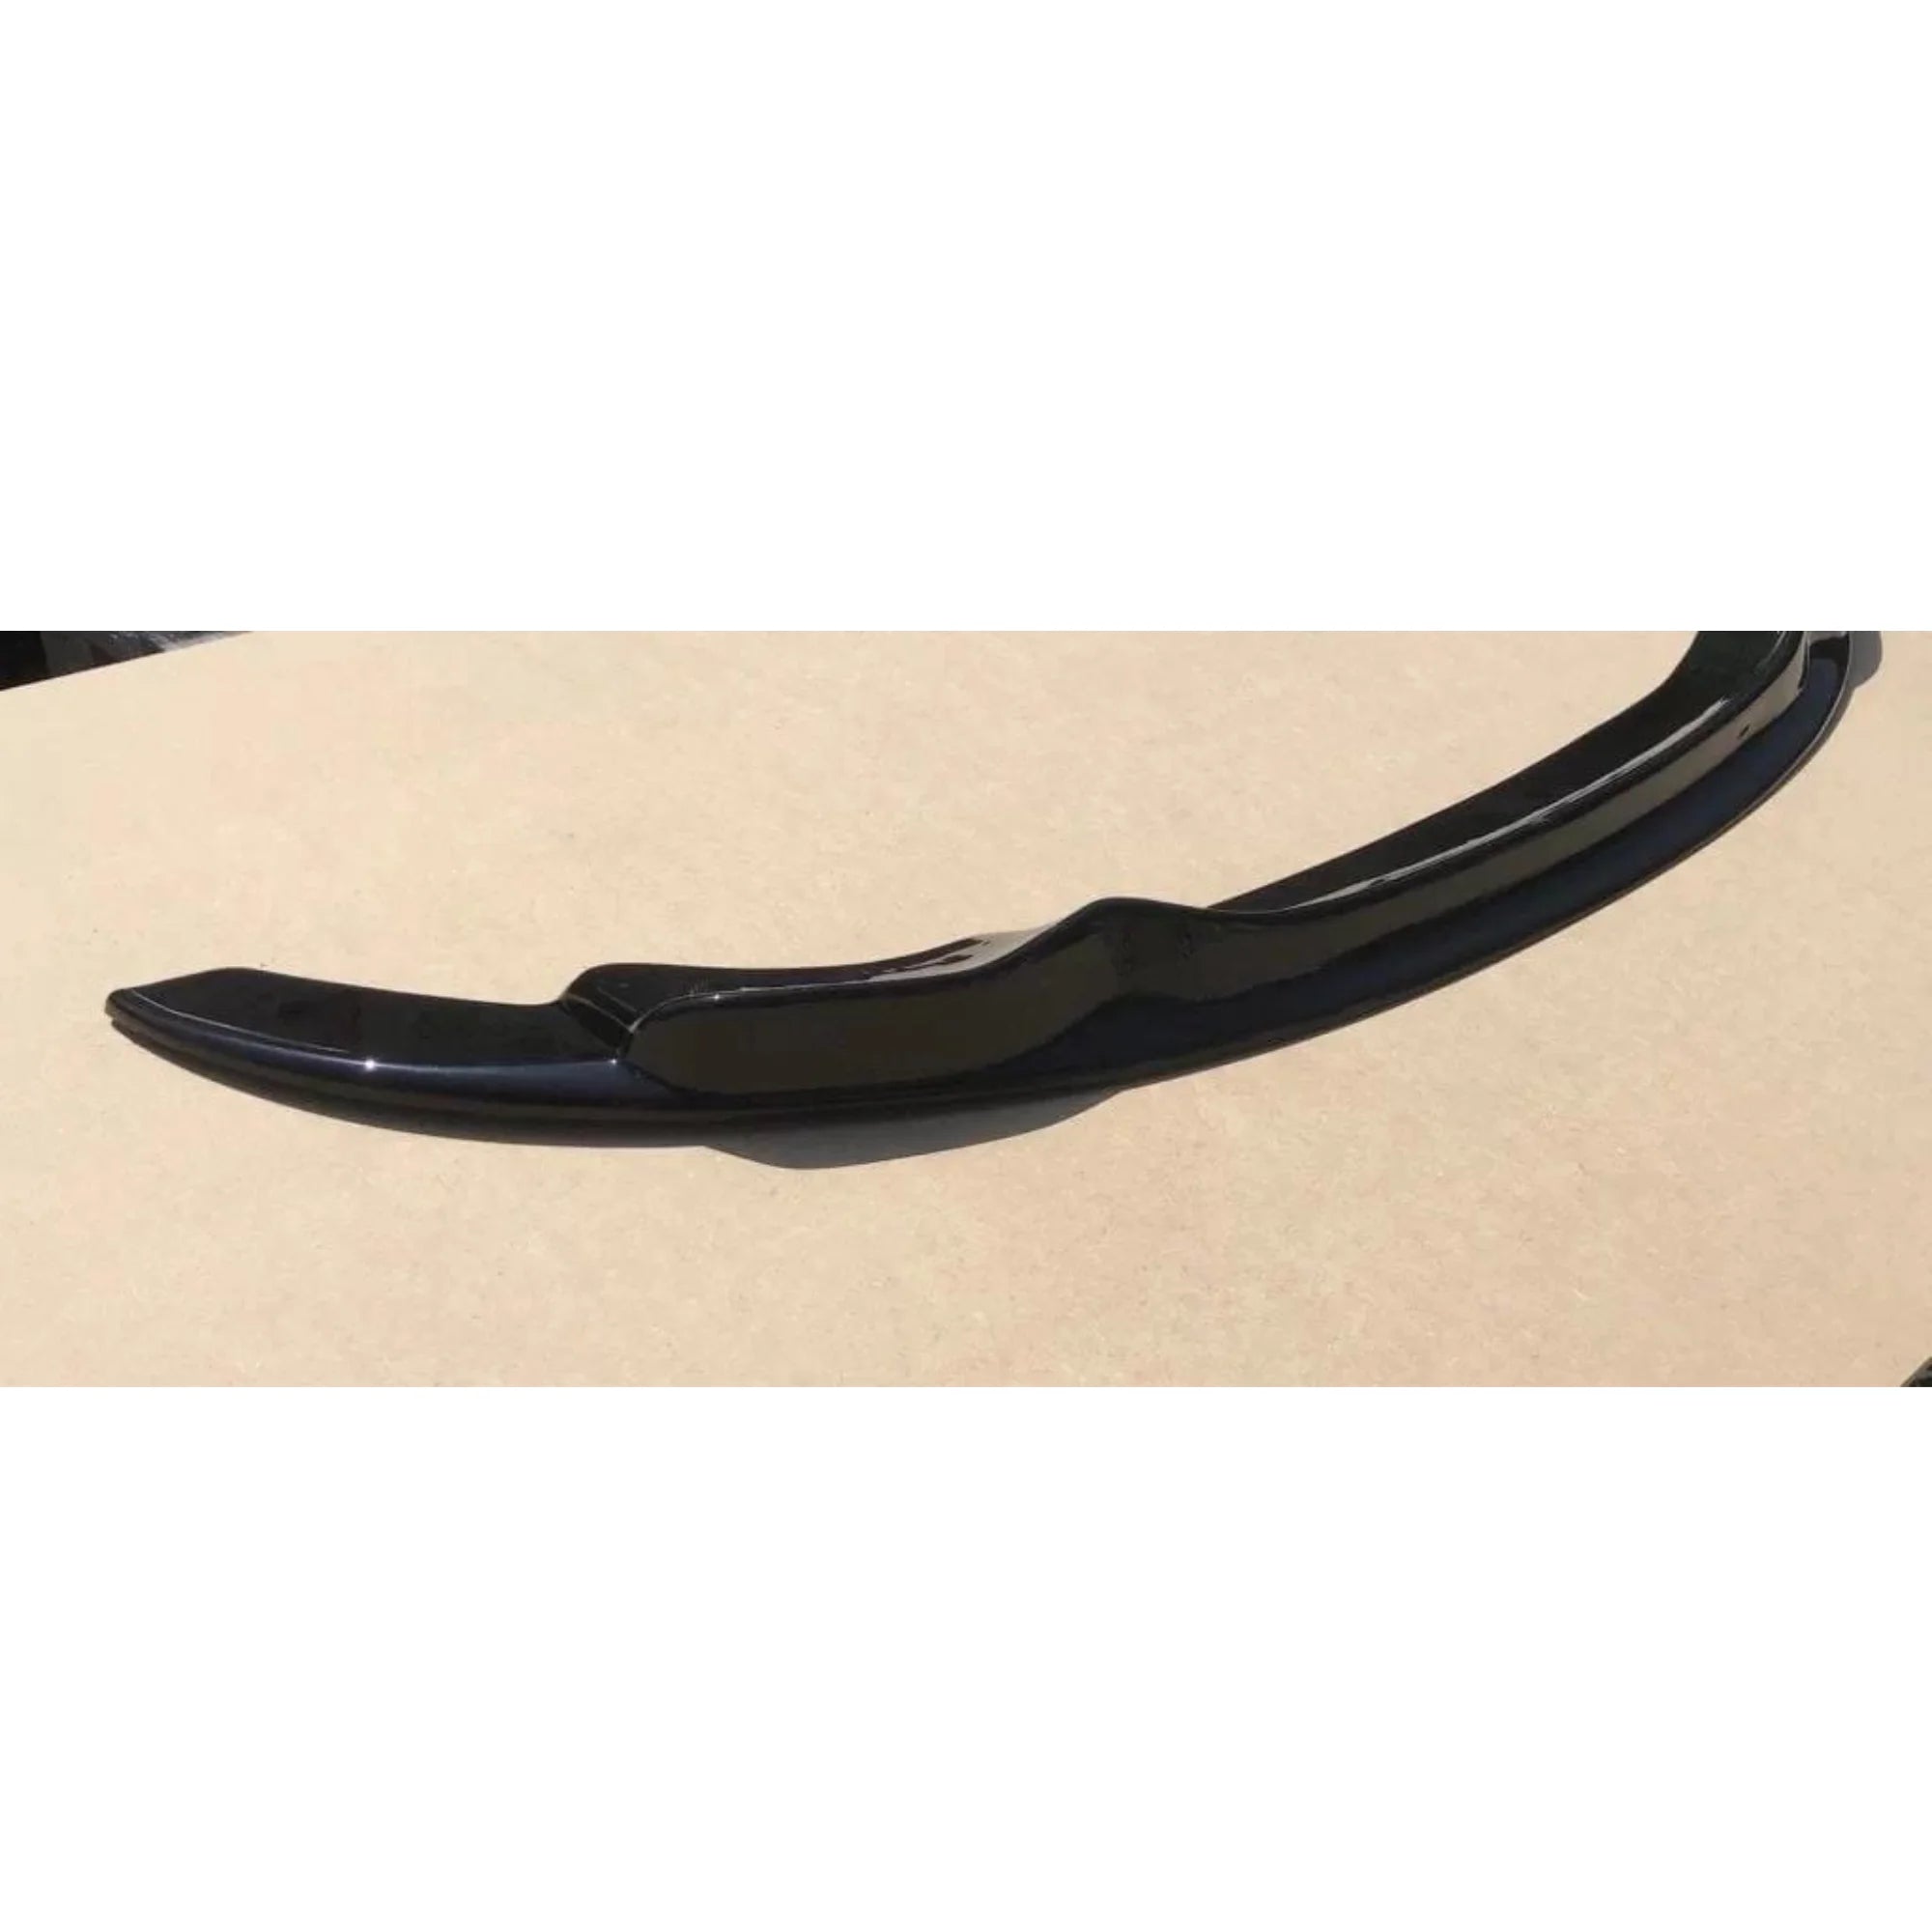
A car splitter is an aerodynamic component that attaches to the front of a car, typically under the bumper, to improve airflow and reduce aerodynamic drag. Its primary function is to split the airflow, directing air around and under the vehicle to generate downforce. This helps keep the car more stable at high speeds, reducing lift and enhancing grip on the road or track.
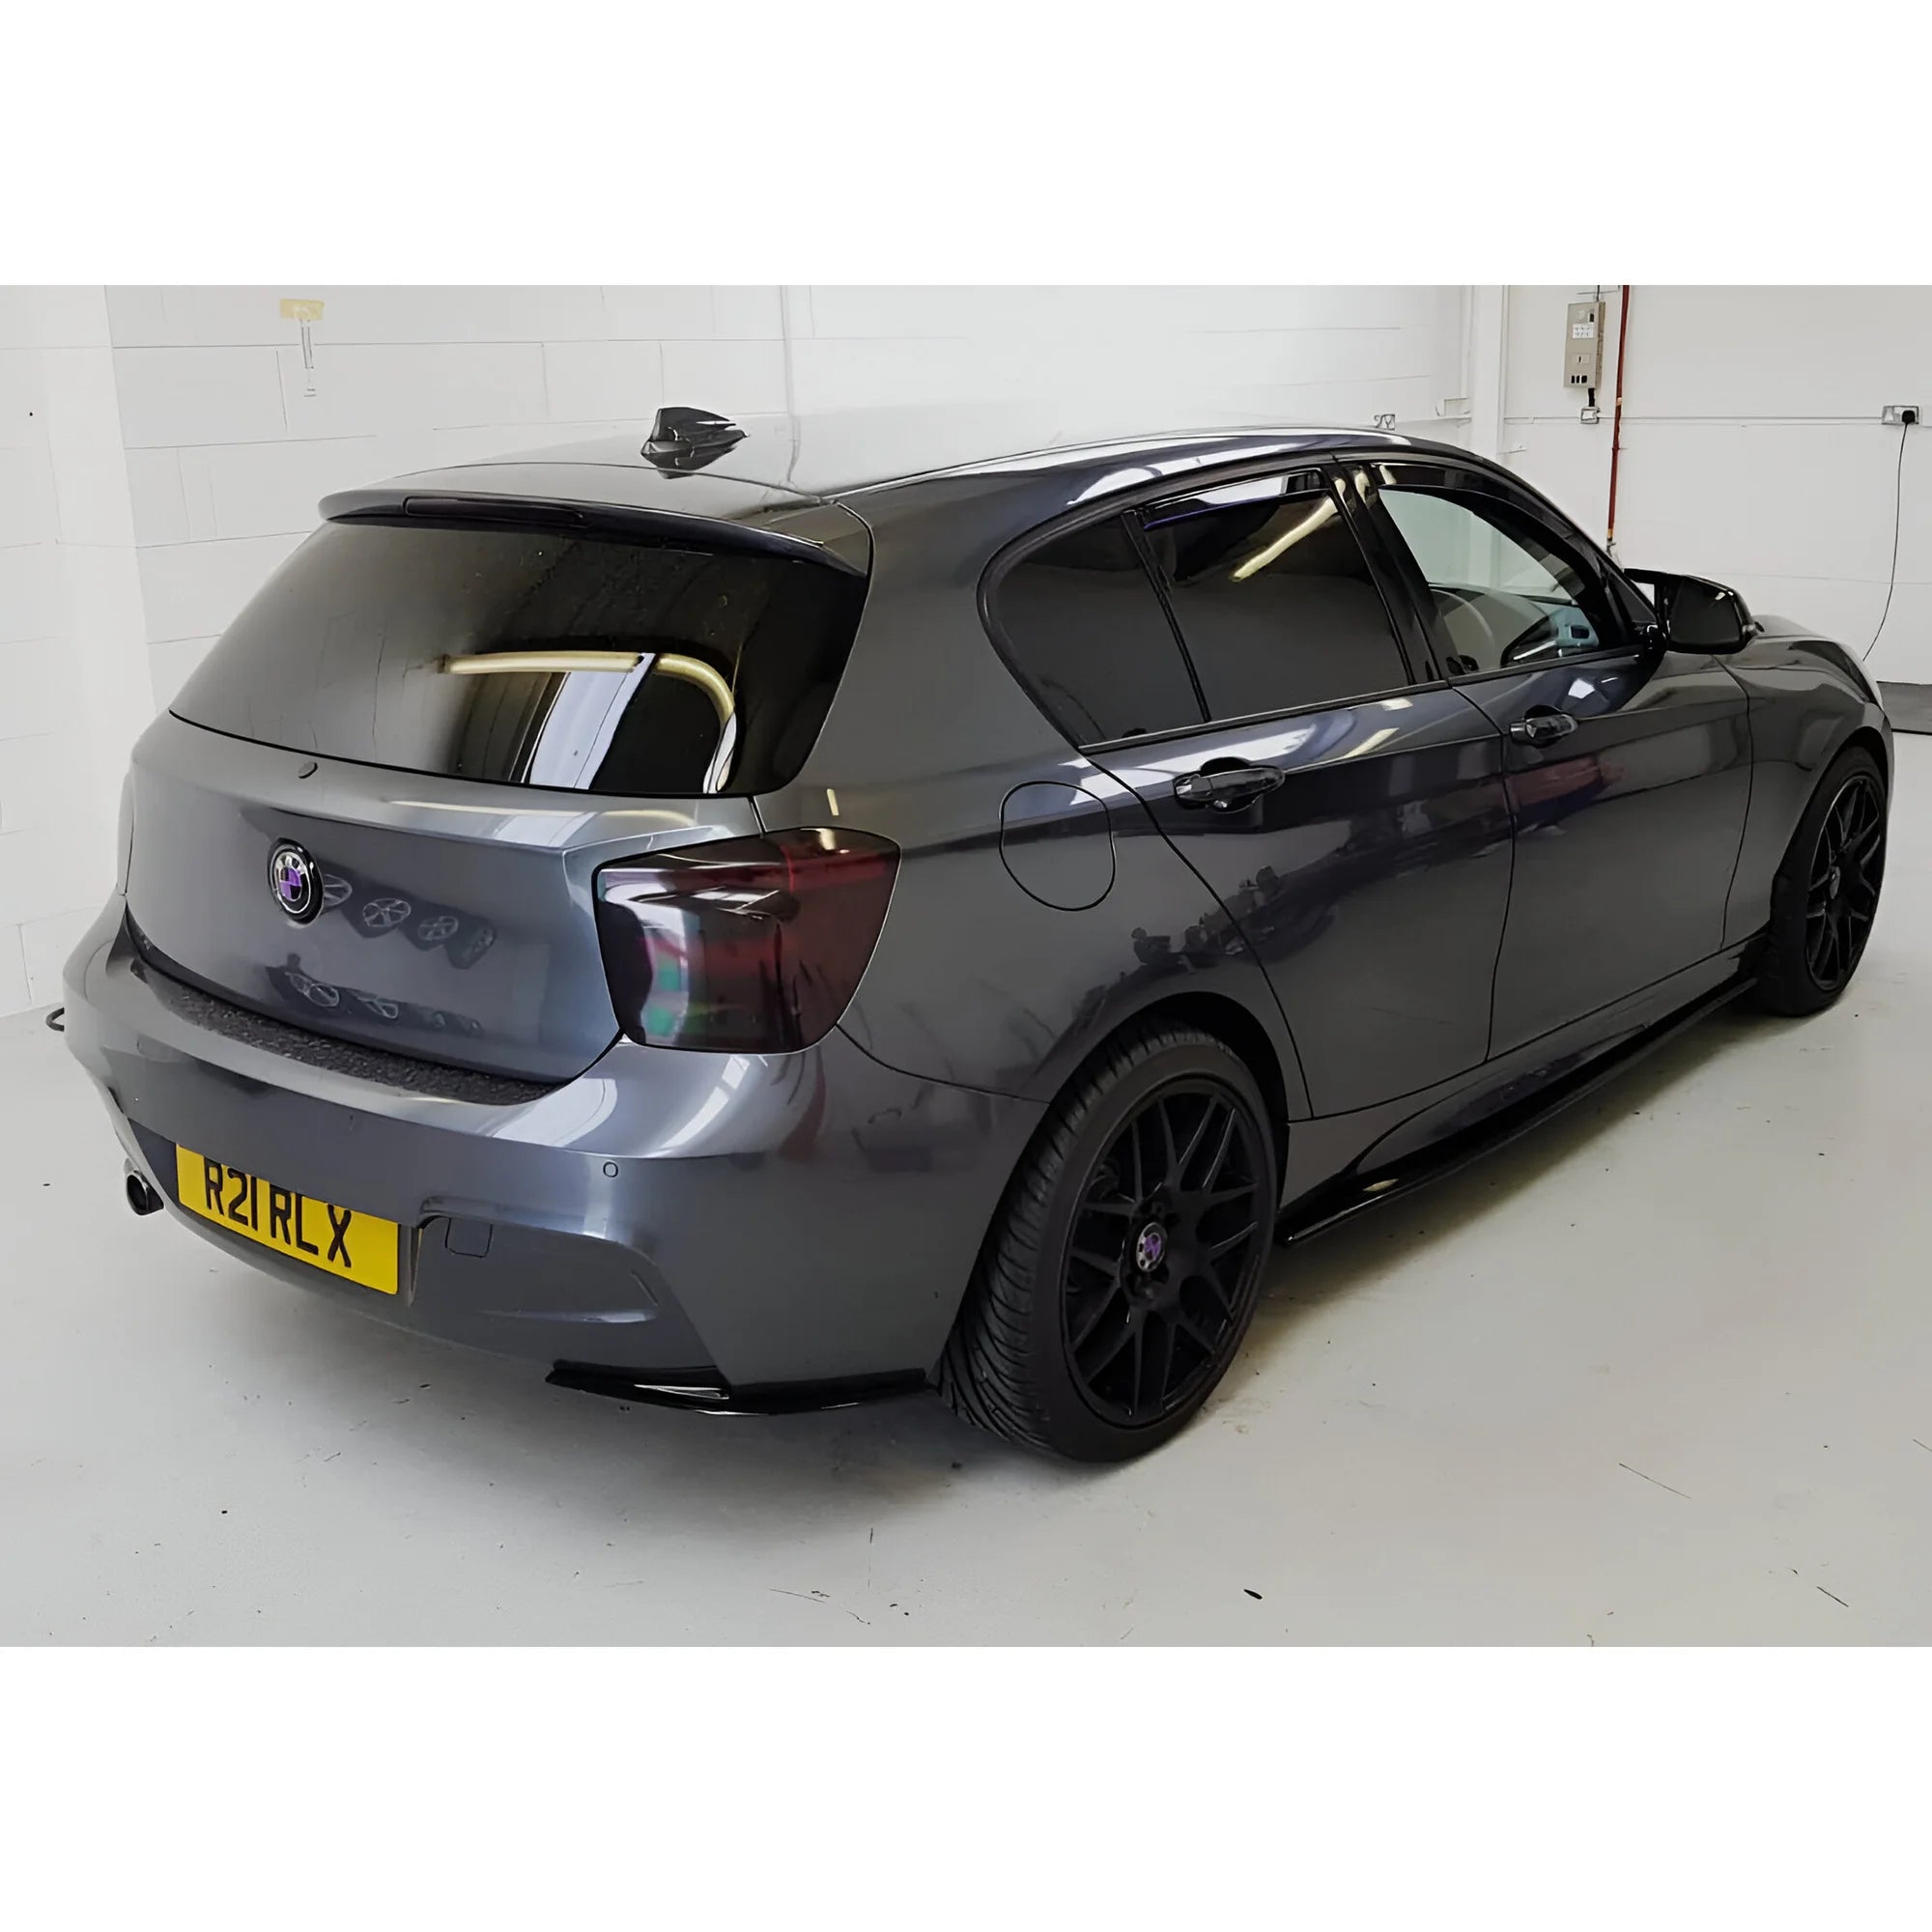
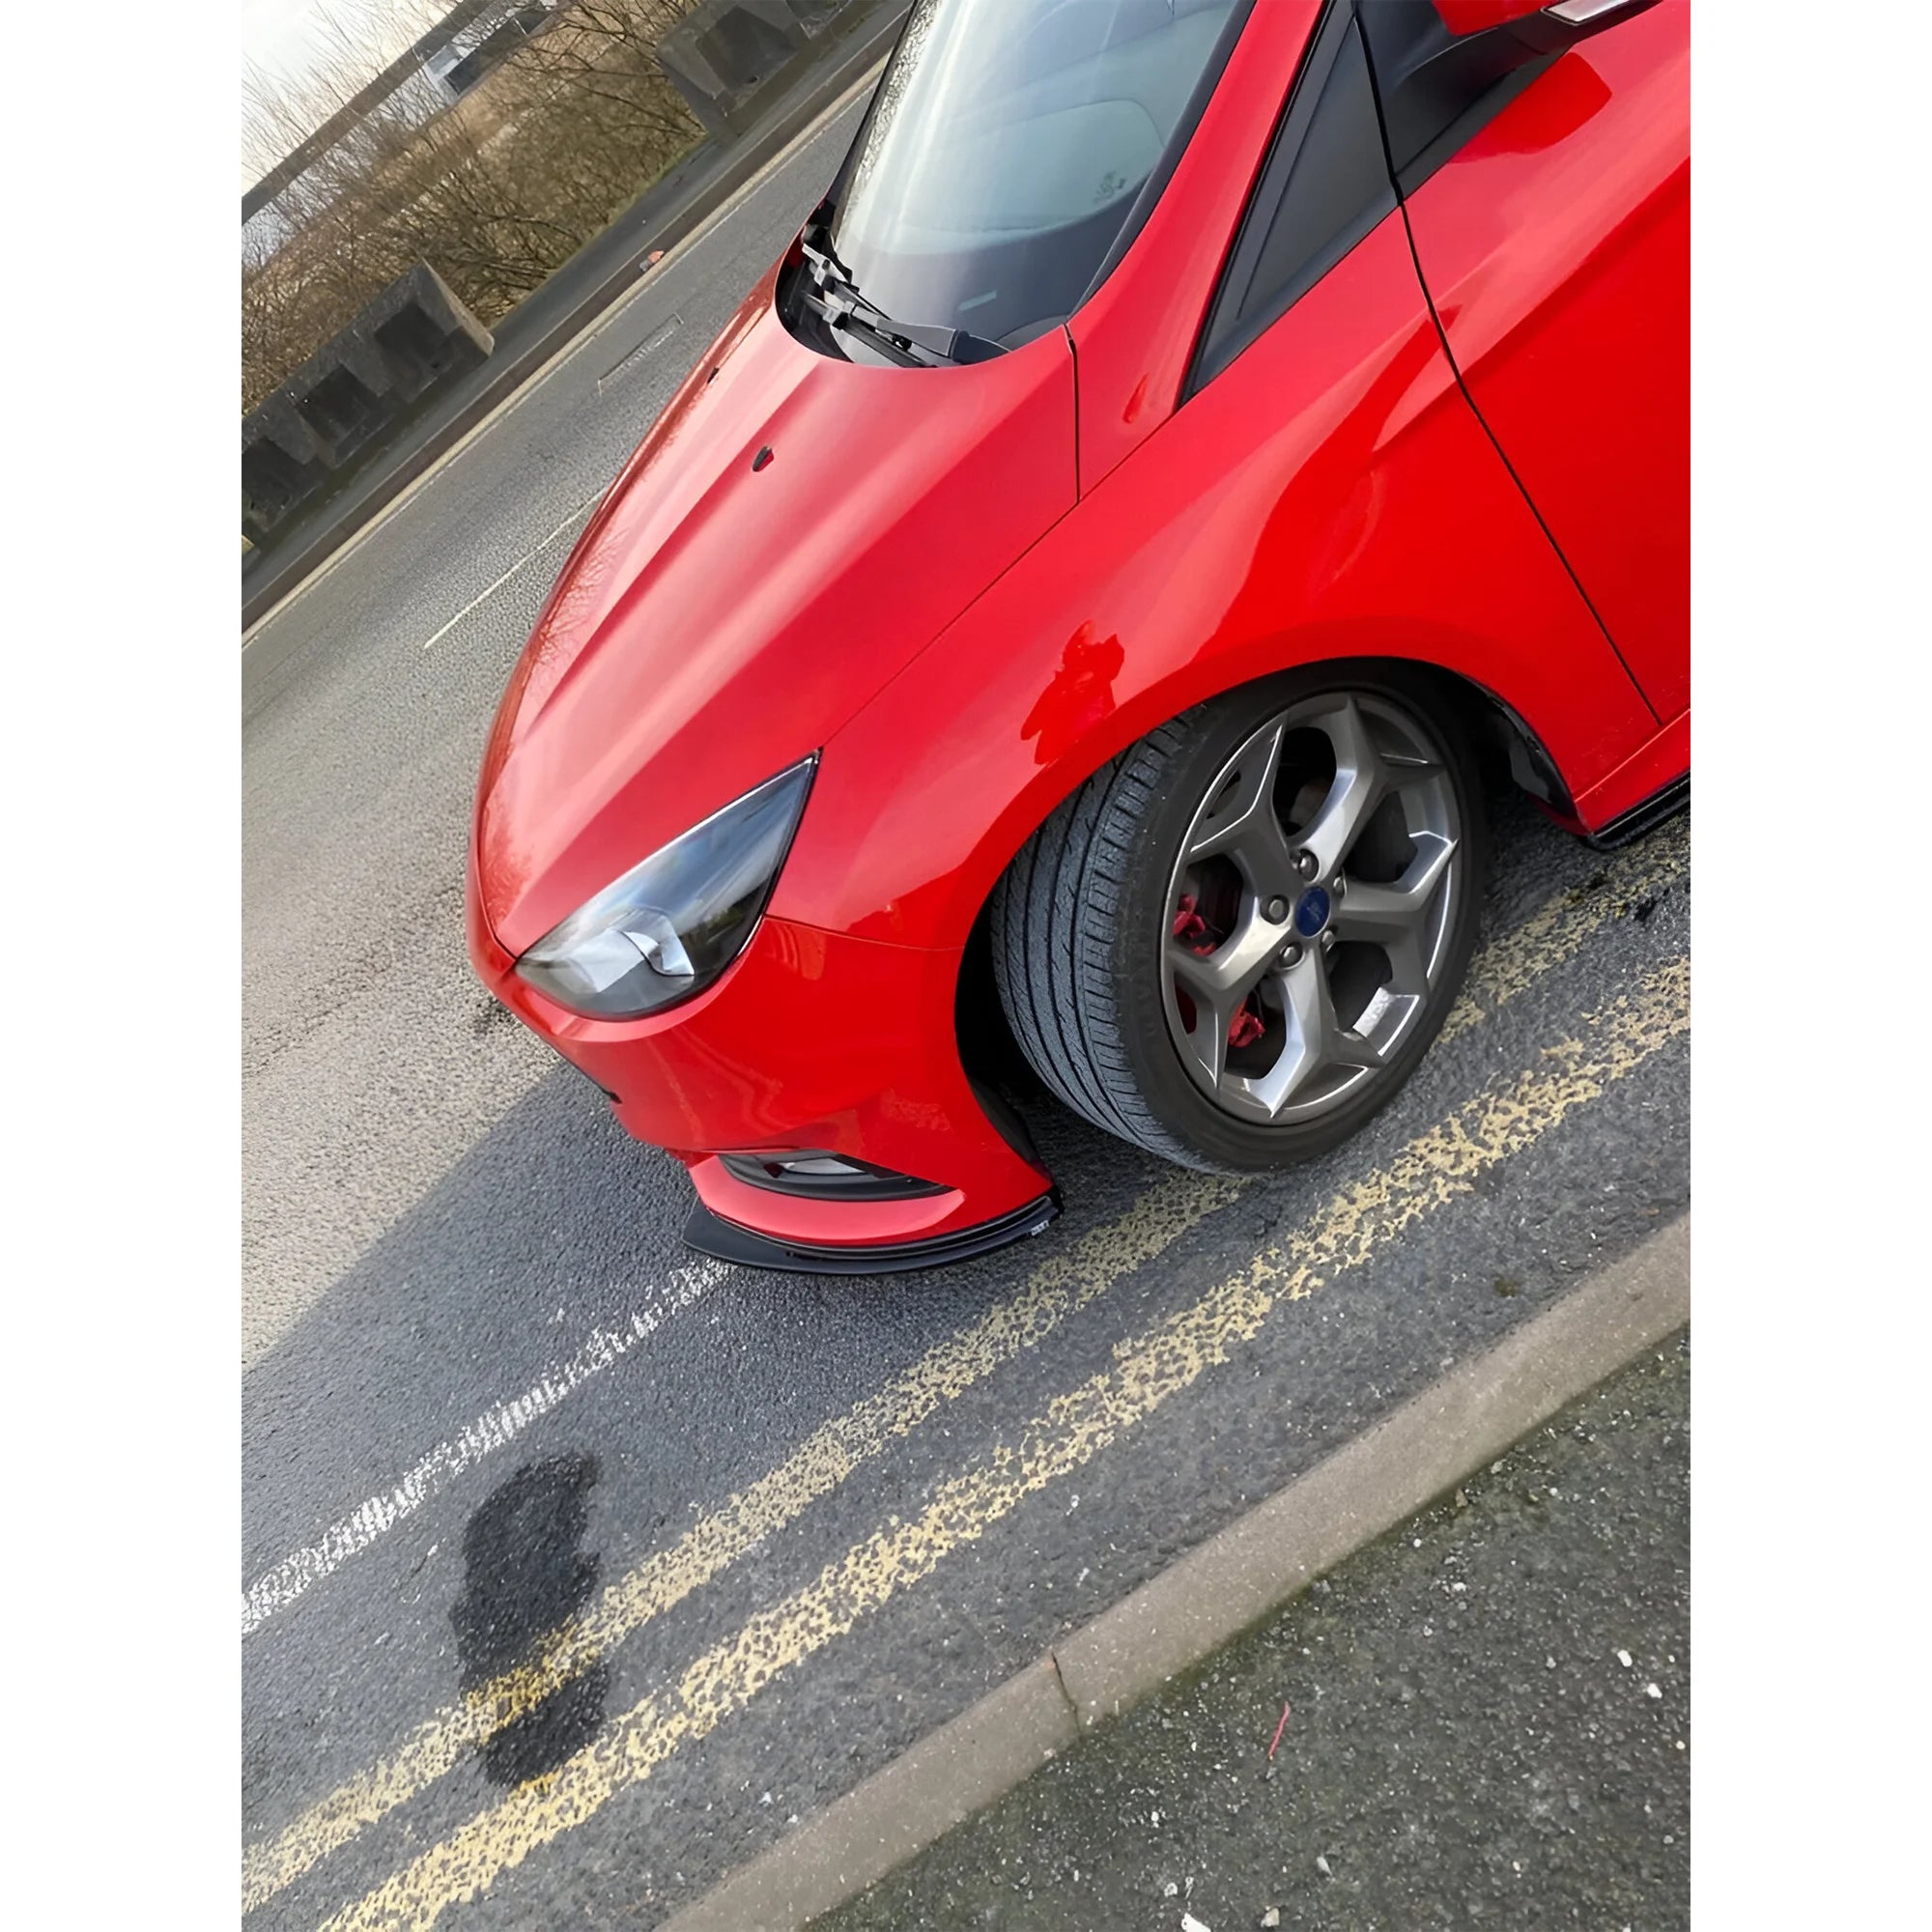
In addition to the performance benefits, a car splitter can drastically change the look of your car, giving it a more aggressive and lowered stance. Many performance car owners install splitters as part of a larger customization project aimed at improving both function and appearance.

Why Install a Car Splitter?
Before we dive into the installation process, let’s discuss why you might want to install a car splitter in the first place. Here are some key benefits:
- Improved Aerodynamics: Splitters work by directing air around your car, which can reduce drag and improve the car’s overall aerodynamic efficiency.
- Increased Downforce: By reducing lift, a splitter can provide more downforce, which translates to better traction and stability, particularly at higher speeds.
- Enhanced Look: A splitter adds a sleek, performance-focused appearance, giving your vehicle a more aggressive and sporty look.
- Customization: Car splitters come in various materials, designs, and finishes, allowing for a high degree of customization to match your car’s style.
Tools and Materials Needed
Before starting the installation, you’ll need a few tools and materials. Here’s a quick checklist to make sure you have everything you need:
- Car splitter (make sure it’s designed for your vehicle model)
- Power drill with bits (preferably 3-4mm for pilot holes)
- Screwdrivers (flathead and Phillips)
- Socket wrench and sockets
- Measuring tape or ruler
- Masking tape
- Protective gloves
- Pencil or marker for marking drill points
- Bolts, screws, and washers (usually included with the splitter)
- Anti-rust coating or touch-up paint (optional, for protection)
Having these tools and materials ready will make the installation process more efficient and less frustrating.

Step-by-Step Guide: How to Install a Car Splitter
Follow these steps carefully to ensure a safe and successful installation.
Step 1: Preparation
Clean Your Car's Front Bumper
Before you start drilling, it's crucial to clean the area where the splitter will be mounted. A clean surface will ensure that the splitter adheres properly and that you have a clear view of where to make your measurements.
- Wash the front bumper thoroughly.
- Use a microfiber cloth to wipe away any dirt or debris.
- Dry the bumper completely.
Position the Splitter
Next, unbox your new car splitter and carefully position it under your car’s front bumper. It’s best to do this with the help of a friend, as the splitter can be large and awkward to handle alone. Align the splitter’s mounting points with the edge of the bumper and make sure it sits evenly on both sides.
Use masking tape to temporarily secure the splitter in place. This will prevent it from shifting while you mark the drill points.
Step 2: Mark the Drill Points
Once the splitter is in place, it’s time to mark the spots where you’ll drill the holes for mounting. Take a pencil or marker and carefully mark the locations of the pre-drilled holes on the splitter onto the bumper.
- Use a measuring tape to ensure the splitter is centered.
- Mark every mounting point clearly.
- Double-check the alignment to make sure everything looks even.
Step 3: Drill the Holes
Now that your mounting points are marked, it’s time to drill the holes. Before drilling into your bumper, make sure the drill bit is appropriate for the bolts or screws you’re using.
- Tip: Always start with a small pilot hole and gradually work your way up to the required size. This prevents cracking or damaging the bumper.
- Drill each marked hole carefully, making sure to drill straight and not at an angle. You don’t want to create uneven holes or damage your bumper.
Step 4: Install the Splitter
Once the holes are drilled, it’s time to attach the splitter to the bumper.
- Align the splitter with the drilled holes.
- Insert the provided bolts or screws through the holes and into the corresponding mounts on the splitter.
- Tighten each bolt or screw with a socket wrench to secure the splitter in place.
- If the splitter came with washers, make sure to place them between the bolts and the bumper to prevent damage and ensure a snug fit.
Tip: If your splitter comes with additional reinforcement brackets or support rods, be sure to install those as well for added stability.
Step 5: Check Alignment and Tighten
Once the splitter is mounted, take a step back and inspect the alignment. Ensure that it is even on both sides and that the mounting points are secure. Tighten any loose bolts and ensure that everything is fastened tightly to avoid any rattling or vibrations while driving.
Final Tip: If your splitter has sharp edges or if you drilled through exposed metal, consider applying an anti-rust coating or touch-up paint to prevent corrosion.
Step 6: Test and Drive
After installation, take your car for a test drive to ensure the splitter is securely mounted and that there are no rattling sounds or other issues. Pay attention to how your car handles at high speeds—this is where you’ll notice the real benefits of the added downforce from the splitter.
Additional Tips and Considerations
- Professional Installation: If you’re not comfortable drilling into your car’s bumper, you may want to have a professional mechanic or auto shop handle the installation.
- Splitter Maintenance: Over time, your splitter may accumulate dirt or road debris. Be sure to regularly clean and inspect it for any signs of damage.
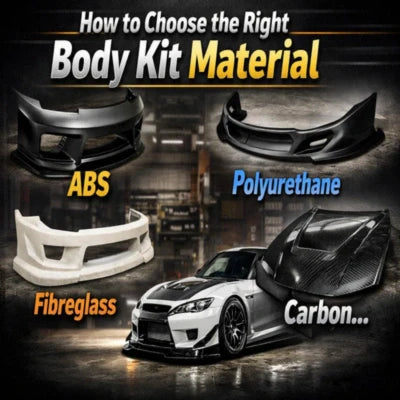
- Materials: Car splitters come in different materials, such as fiberglass, carbon fiber, and plastic. Carbon fiber splitters are lightweight and durable, but they can be more expensive. Choose the material that best suits your needs and budget.
Conclusion
Installing a car splitter is a great way to enhance your vehicle’s look and performance. By following the steps outlined above, you can easily install a splitter at home and enjoy the benefits of increased downforce, better aerodynamics, and a more aggressive appearance. Always make sure to double-check your measurements and installation for a secure and professional result.
With KSB AutoStyling’s step-by-step guide, you now have the knowledge and tools to install your car splitter with confidence. Whether you're looking to make your car look sportier or improve its handling, a well-installed splitter is a perfect modification that combines form and function. Happy driving!
FAQs About Installing Car Splitters
How long does it take to install a car splitter?
Installing a car splitter typically takes 1-2 hours, depending on your experience level and the complexity of the splitter design. Make sure to take your time for accurate measurements and careful installation.
Can I install a splitter without drilling?
Some splitters come with adhesive mounting options that allow for installation without drilling. However, for maximum stability, drilling is usually recommended.
Are car splitters only for performance cars?
No! Car splitters can be installed on any vehicle to enhance its appearance and aerodynamics. Whether you have a sports car or a daily driver, a splitter can improve the overall look and handling.
Do I need to make adjustments to the car after installing a splitter?
In most cases, no. However, after installing the splitter, you may need to adjust your driving habits, especially if you lowered your car or installed a particularly large splitter. Avoid driving over curbs or obstacles that could damage the splitter.


